
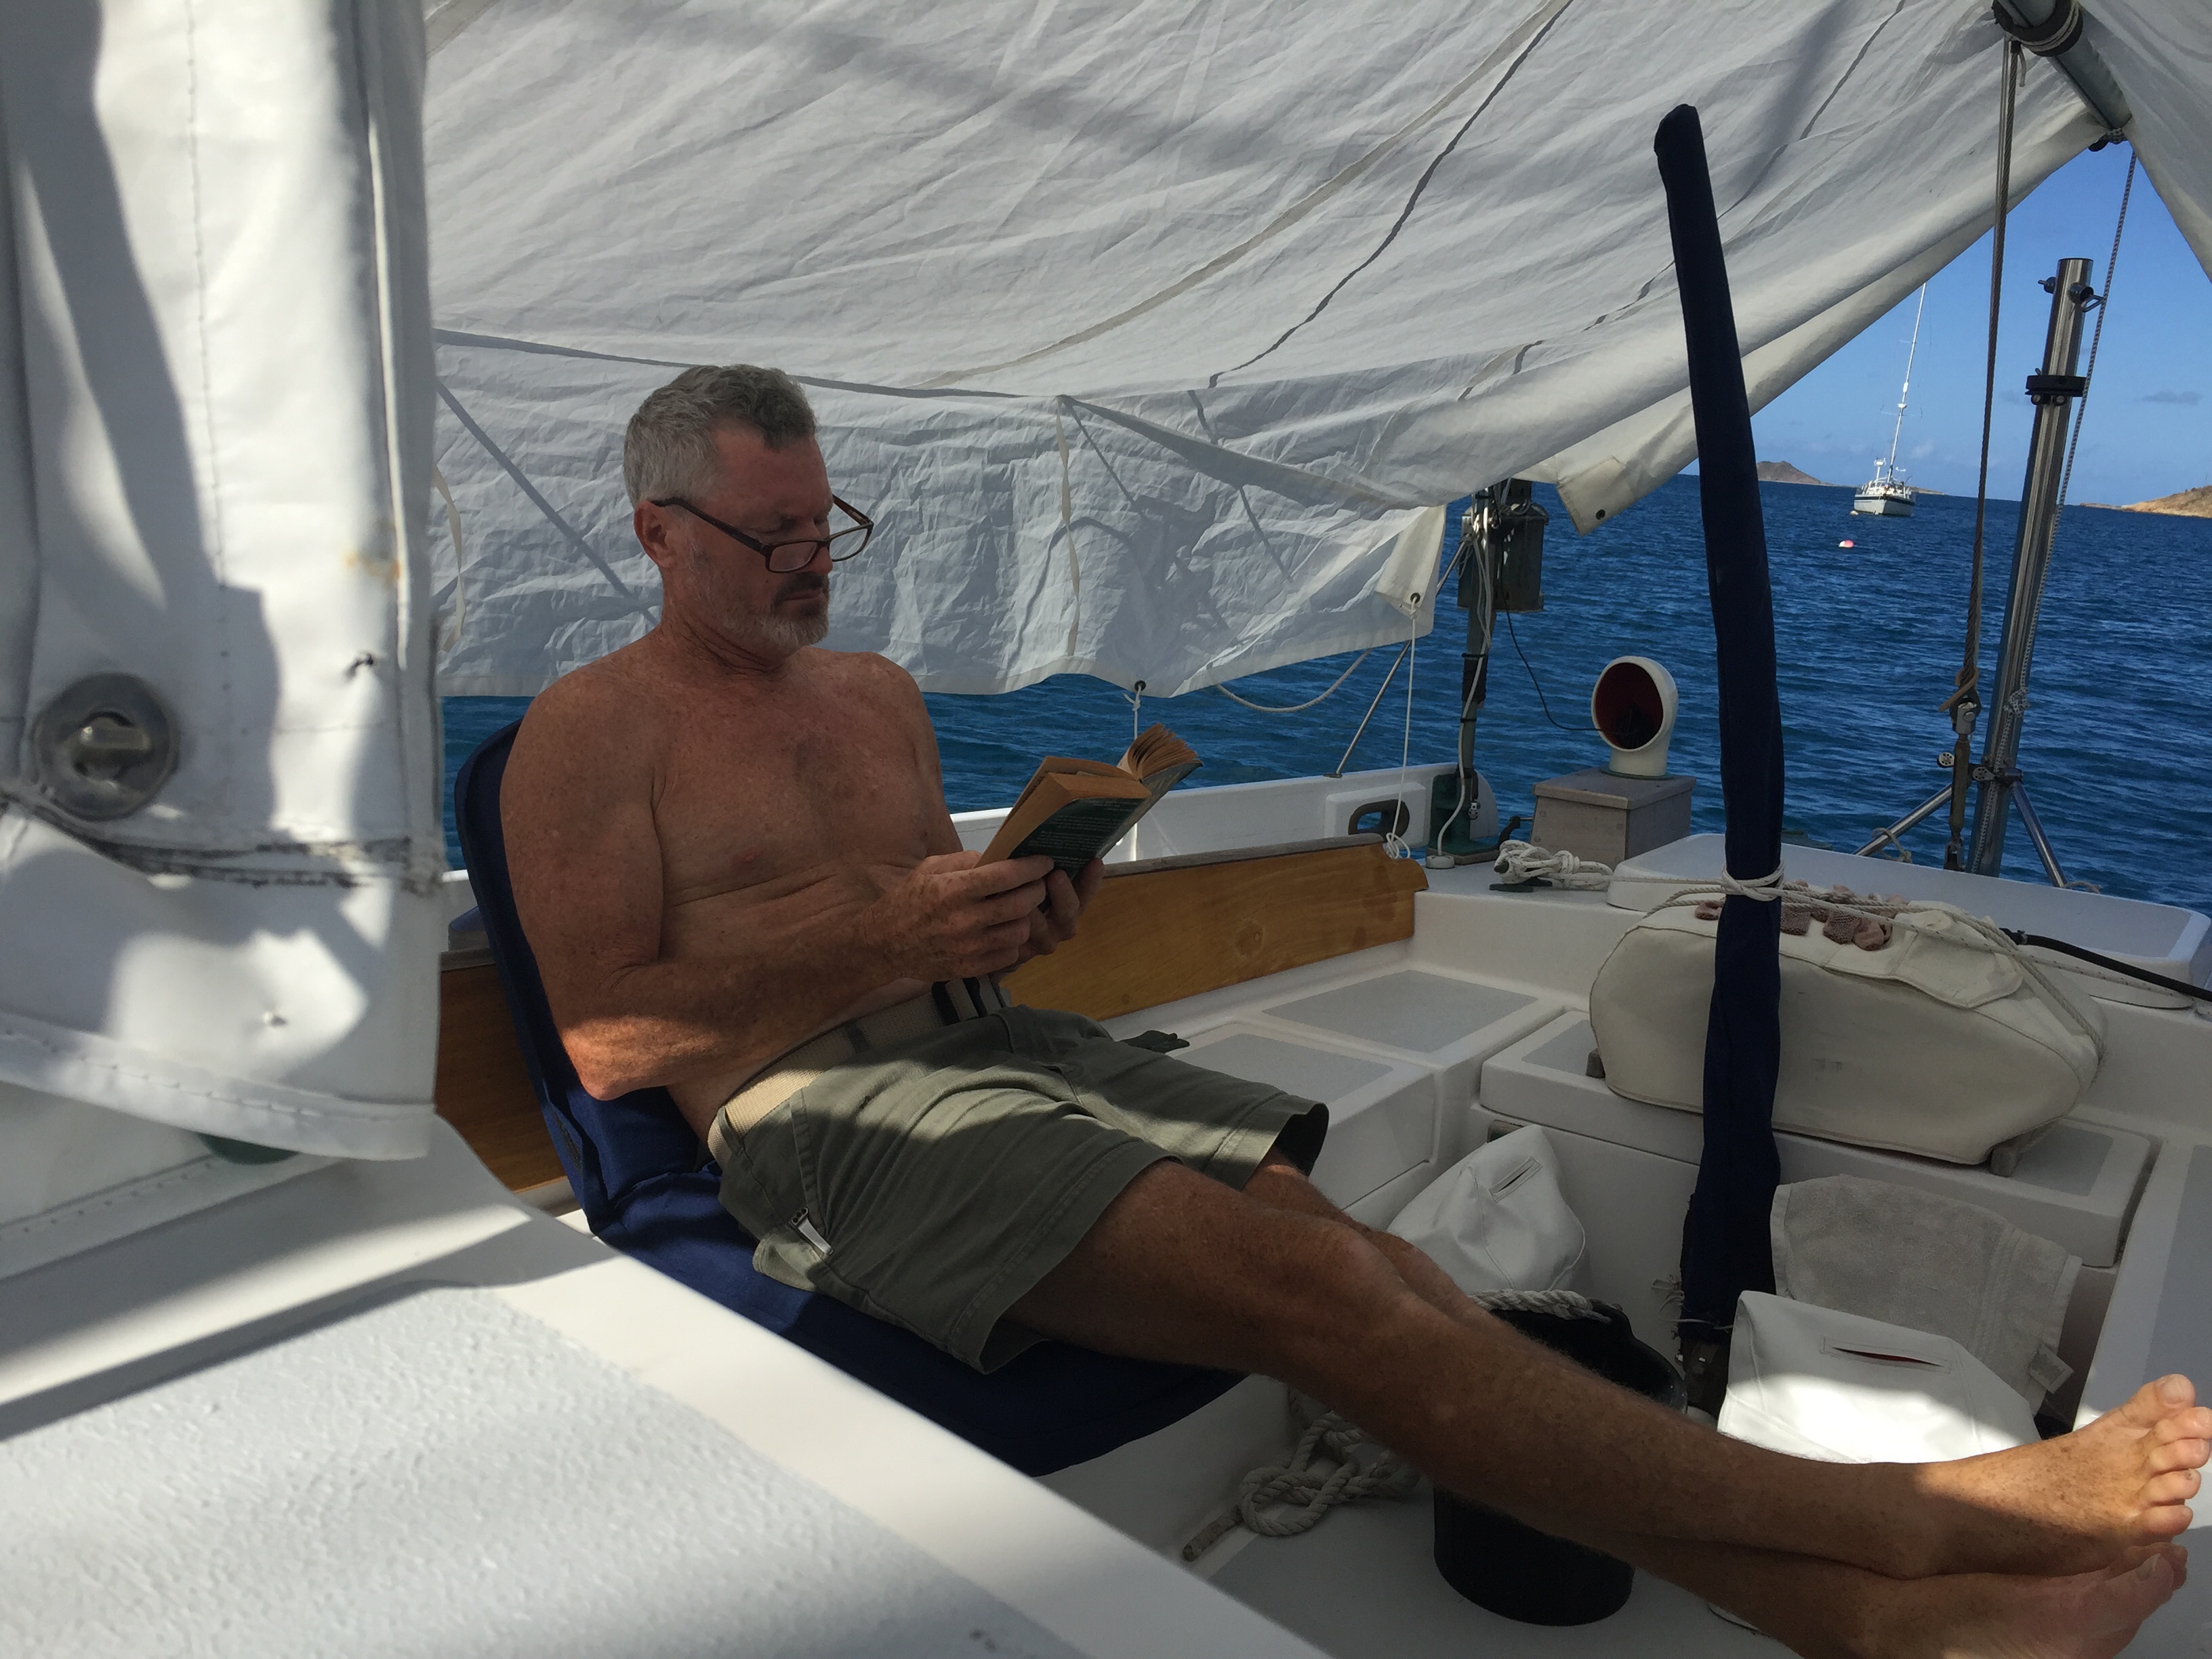
Deep into Michener’s Tales of the South Pacific.
It was a sad day to see Gayle fly home. We had a great time together. But the kids have to declare their college selection by 1 May. She needed to assist them with another round of campus visits so they can make a wise choice. So we divided our combat power into two elements, each with missions to accomplish.
Without Gayle the boat was weirdly quiet. But, having been married throughout a long career in the Marines we are very used to being apart. In fact, we both feel time apart is healthy for a marriage…at least it seems to be for ours.
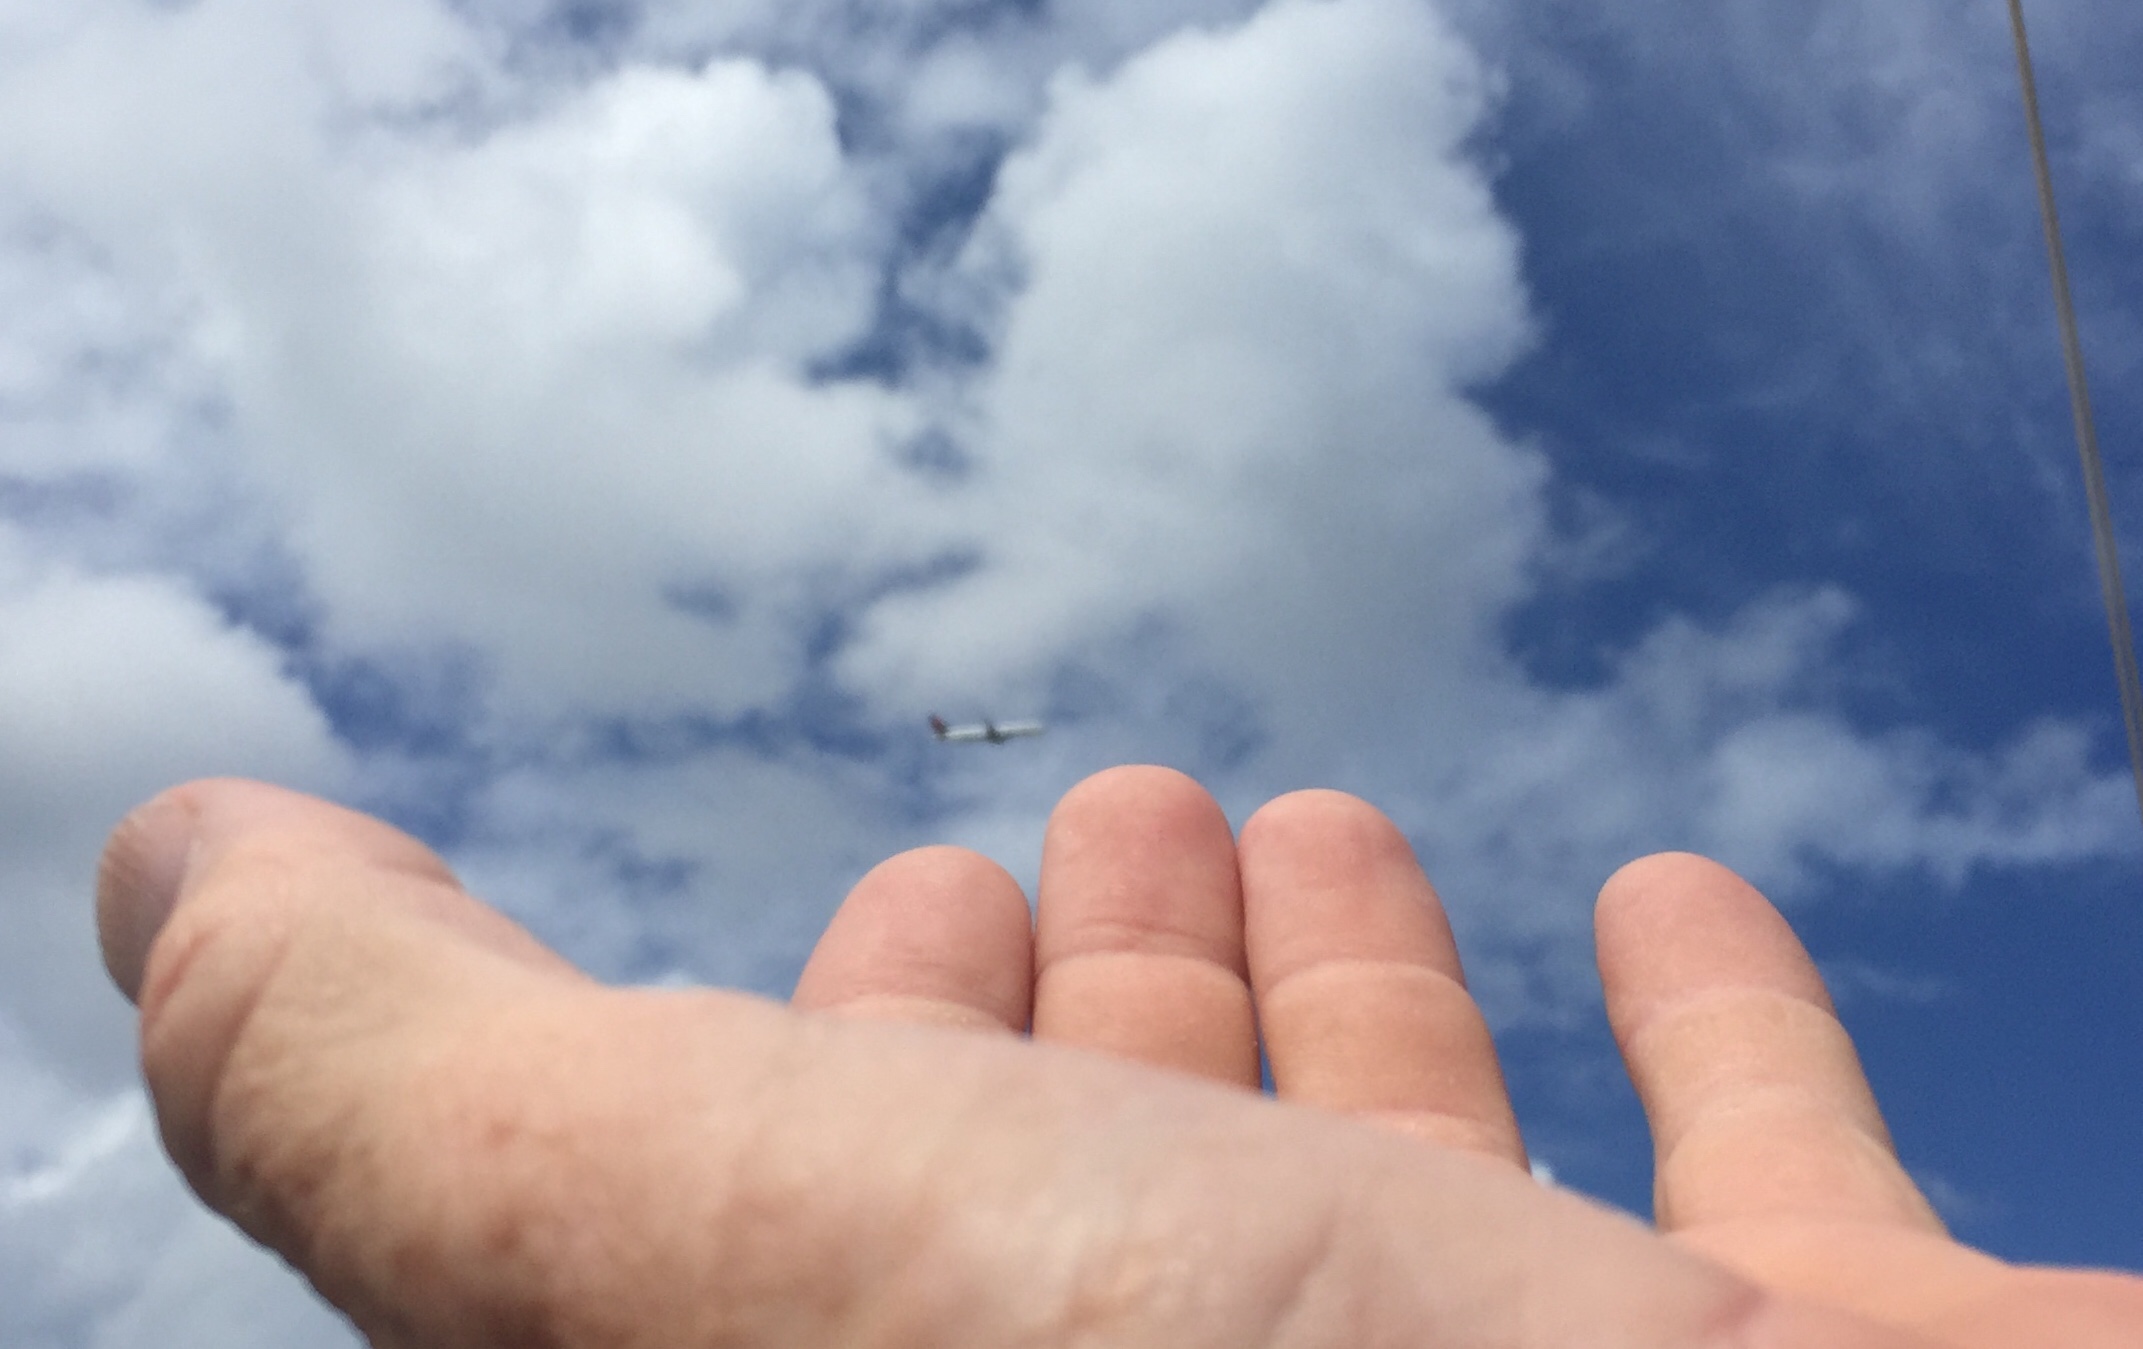
Gayle’s aircraft flying over the Far Reach. She told me later she looked out the window and saw the Far Reach on her mooring far below.
Alone on the Far Reach my attention turned to some mid season maintenance. Namely, two coats of varnish to the cockpit coamings and paint touch up to the bulwarks.
The varnishing is easy. It’s all about prep work though—namely accurate taping and proper sanding…especially in those inside corners.
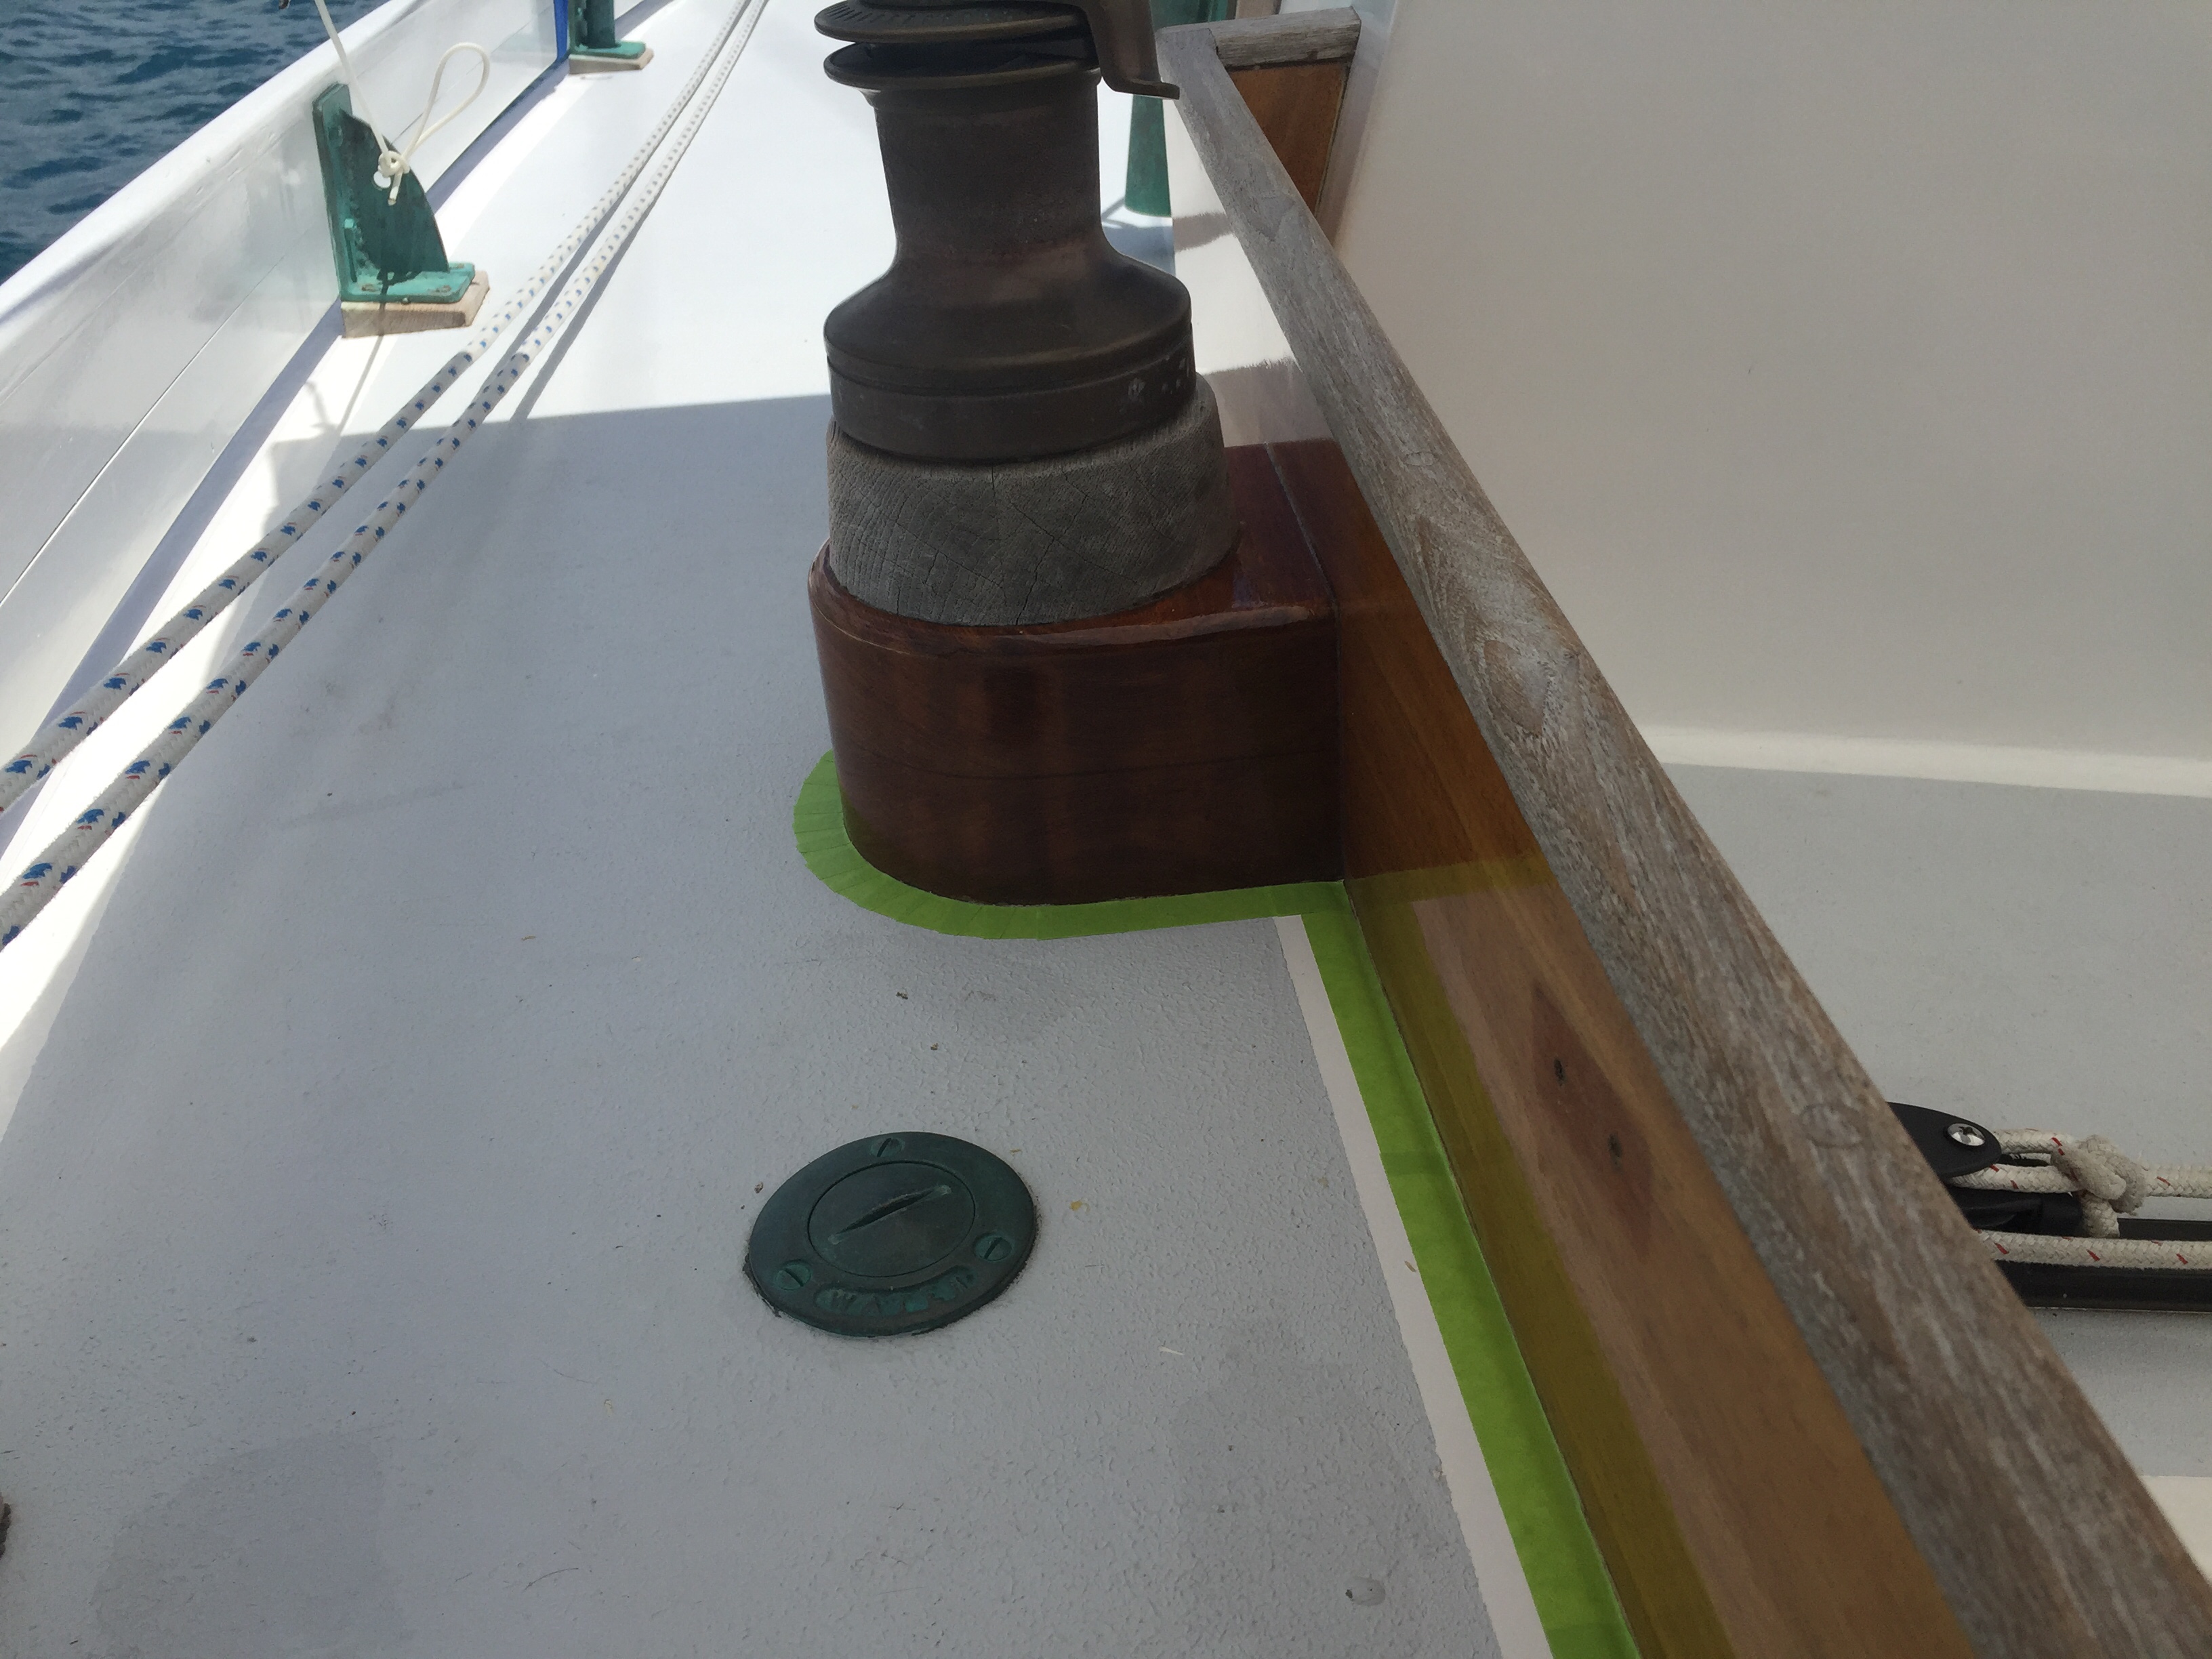
Accurate taping is critical. The tape needs to be pulled and replaced every 3 to 4 coats of varnish, though this time I’m only applying two maintenance coats.
I lashed the dinghy mast between the backstay and gallows frame. Next, I removed the spreader poles from the big sun awning and secured it over the dinghy mast so it formed a tent over the cockpit. For varnish to flow best you need to avoid warm direct sun or significant wind, both of which we get here in spades. Also, we get a lot of pop-up sprinkle showers so the boom tent buys me a little wiggle room for the coamings. Two coats takes three days. One day to tape and sand (about three hours) another day for applying varnish (about 90 min) and a third day to sand and varnish (about three hours).
I rigged the dinghy mast between the gallows frame and backstay. I draped our big sun awning over it to provide some protection during varnishing.
With the awning in place I spent the first day washing the coamings with soap and water. Then, I carefully and accurately tapped the coamings off with 3M 233 solvent resistant tape.
Next day, I applied the first coat of varnish without issue. But the third morning we had a series of squalls. So, I let the deck and tape dry in the sun for a couple hours. Then I sanded the varnish (about 90 minutes) I had applied to the coamings the day before. Because of the rain delay, it was early afternoon before the sanding was complete. I thought I might wait and apply the second of the two maintenance coats the following day. But the wx report called for 50 percent chance of rain the next day, so I pressed ahead. It took an hour to apply the final coat. I was finished by 1510, much later than I would normally varnish. But the boom tent gave me confidence there would be no dew to interfere with the gloss and the temps in the shade do not fall much at night.
Varnish work and rain don’t mix….
I pulled the tape the next morning. It looked pretty good given the conditions I worked with. Number one rule with varnish is to get it on to protect the wood. Number two rule is all the other stuff.
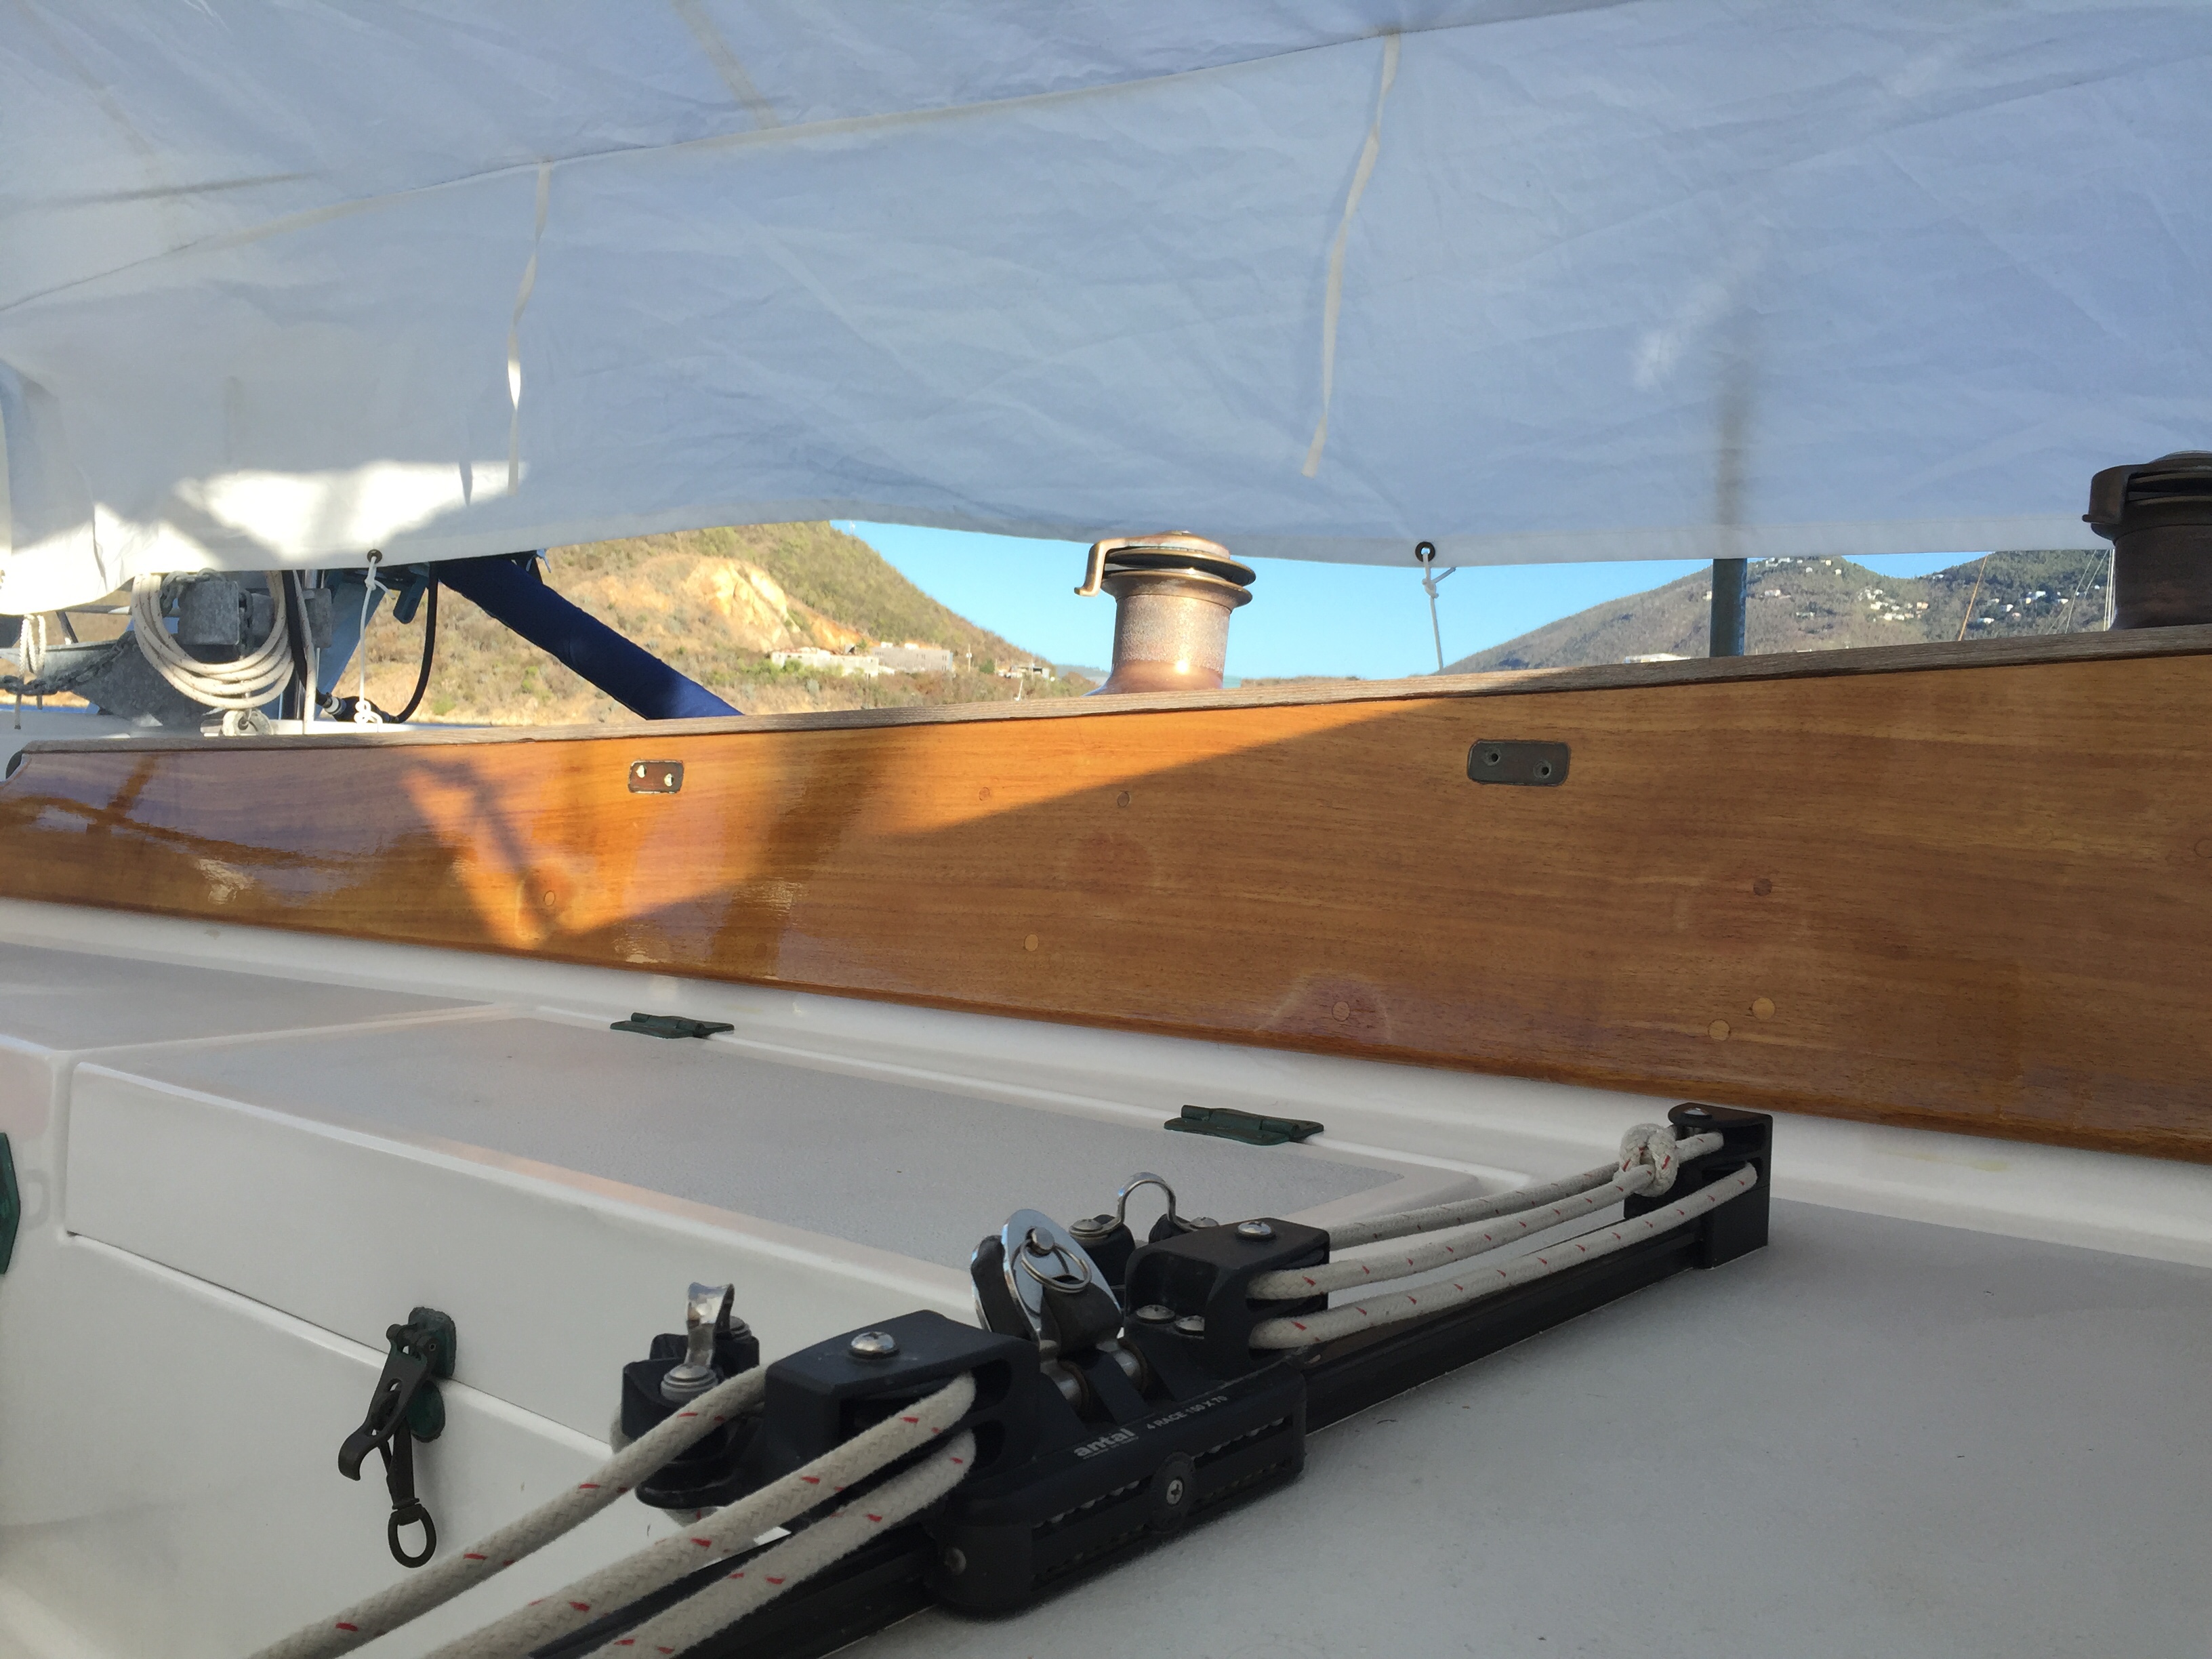
The leopard spots remain from previous repairs but the varnish is in great shape with a lot of gloss.
Regular readers of my website will remember I spot treated a few breaks in the varnish last fall with a heat gun, scraper, and oxylic acid. Between traveling to British Columbia for a month to splice rigging on Kaj Jacobson‘s FC 34 and dealing with the fallout from Hurricane Florence there was simply no time to strip it back to bare wood. I needed to prepare the boat for the offshore voyage to the West Indies. I also thought the leopard spots might disappear with exposure to the sun but they are still quite visible. The breaks were all on the inboard side of the coamings. But, other than the discoloration the varnish is completely intact—so the wood is protected. I’ll strip it back once I return home.
I have become a devotee of Cafe Bustelo espresso grind coffee. Made with an Aeropress, it is the best coffee I have had, except for Lucafe, which we have not been able to find. We still love our Lion Coffee and we still make it with the percolator when we need to make larger amounts. But, if you love coffee and have not tried Cafe Bustelo in an Aeropress consider giving it a try.
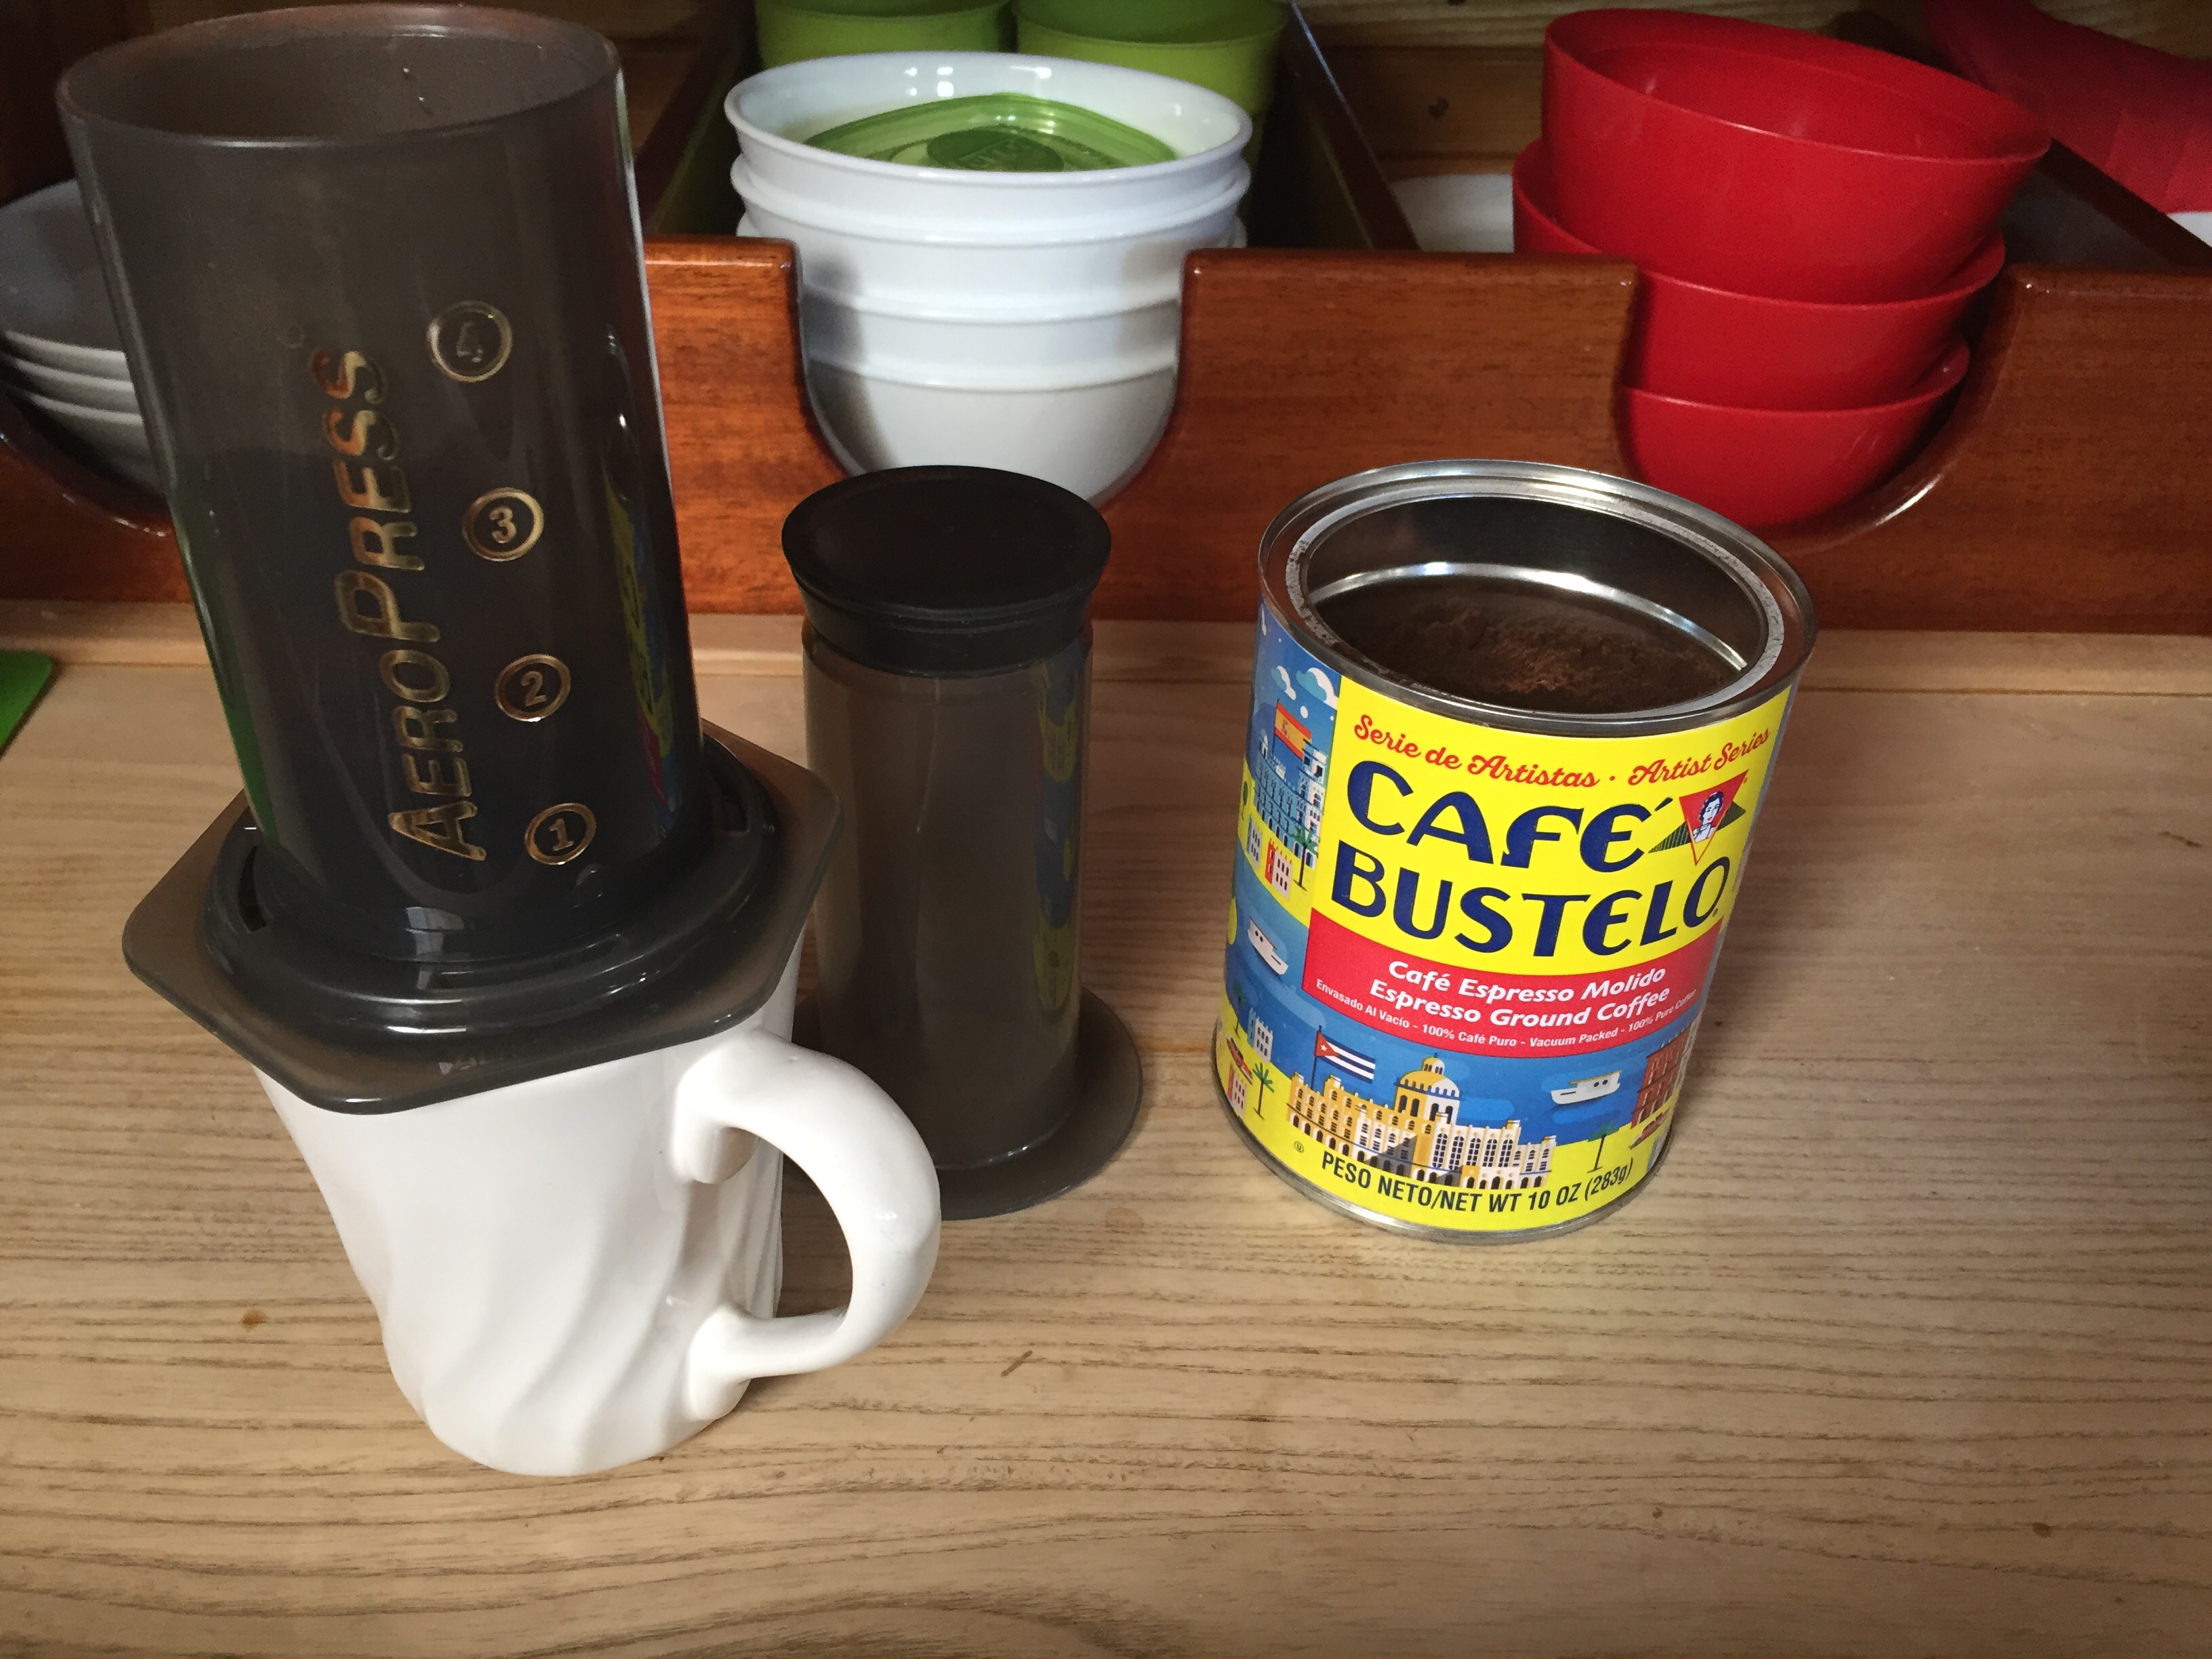
Cafe Bustelo made with an aeropress is outstanding.
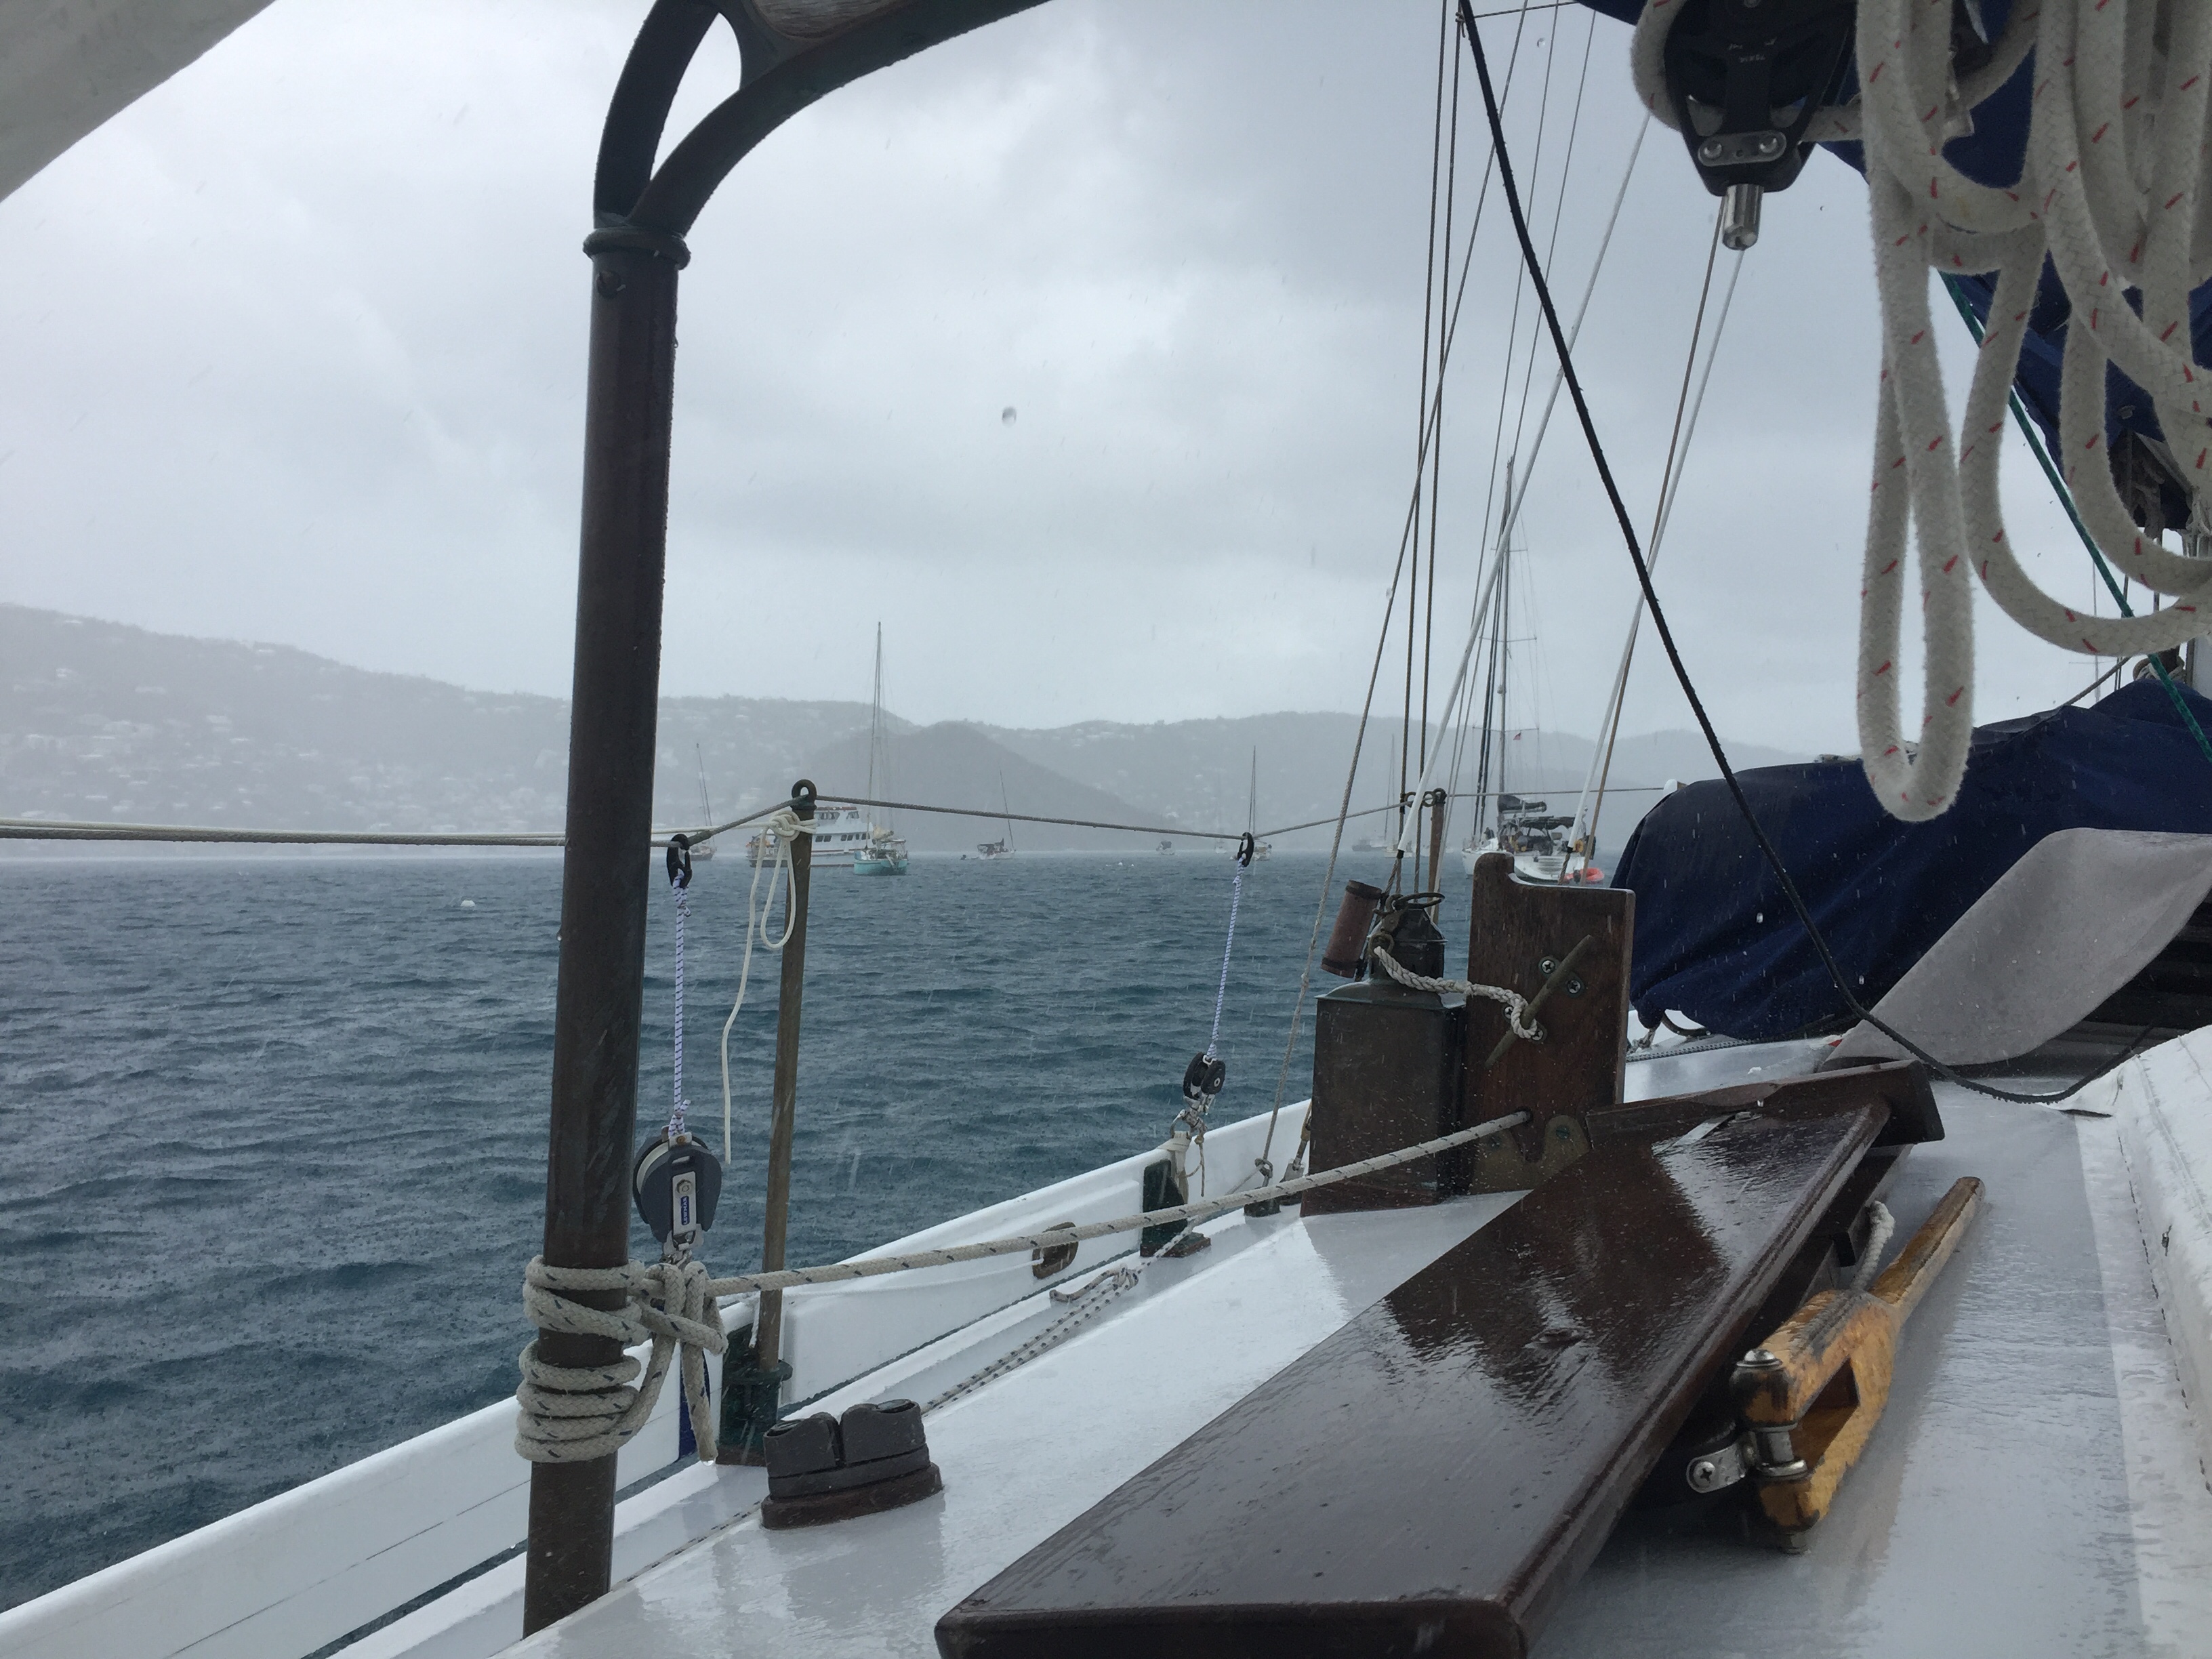
With the varnish maintenance coats applied it was time to address some fatigue in the paint on the bulwarks cap-rail. The mooring field in Elephant Bay, however, had become ridiculously rolly due to strong trade winds and an odd increase in big power boat traffic. So, I sailed the Far Reach over to Brewers Bay a few miles away under a double reefed main and stays’l.
It was mostly downwind followed by a short beat up into the anchorage. I sailed through the dozen anchored boats twice, sounding with the lead line as we sailed along. Even with her big rig reefed down, the Far Reach was perfectly behaved and easily tacked when asked to do so. Once I had scoped out the anchorage I dropped the main and stays’l and used the little Honda to pick out a good spot. I dropped anchor in 30’ of water on a sand and grass bottom. I donned mask and fins to see how everything looked. The anchor was fine but about 30’ back from the anchor the chain had slipped under a coral head. I weighed anchor and reset about 50’ away. Back into the water. This time the anchor was in the sand and buried. The chain was clear. Perfect. The water is a lot smoother here.
I spent the morning washing, taping, and sanding the caprail. I was not ready for an afternoon siesta—yes it’s a stressful life to be sure but I continue to bear up well—so I went back to Michener’s Tales of the South Pacific. Ahhhhh….paradise—in Bali Ha’i and here in the West Indies too.
Painting and rain don’t mix well either….
Next day, I started to paint the bulwarks early in the morning. I got about 15’ of caprail painted then it started to rain. There wasn’t even a cloud over us…for the love of Mary! I got the paint and brushes inside. It only lasted a minute. So I waited about an hour to let the sun evaporate the water. Then, I dried the unpainted rail. Wiped it down with 333. Continued on. Had about 3 hours before more sprinkles. But there were no issues by then.
With the paint drying I moved on to block maintenance. I had soaked the jib turning blocks, fairlead blocks and blocks for the running backstays in soapy water the night before. The actual jib lead blocks are big lewmar snatch blocks we secure around the bulwarks with a nylon strop. I removed and saddle soaped the protective leathers. The next day I put the leathers in a gently warmed oven for 10 min. Then coated them with Snow-Seal beeswax. I do this about every 4-6 months. They are not works of art. Classic example of what happens when you do something temporarily and if it works…it becomes permanent. I made them just before my last trip down the the West Indies. I was only able to sail the boat a couple times between launch and our departure. I identified a need for them but had too many balls in the air. I had time for “good enough.” But the leathers have worked perfectly and held up pretty well. Without them the blocks just beat the deck up.
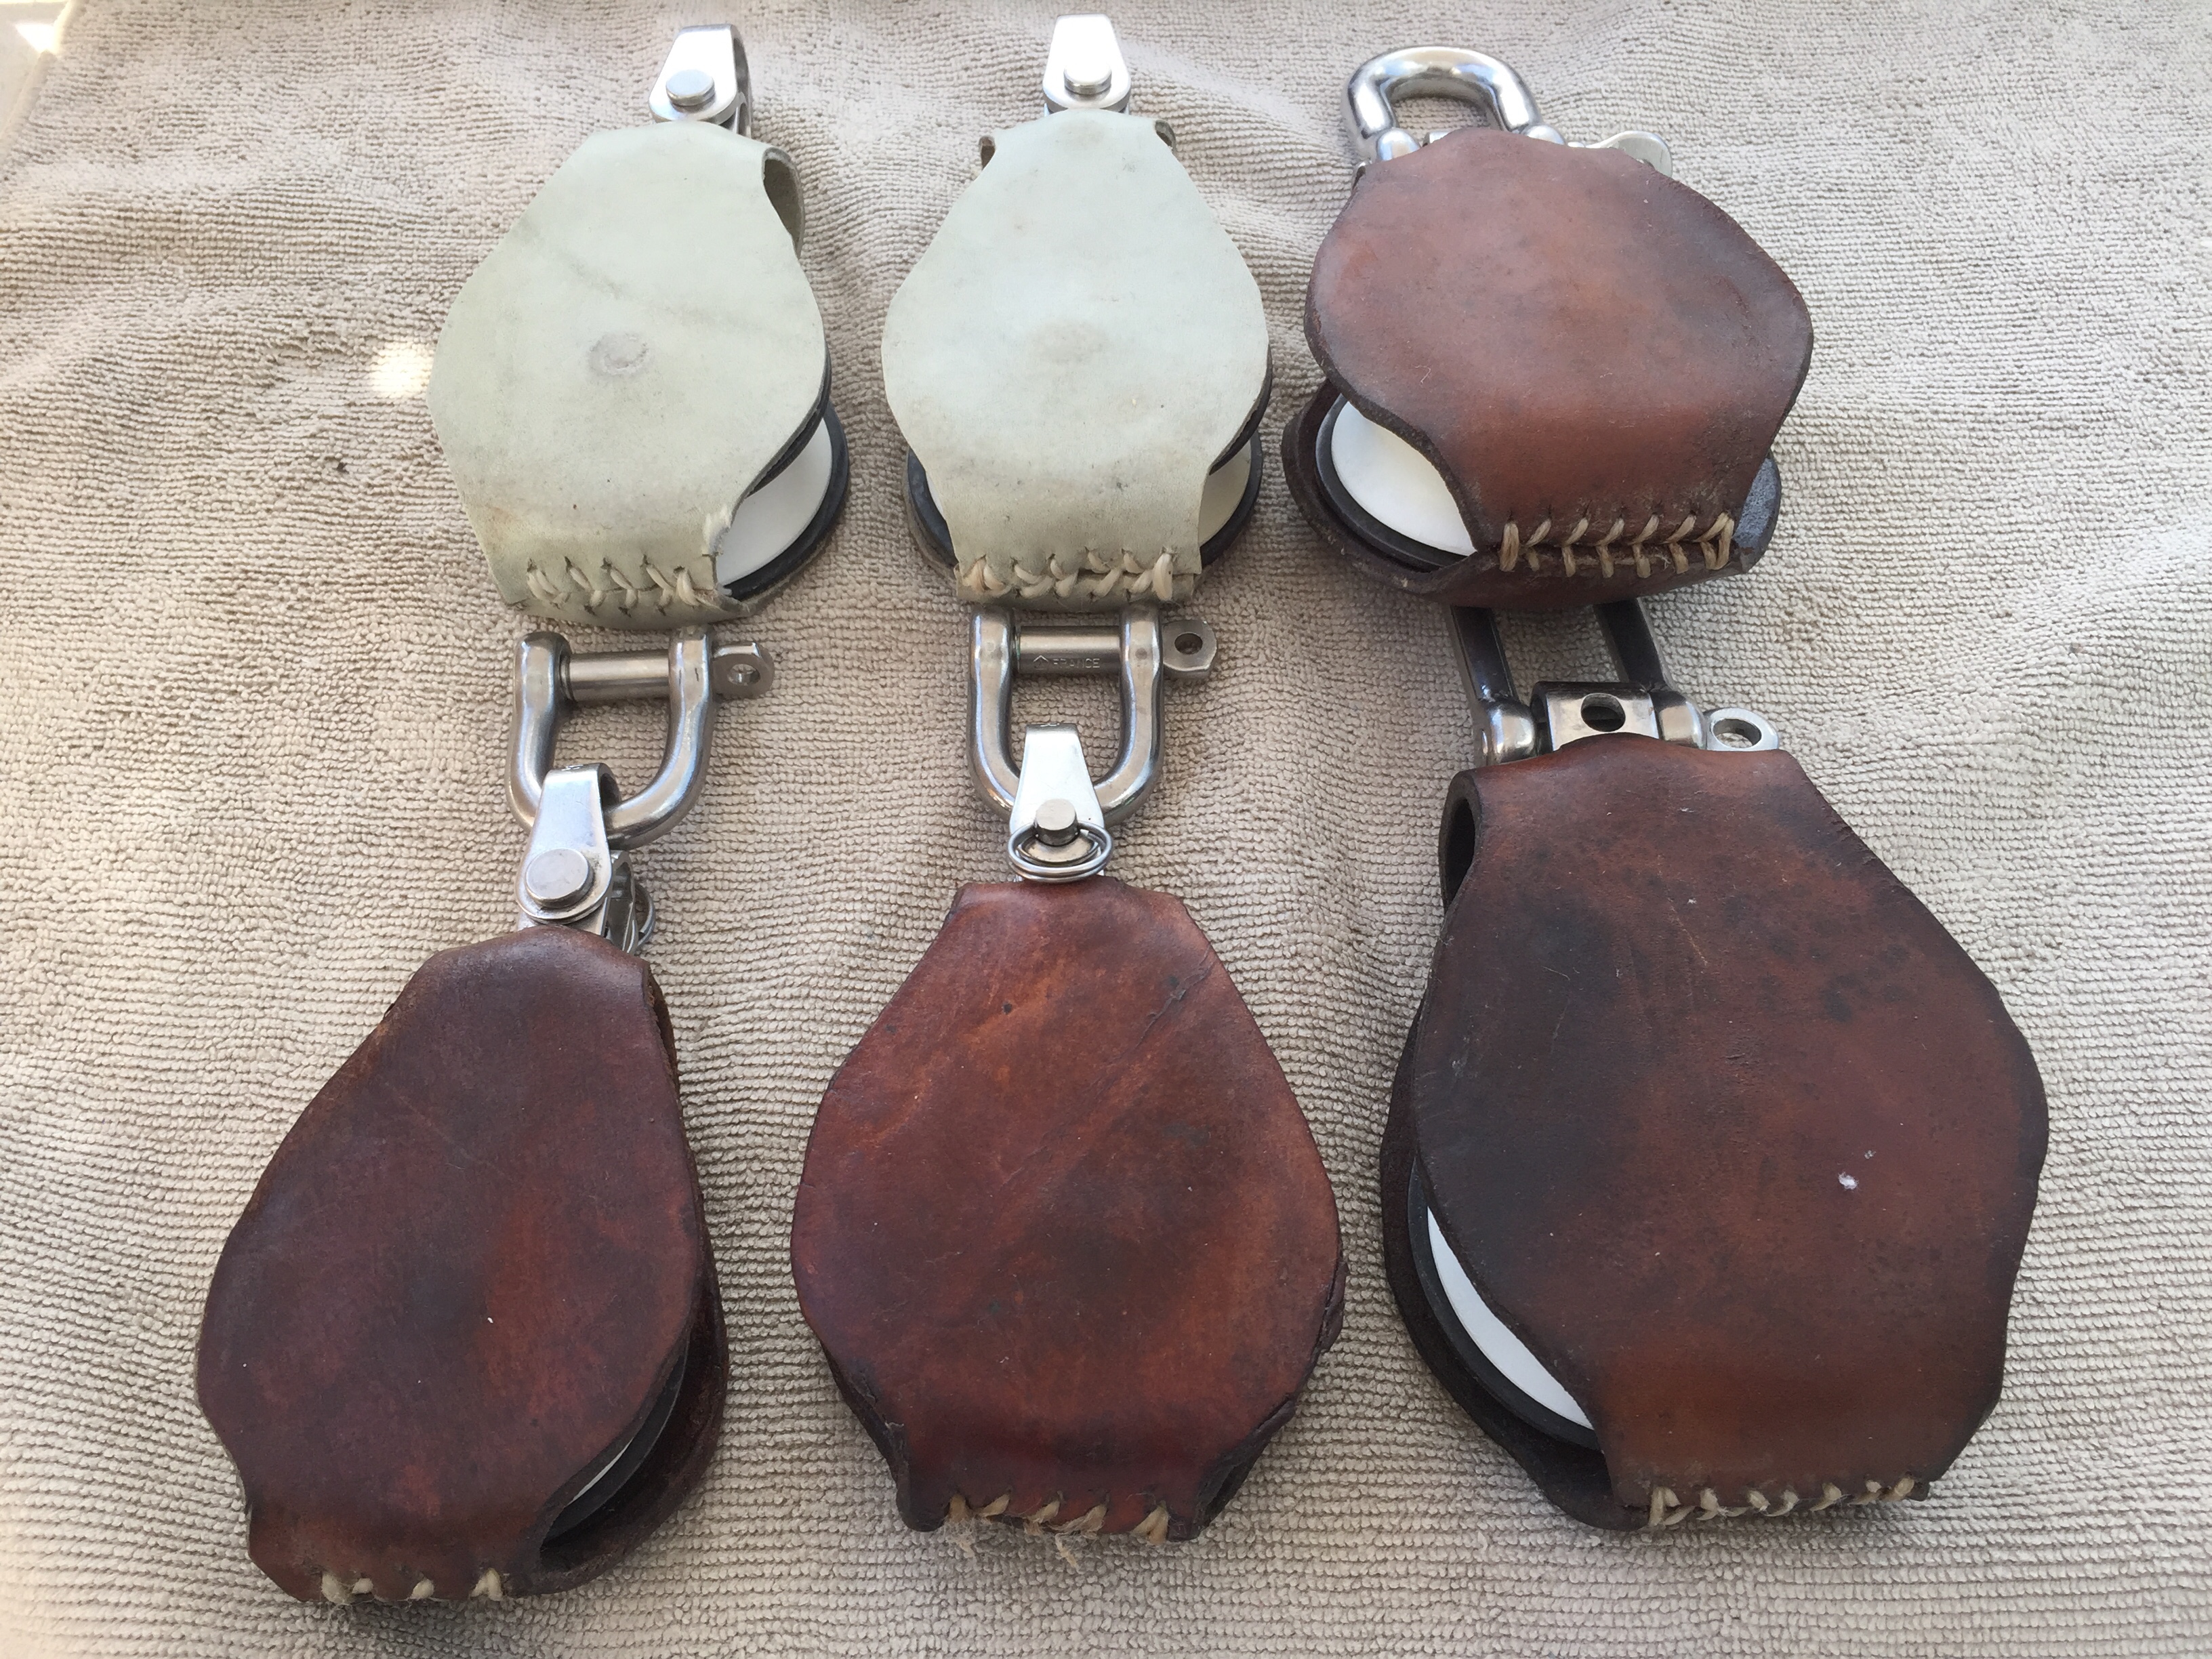
I sewed these crude leathers in a hurry before I sailed to the West Indies in 2015. They’re still working well.
Snatch-block maintenance.
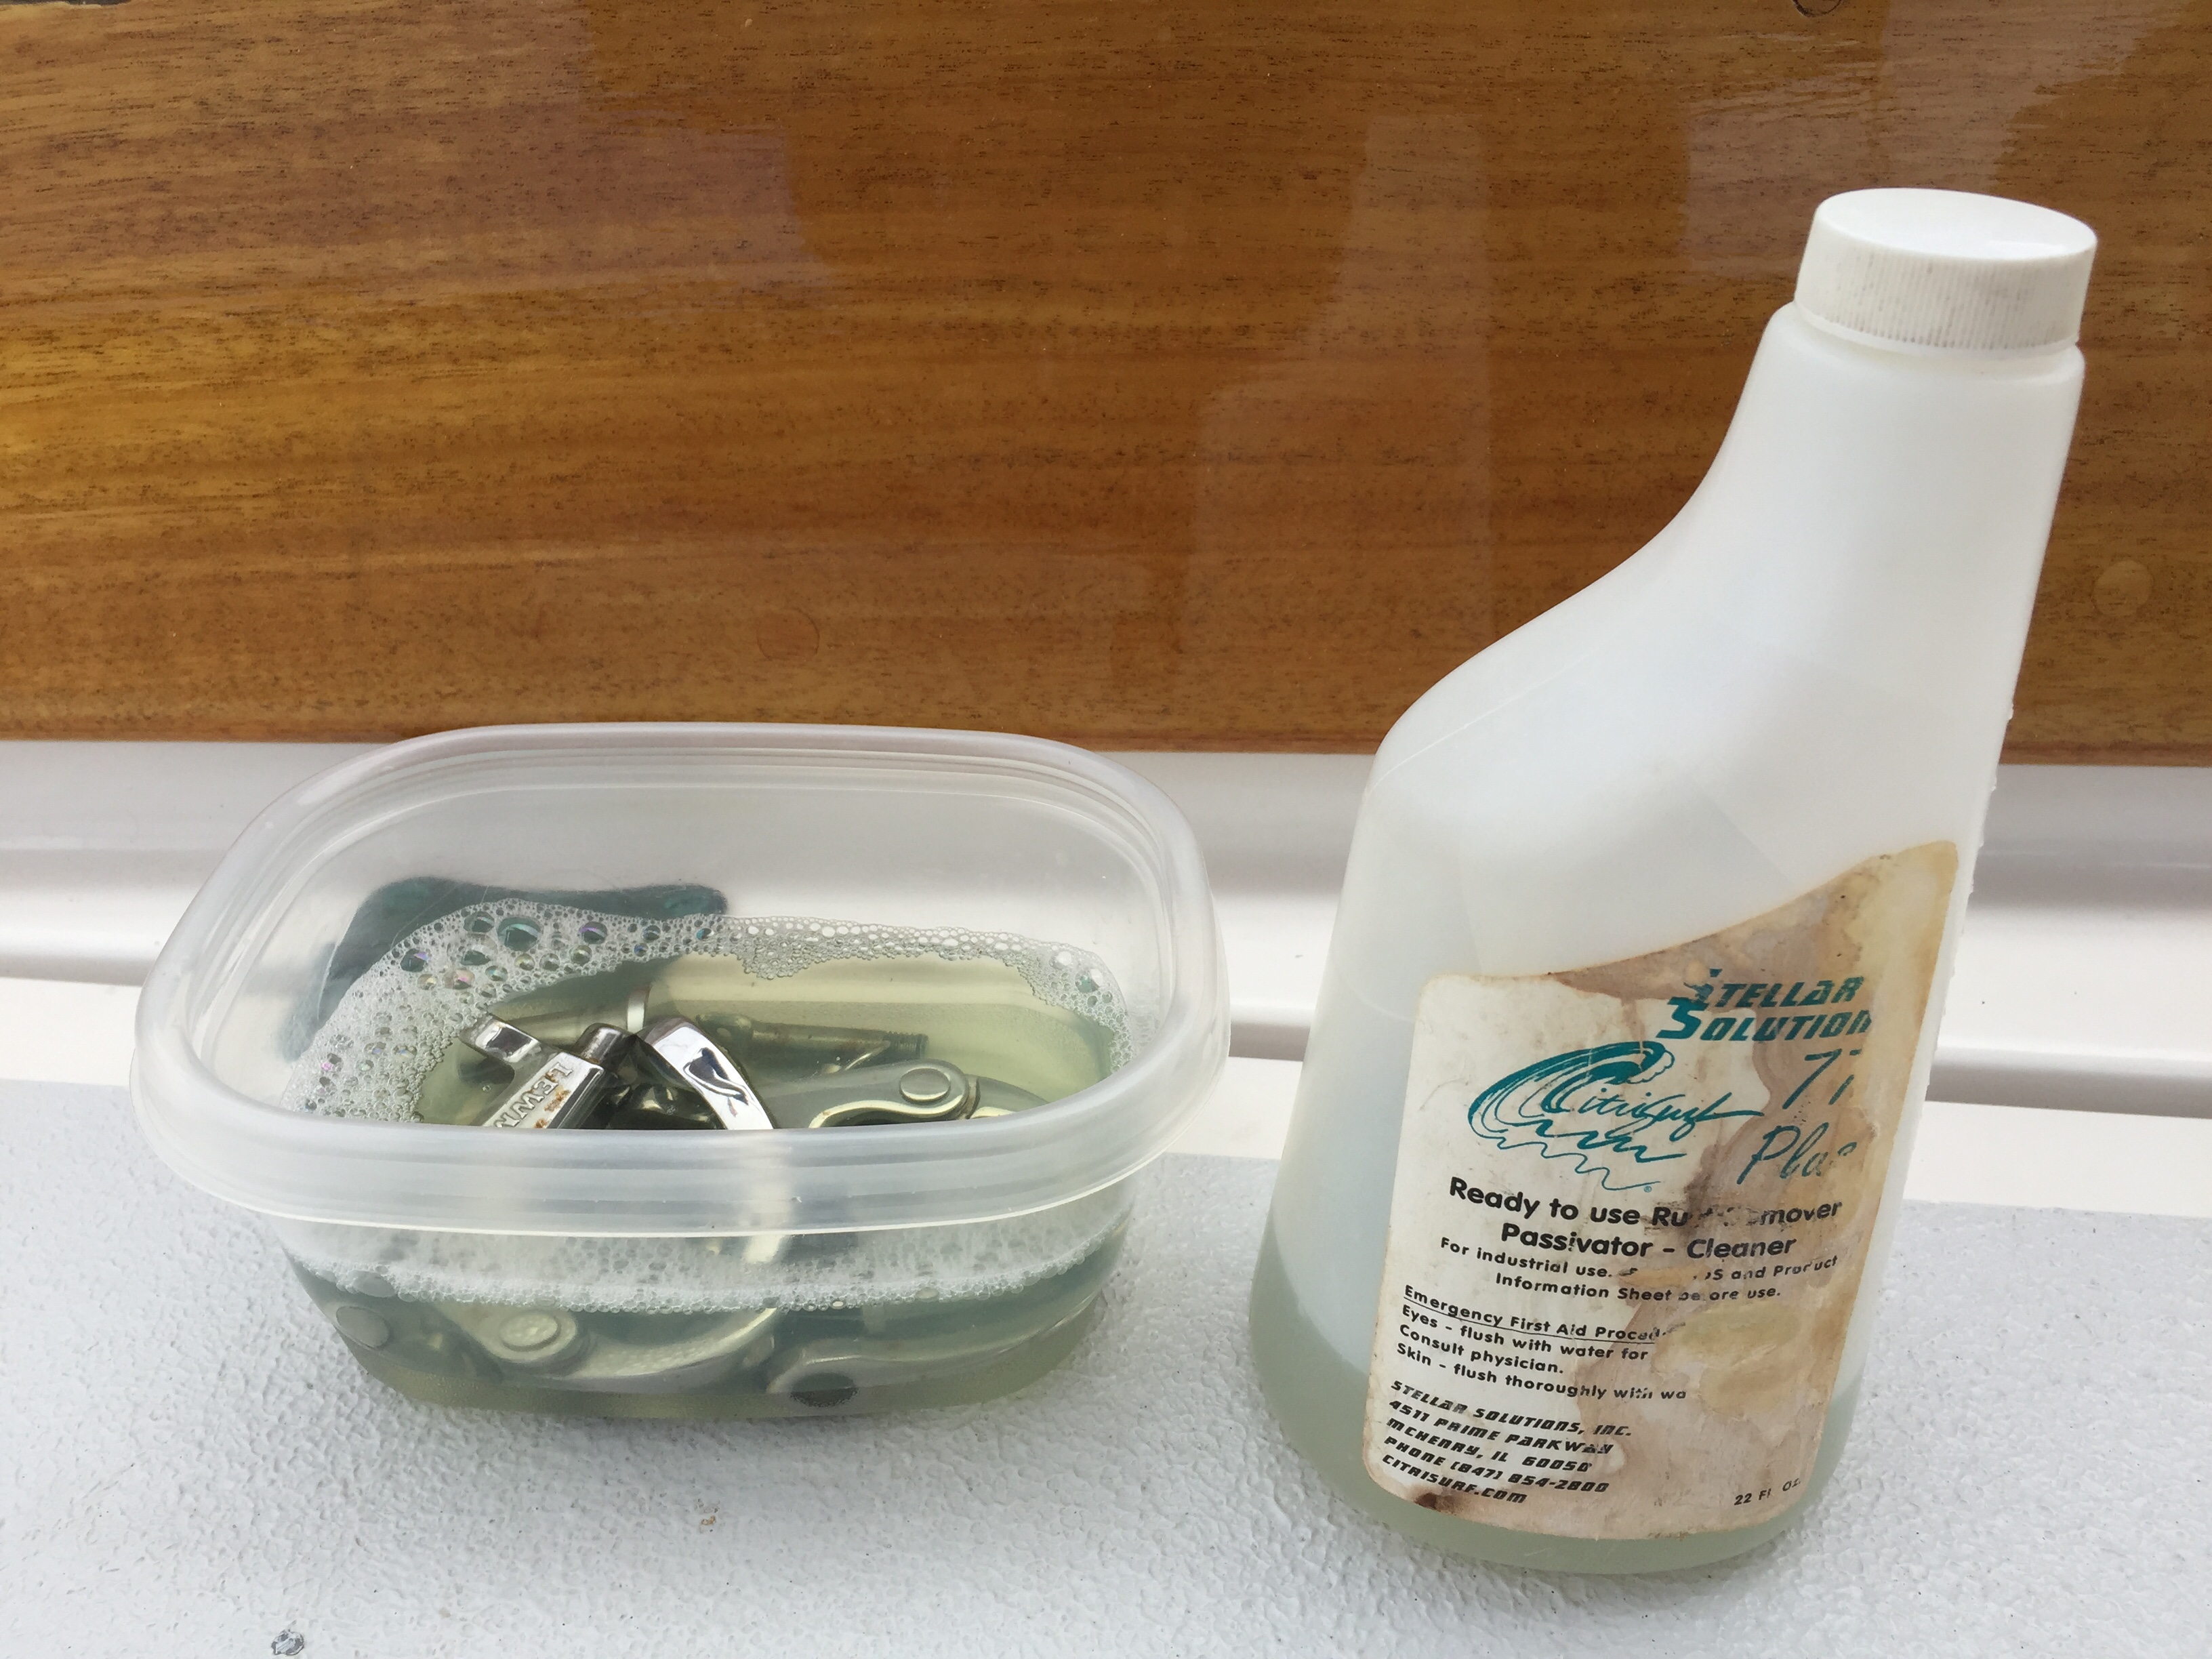
Citrus 77 works a treat to remove rust and also passivates stainless steel.
Lastly, I made bread. Not as good as Gayle’s bread but not bad for a Grunt. I enjoy toast and jam with coffee in the morning.
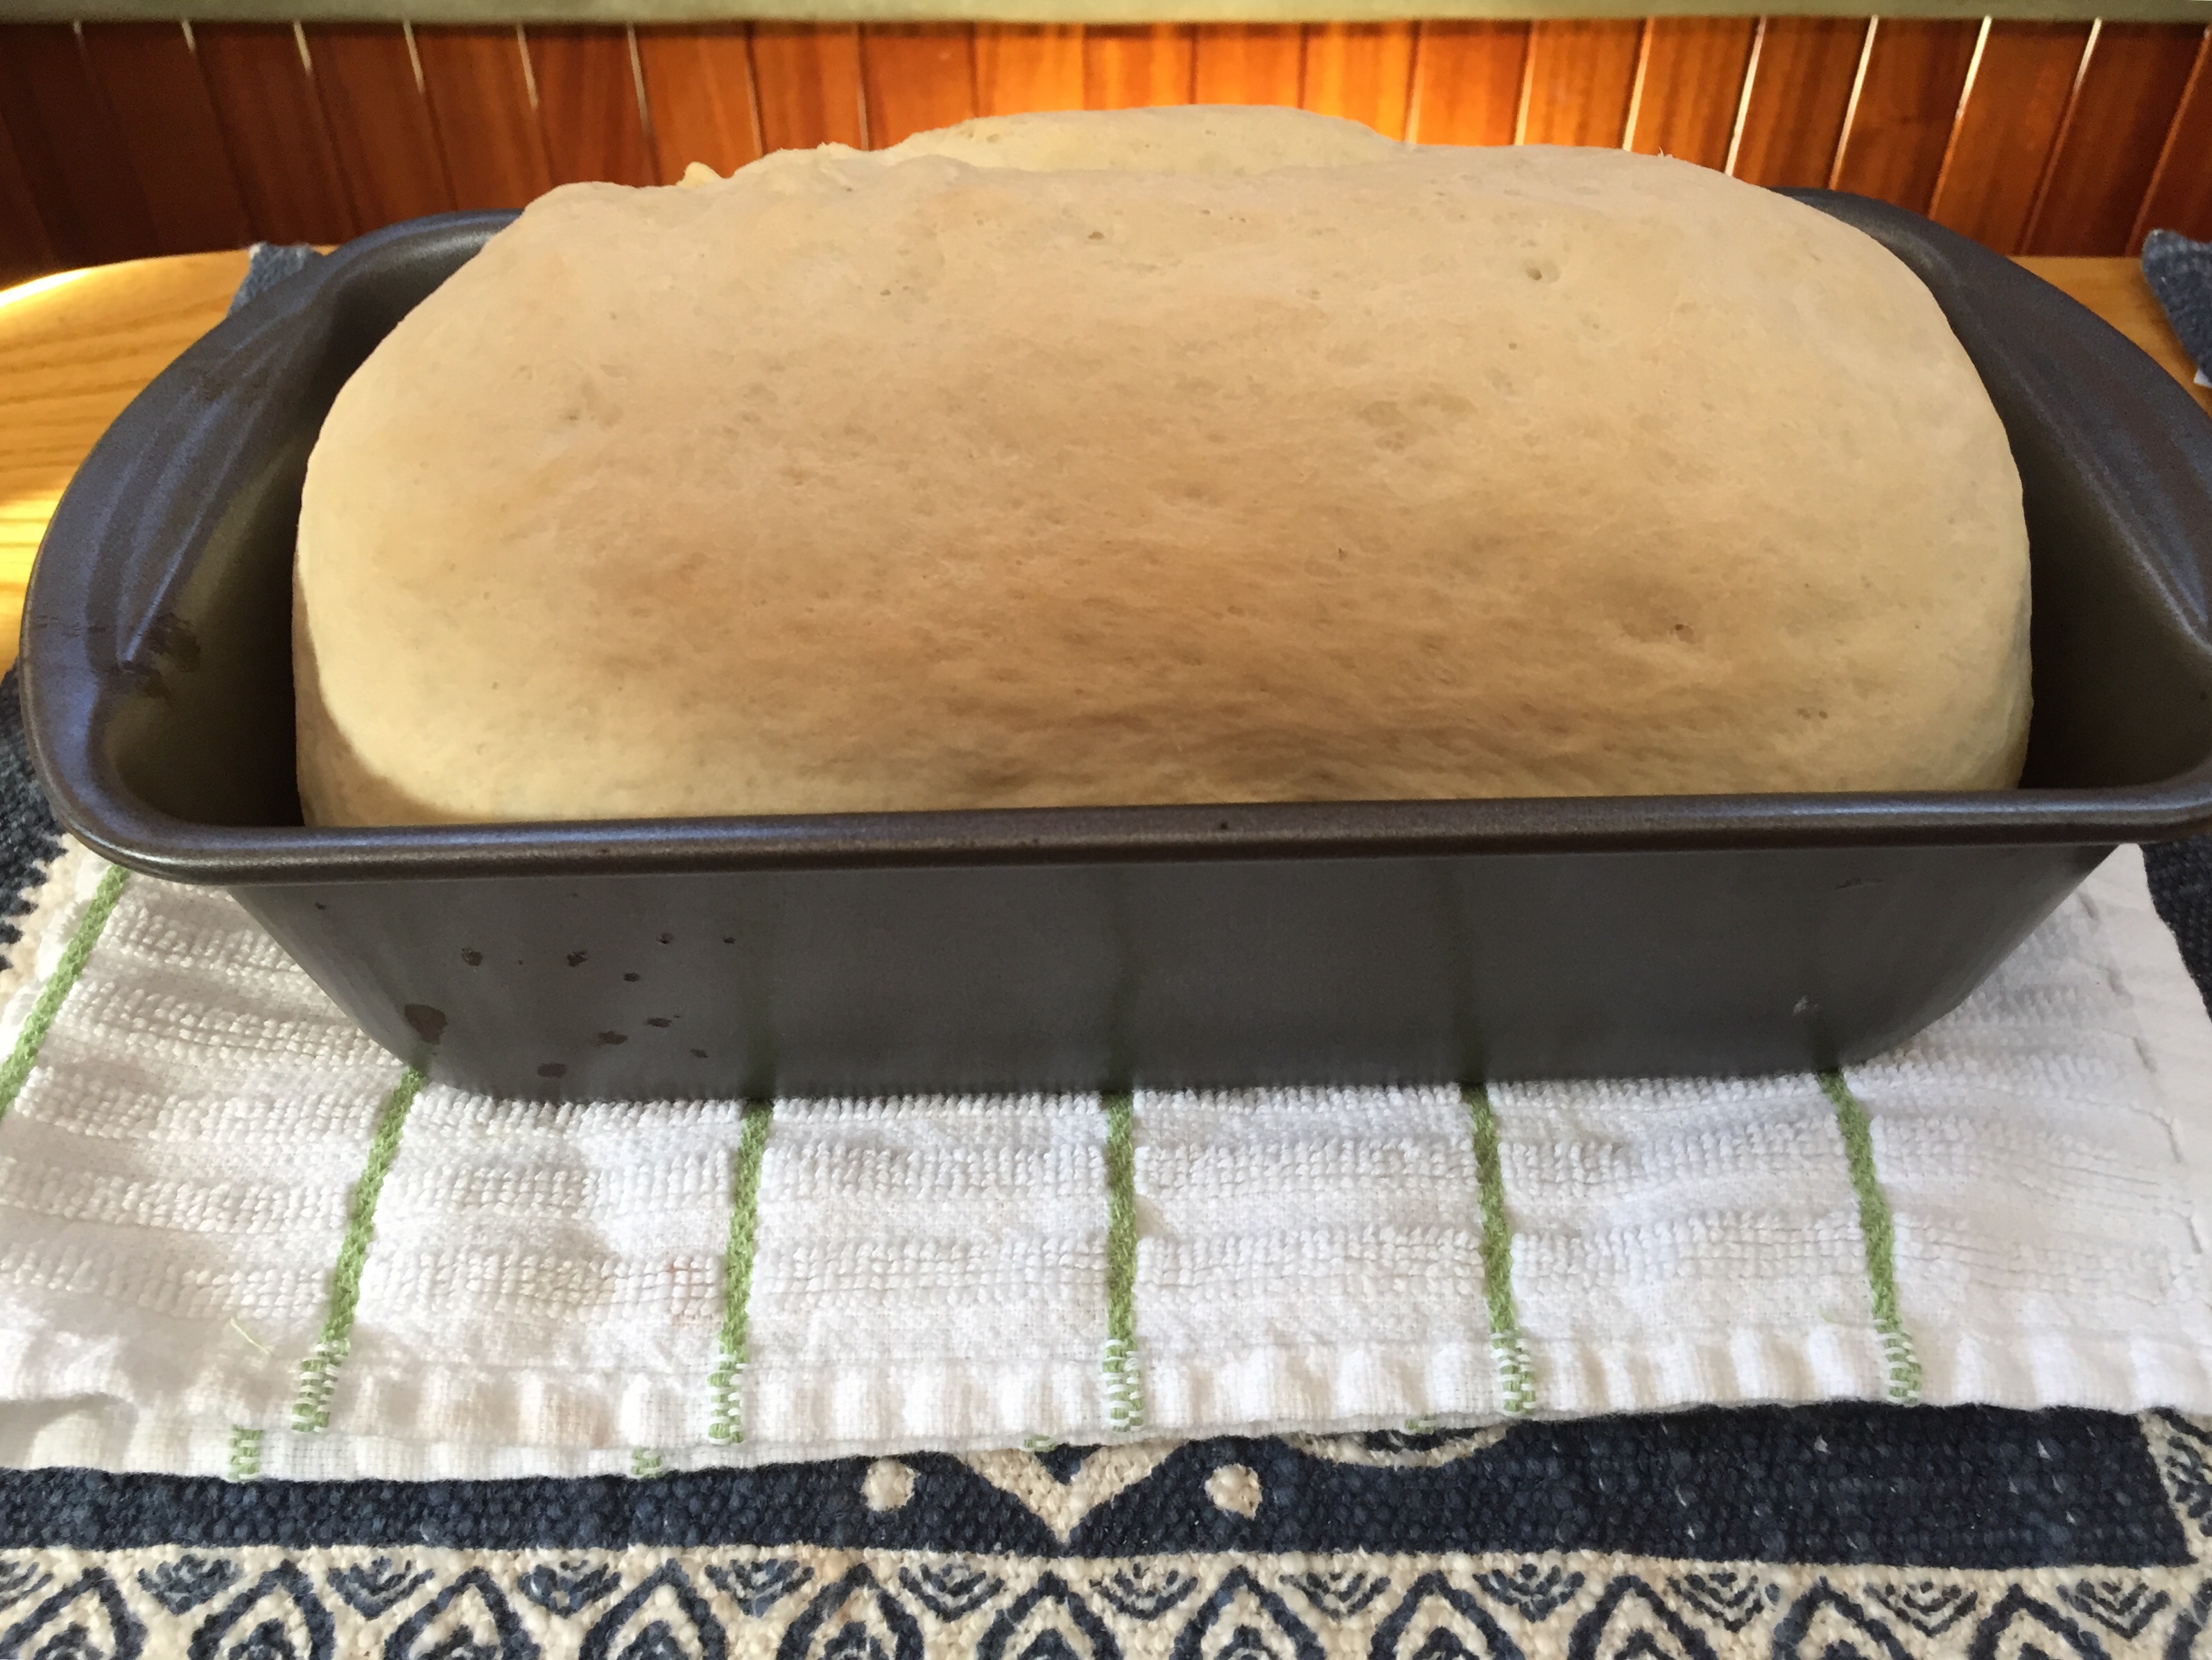
So easy to make…even a Grunt can do it.
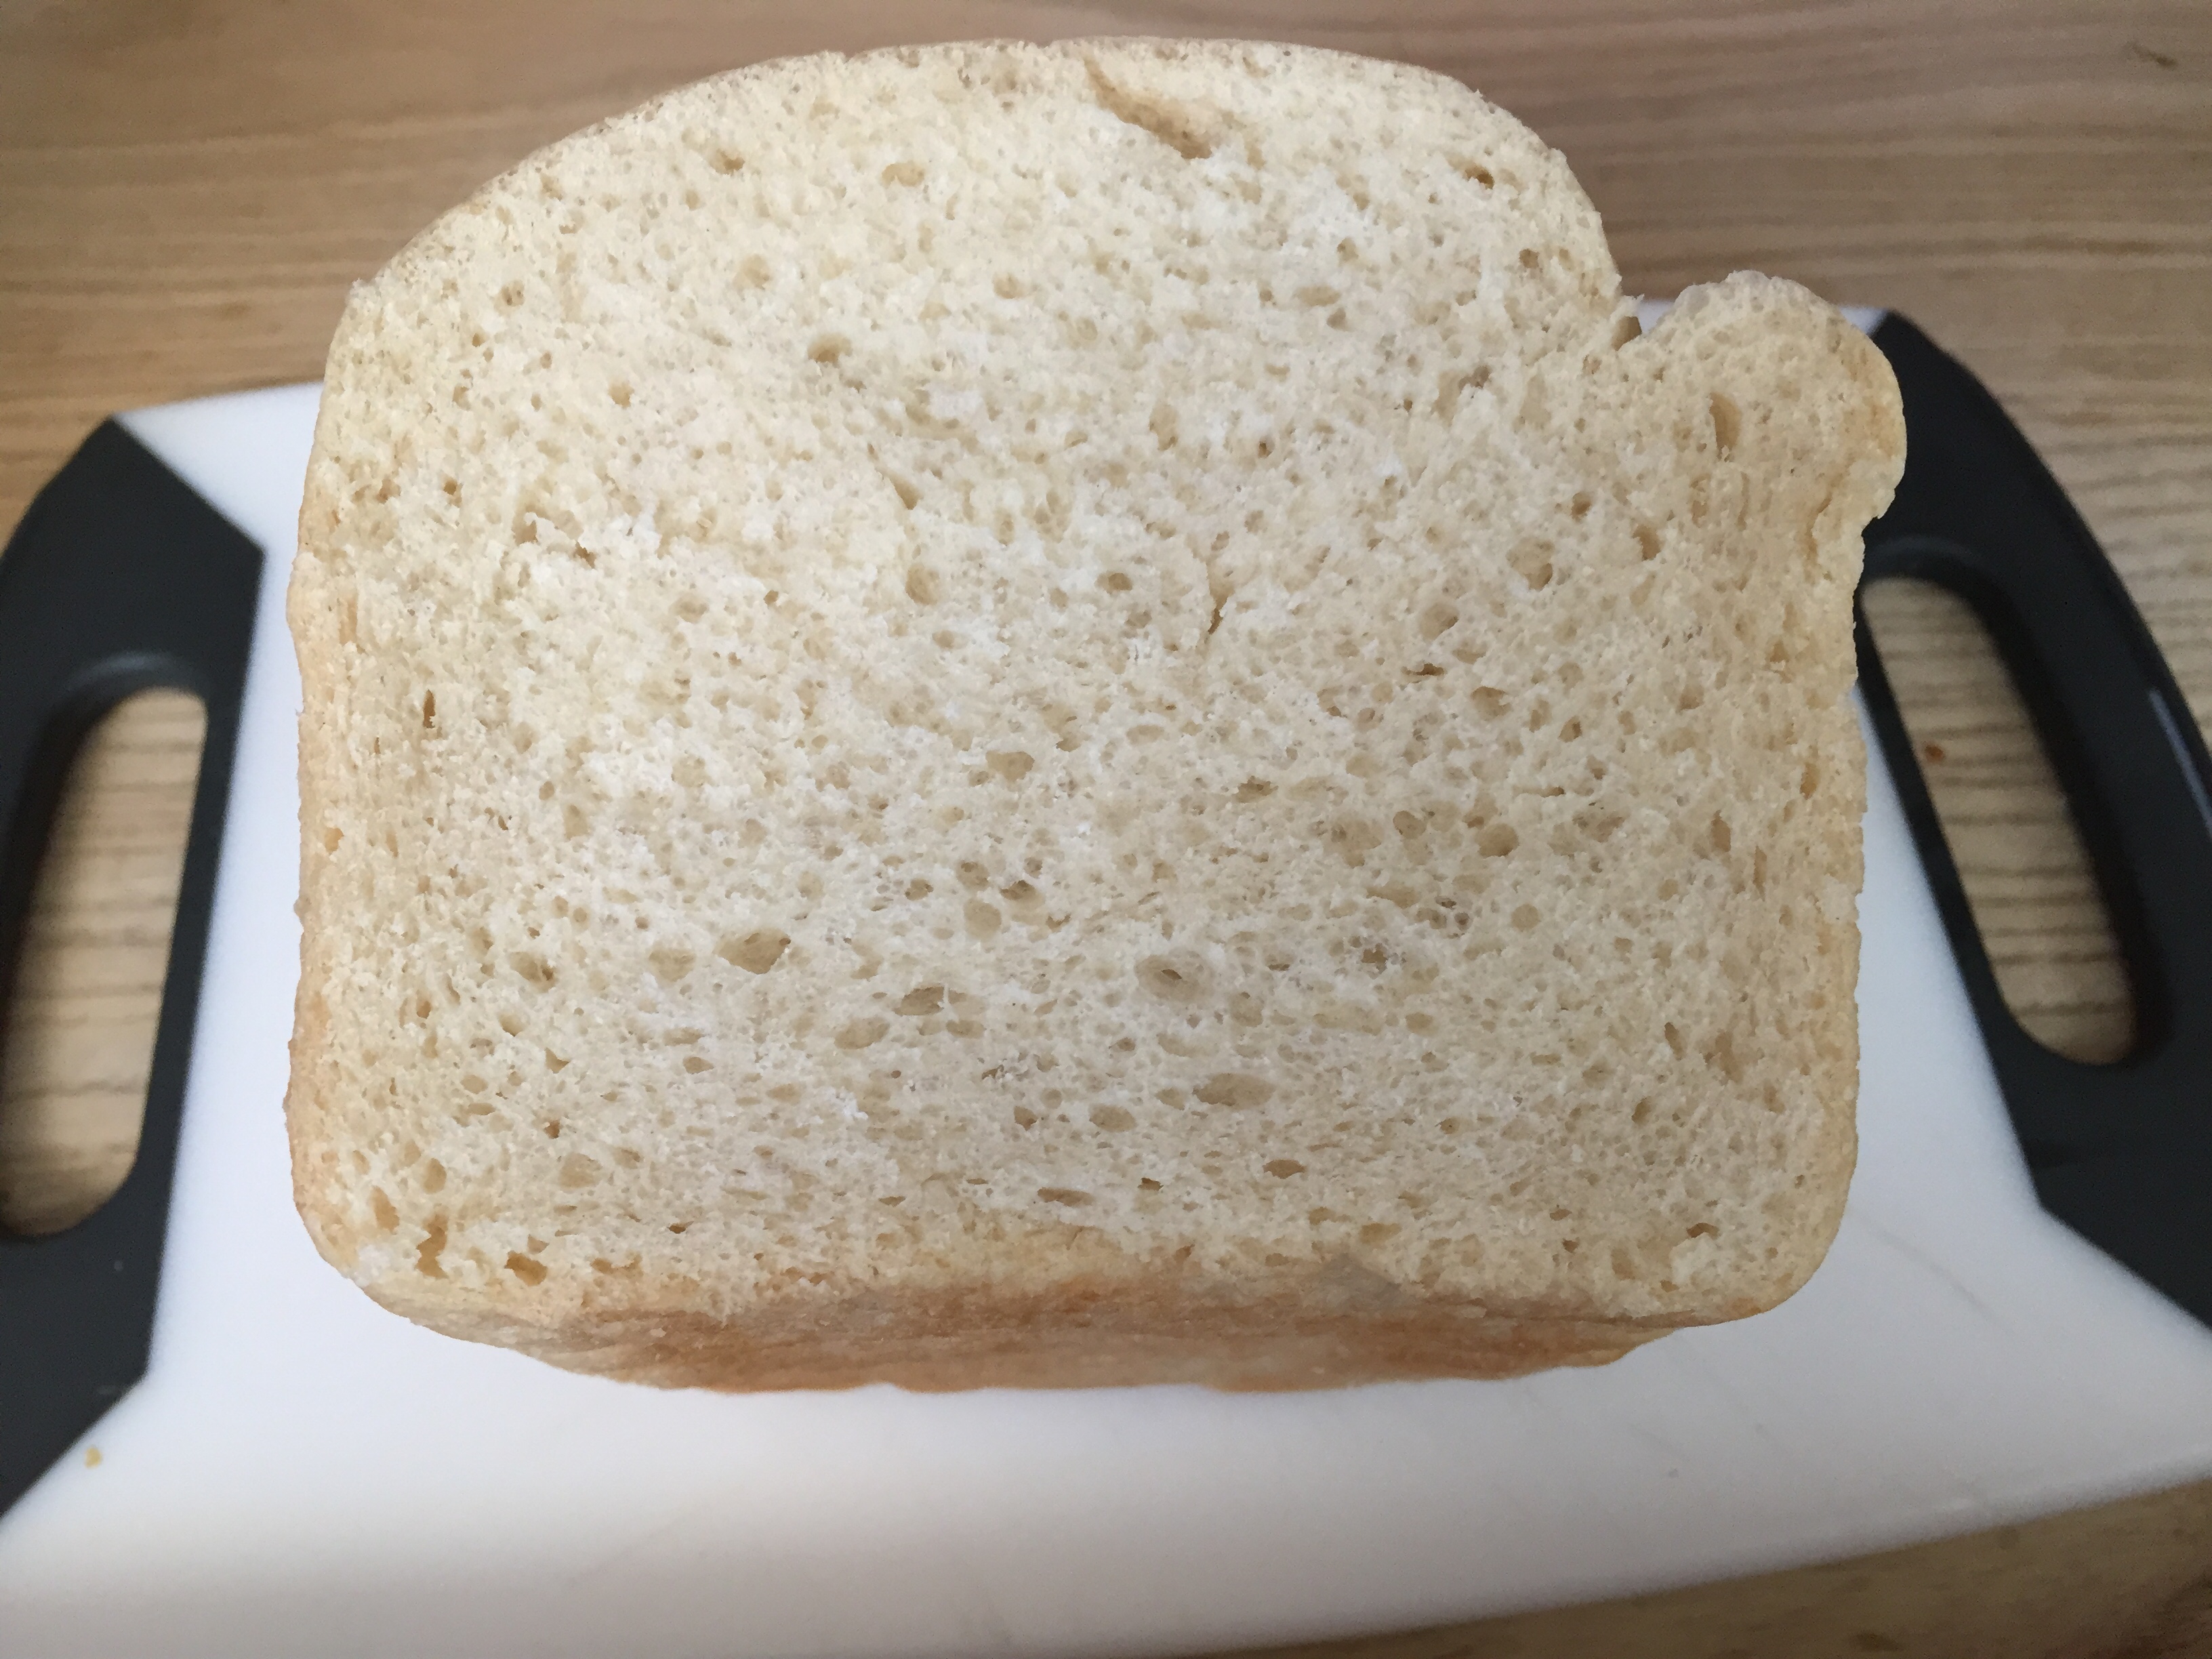
Three rises vice the “hurry up two rises” seems to make the bread lighter and softer inside.
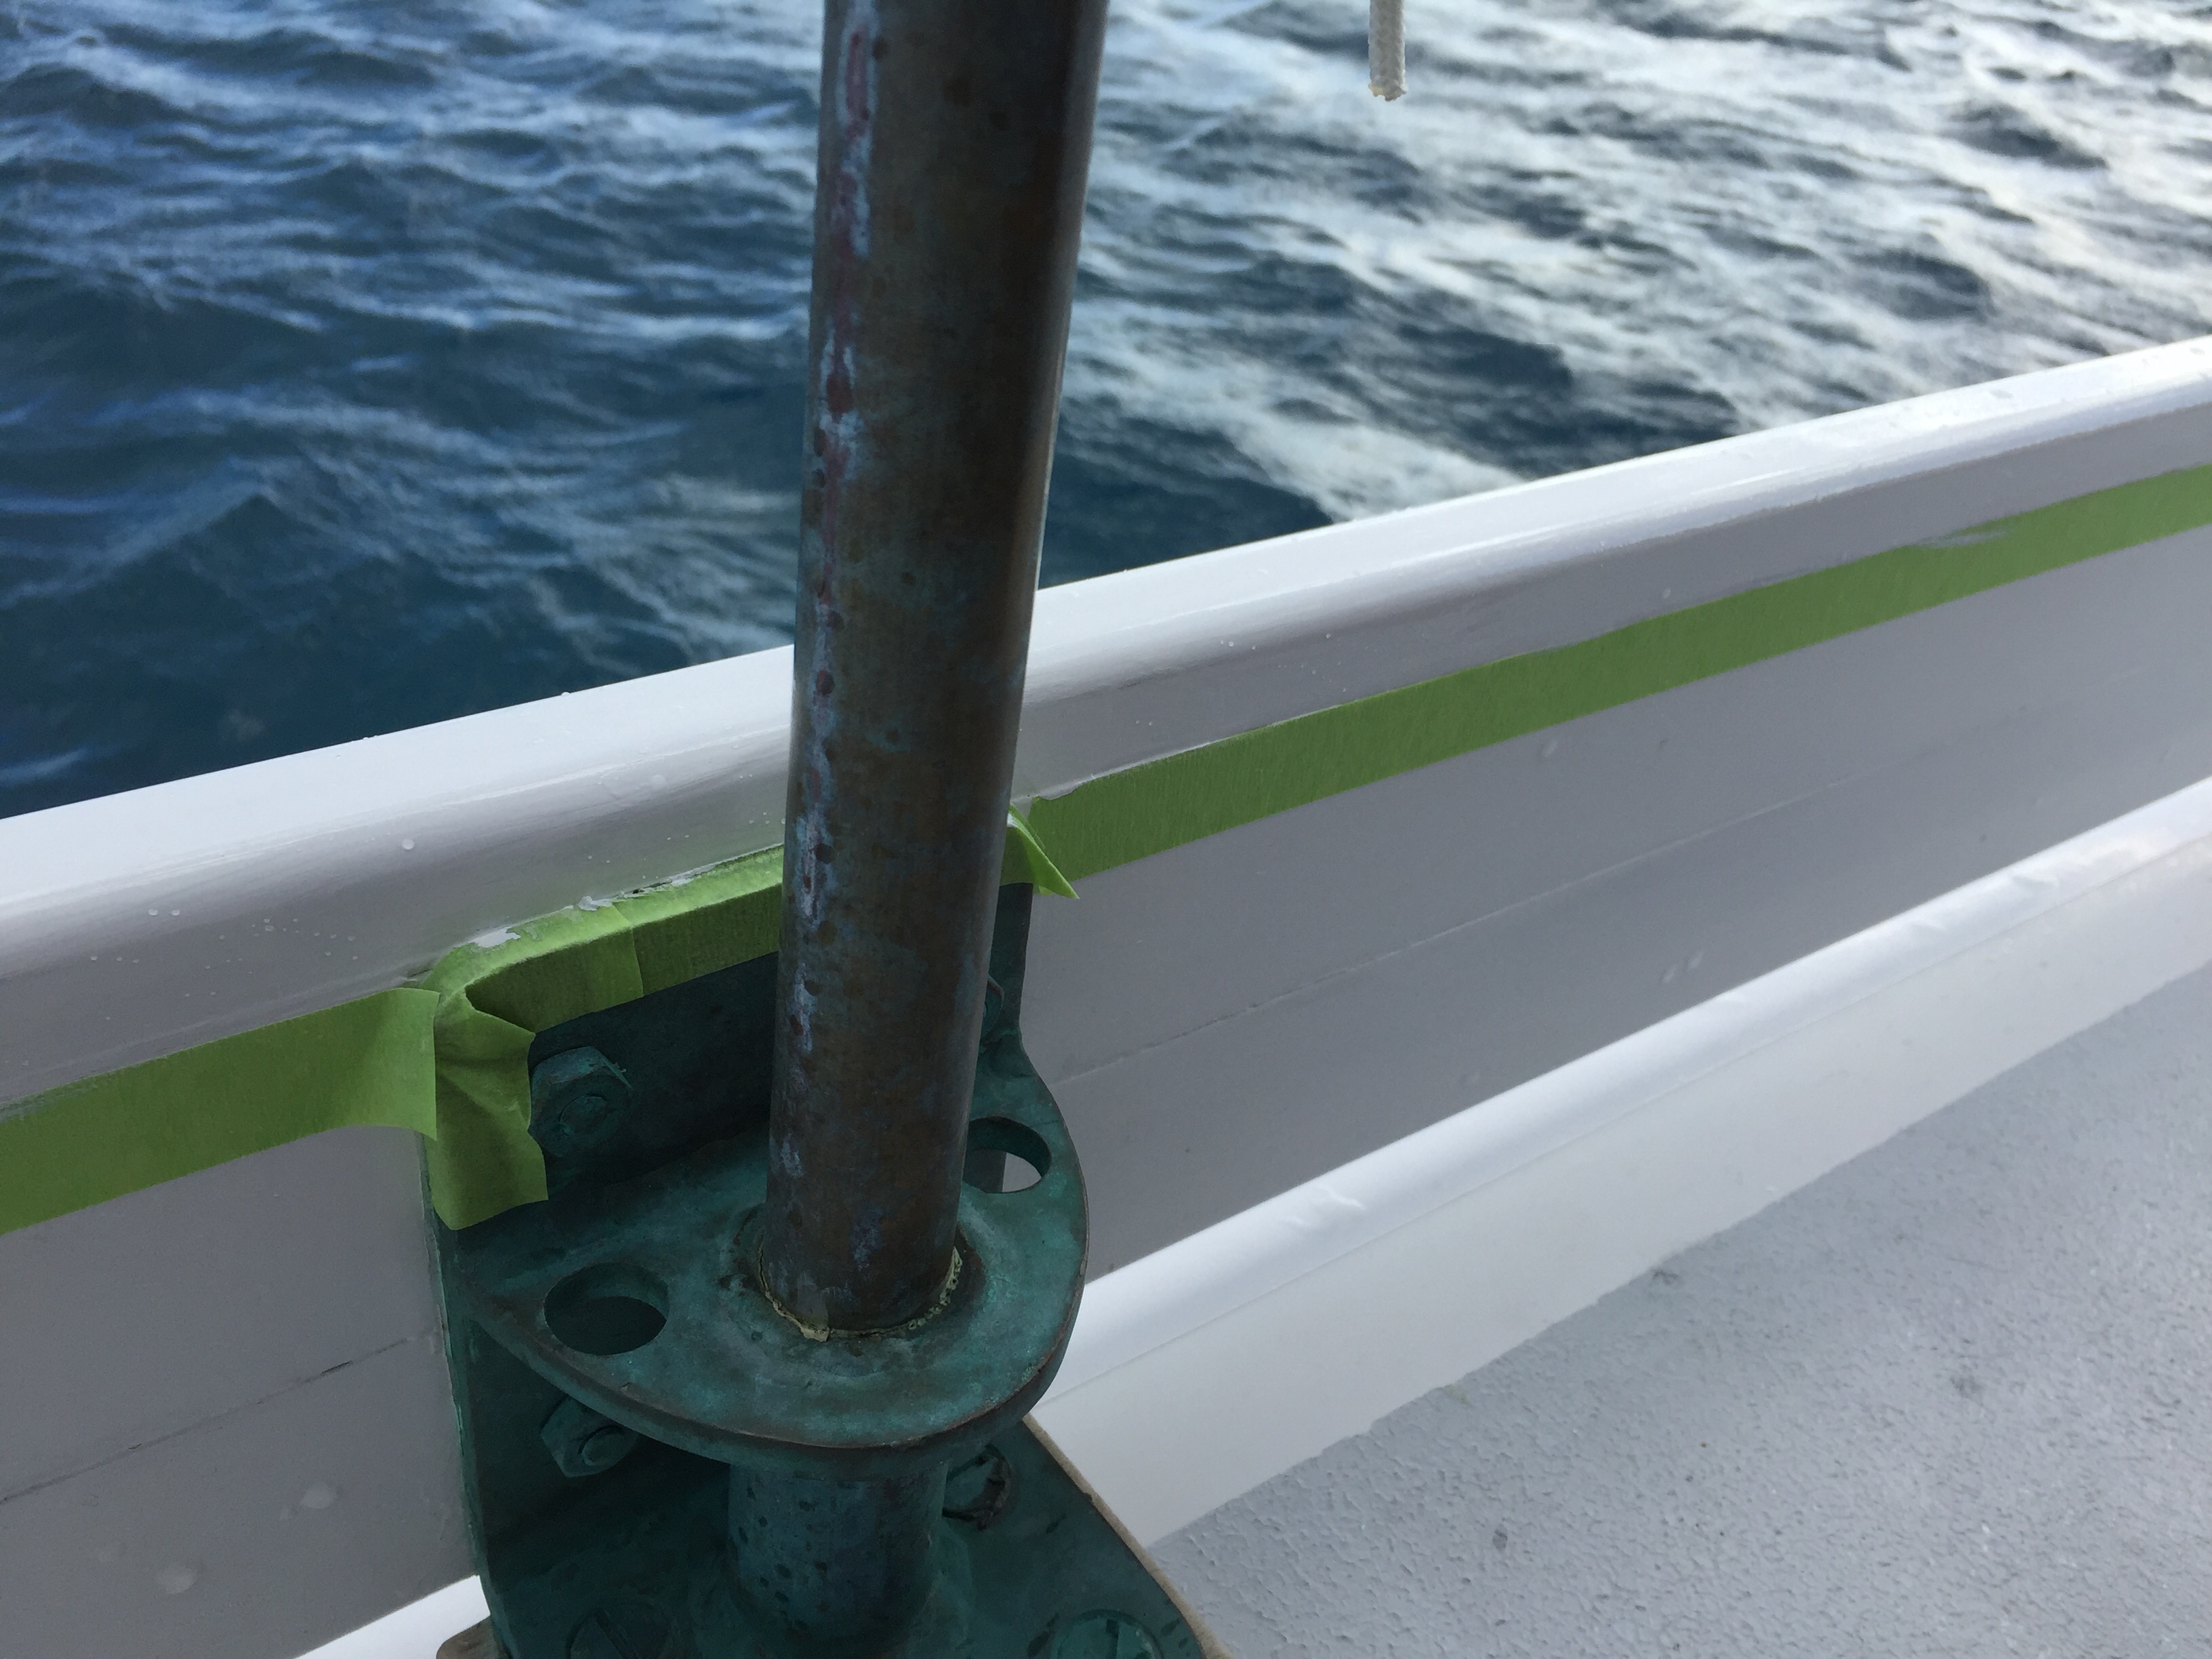
With one more coat of paint to apply to the bulwarks I was greeted by more early morning rain. But, the sun was out by 0800 quickly evaporating water from the decks. First, I dried the bulwarks then then gave them a light sanding with 3M maroon scrub pads on a hard pad. Next, I used a 2” wide bristle brush to remove the sanding dust. Last, I wiped them down with Interlux 333. It was 0930 by the time I started paining. I added some thinner to the paint and got to it. The second and last coat went on quick enough. I was very happy to have that task behind me.
I took Sweat Pea ashore after cleaning up to dump some trash. A local guy swimming with his girlfriend commented on her as we rowed past. So I asked him if he wanted to take her out for a row (the dinghy silly not his girlfriend!!). His face lit up…“Yah mon!” So I handed over the reins and off they went. They seemed thrilled and that me me feel pretty good. Afterwards, they were all smiles and we chatted for a bit. Not always easy to connect with the locals in the bigger more populated islands. But when you do they are always warm and genuine.
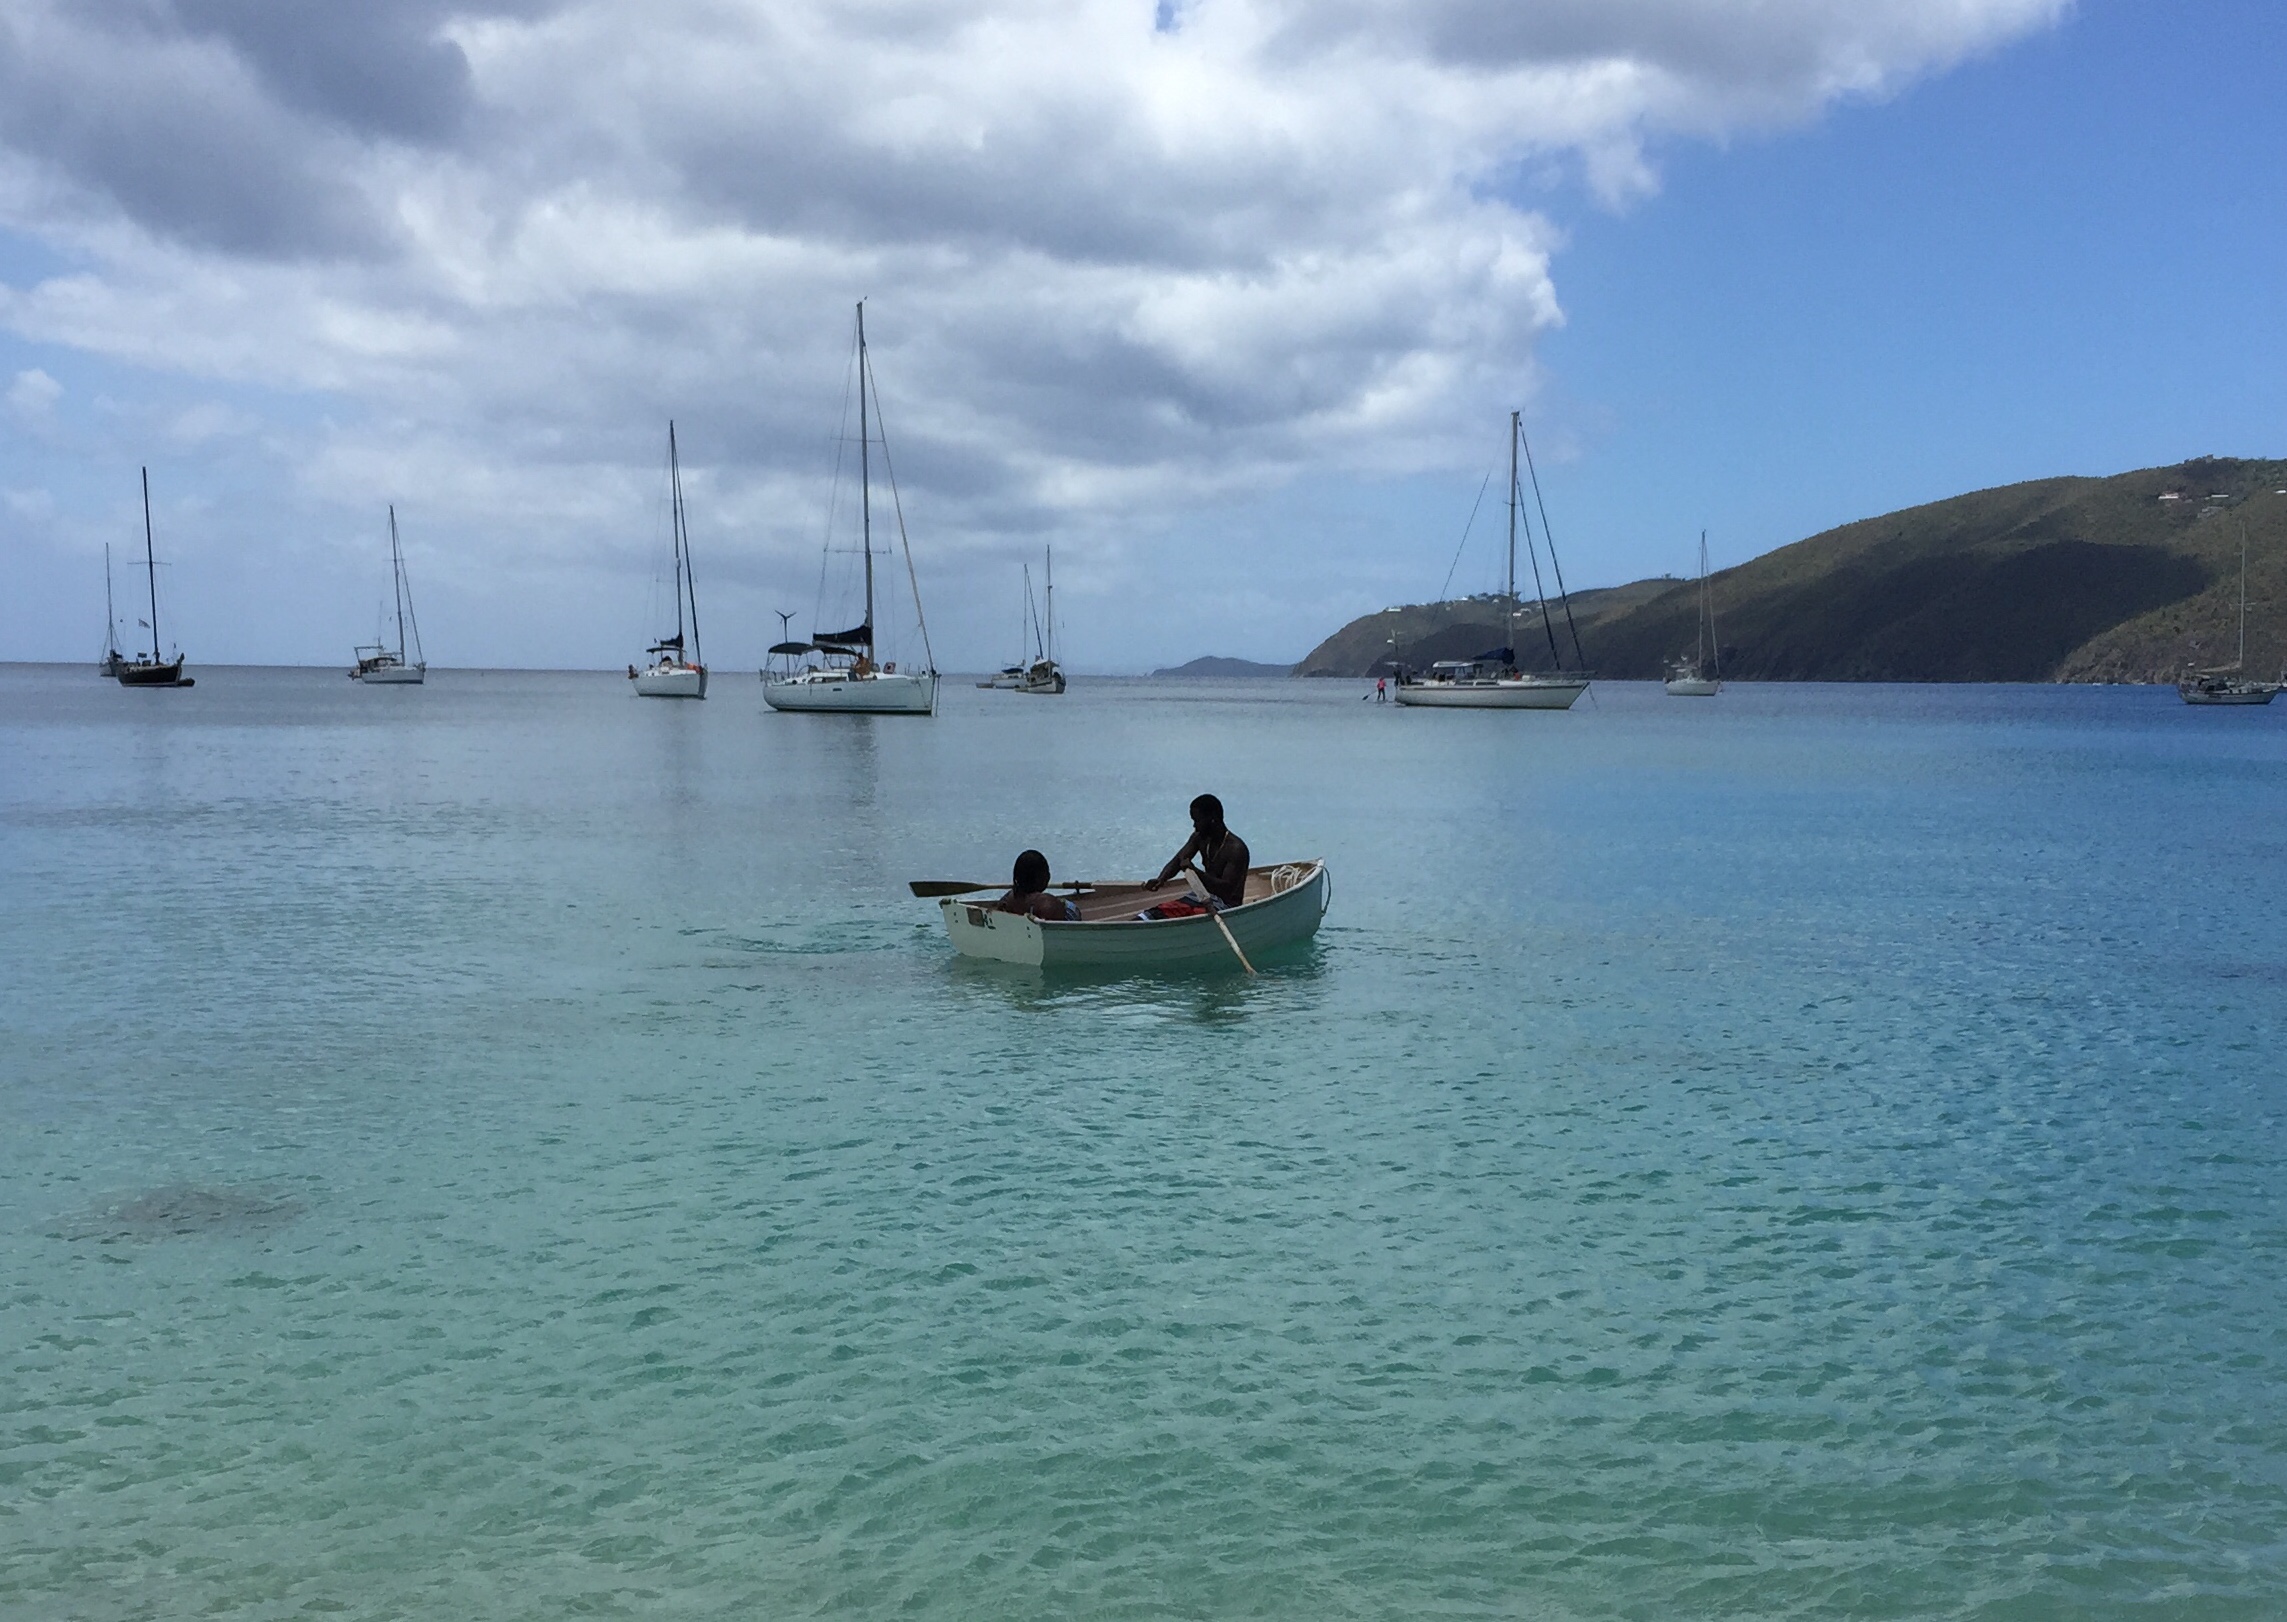
It was great to see a couple I met on the beach enjoy rowing Sweet Pea. I think she enjoyed it too.
Later in the afternoon the weather was just delightful. The driving trades backed off a bit. Sunlight and a nice breeze just poured in the boat through the port lights. That is when a varnished wood interior really pays off. It’s so bright outside, even with sunglasses. The soft light inside allows your eyes some much appreciated rest. I just love how the interior turned out. Four years and about 6000 nm later and I wouldn’t change a thing.
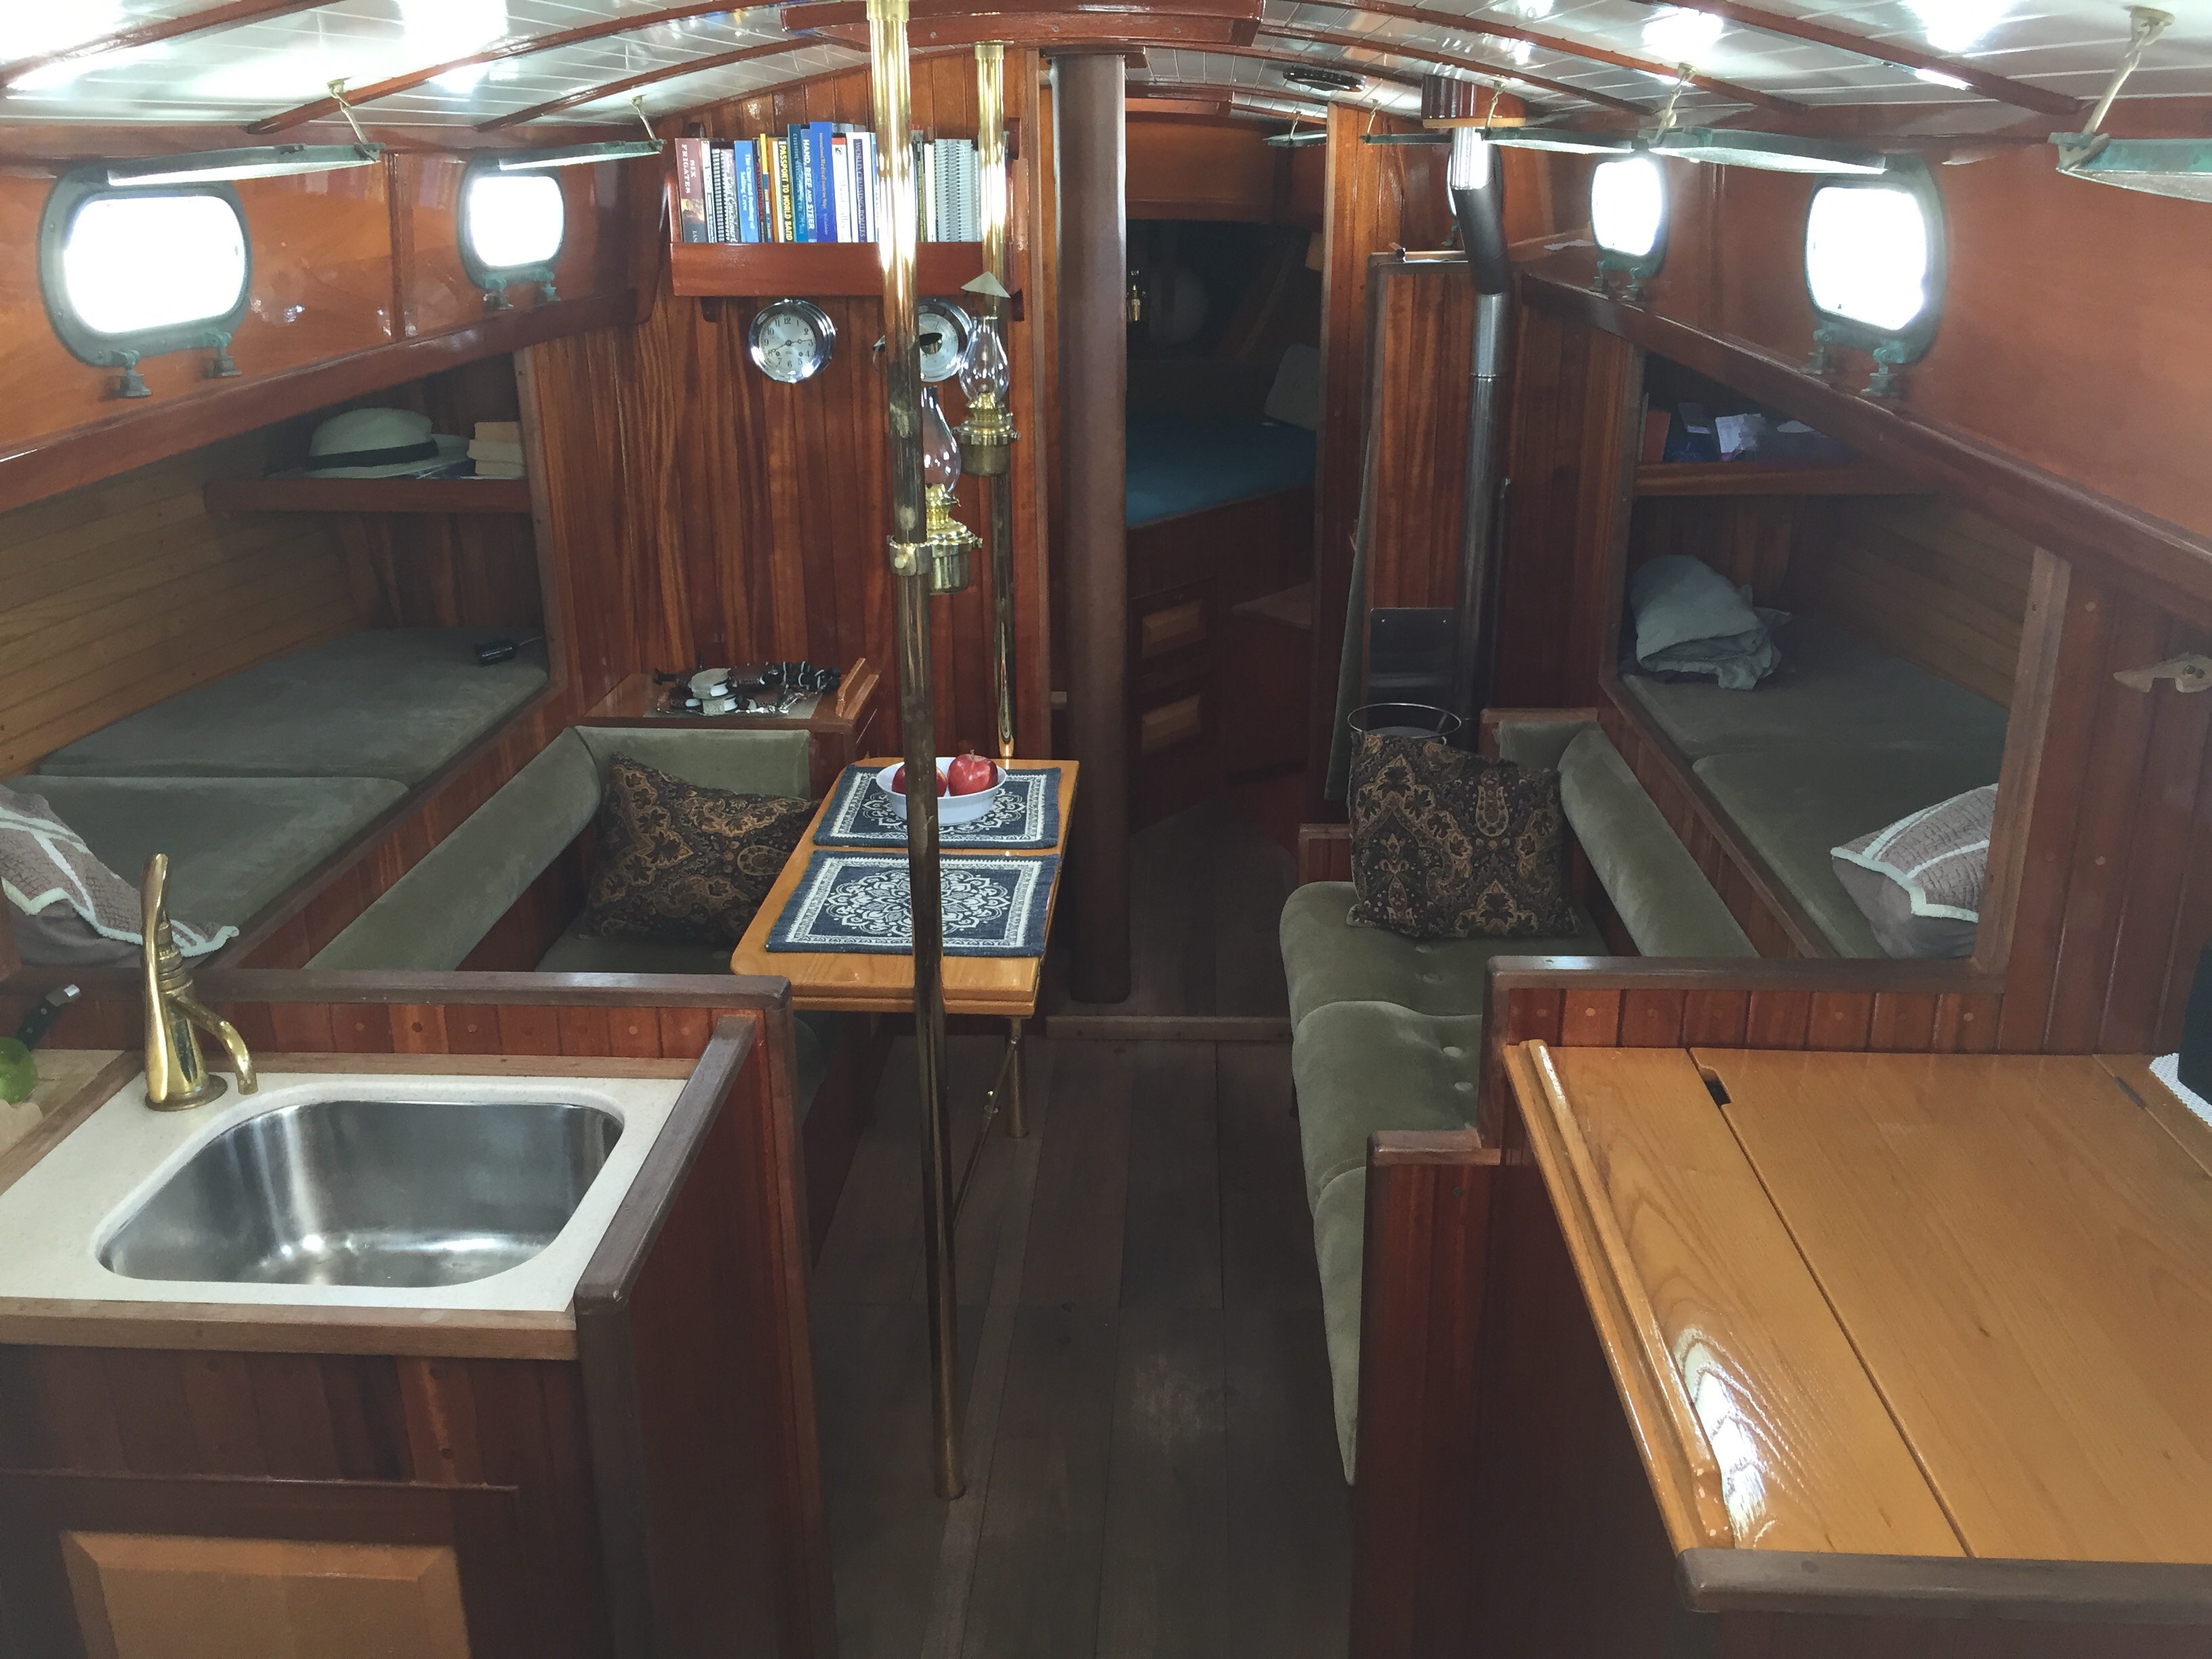
It was a gorgeous day. Pictures can’t do justice to the beauty and comfort of light and air pouring in through the portlights and hatches.
For night time cockpit lighting on the Far Reach we’ve been taking one of the kerosene lamps from the saloon table stanchion up into the cockpit. It works great. It creates a gentle, warm, and inviting ambience. All the guest we’ve had on board at night seem a little surprised at first when we bring up an oil lamp instead of using the ubiquitous LED “Luci Lite.” But very quickly the comments turn to “oooh, ahhh, nice, beautiful, excellent,” etc.
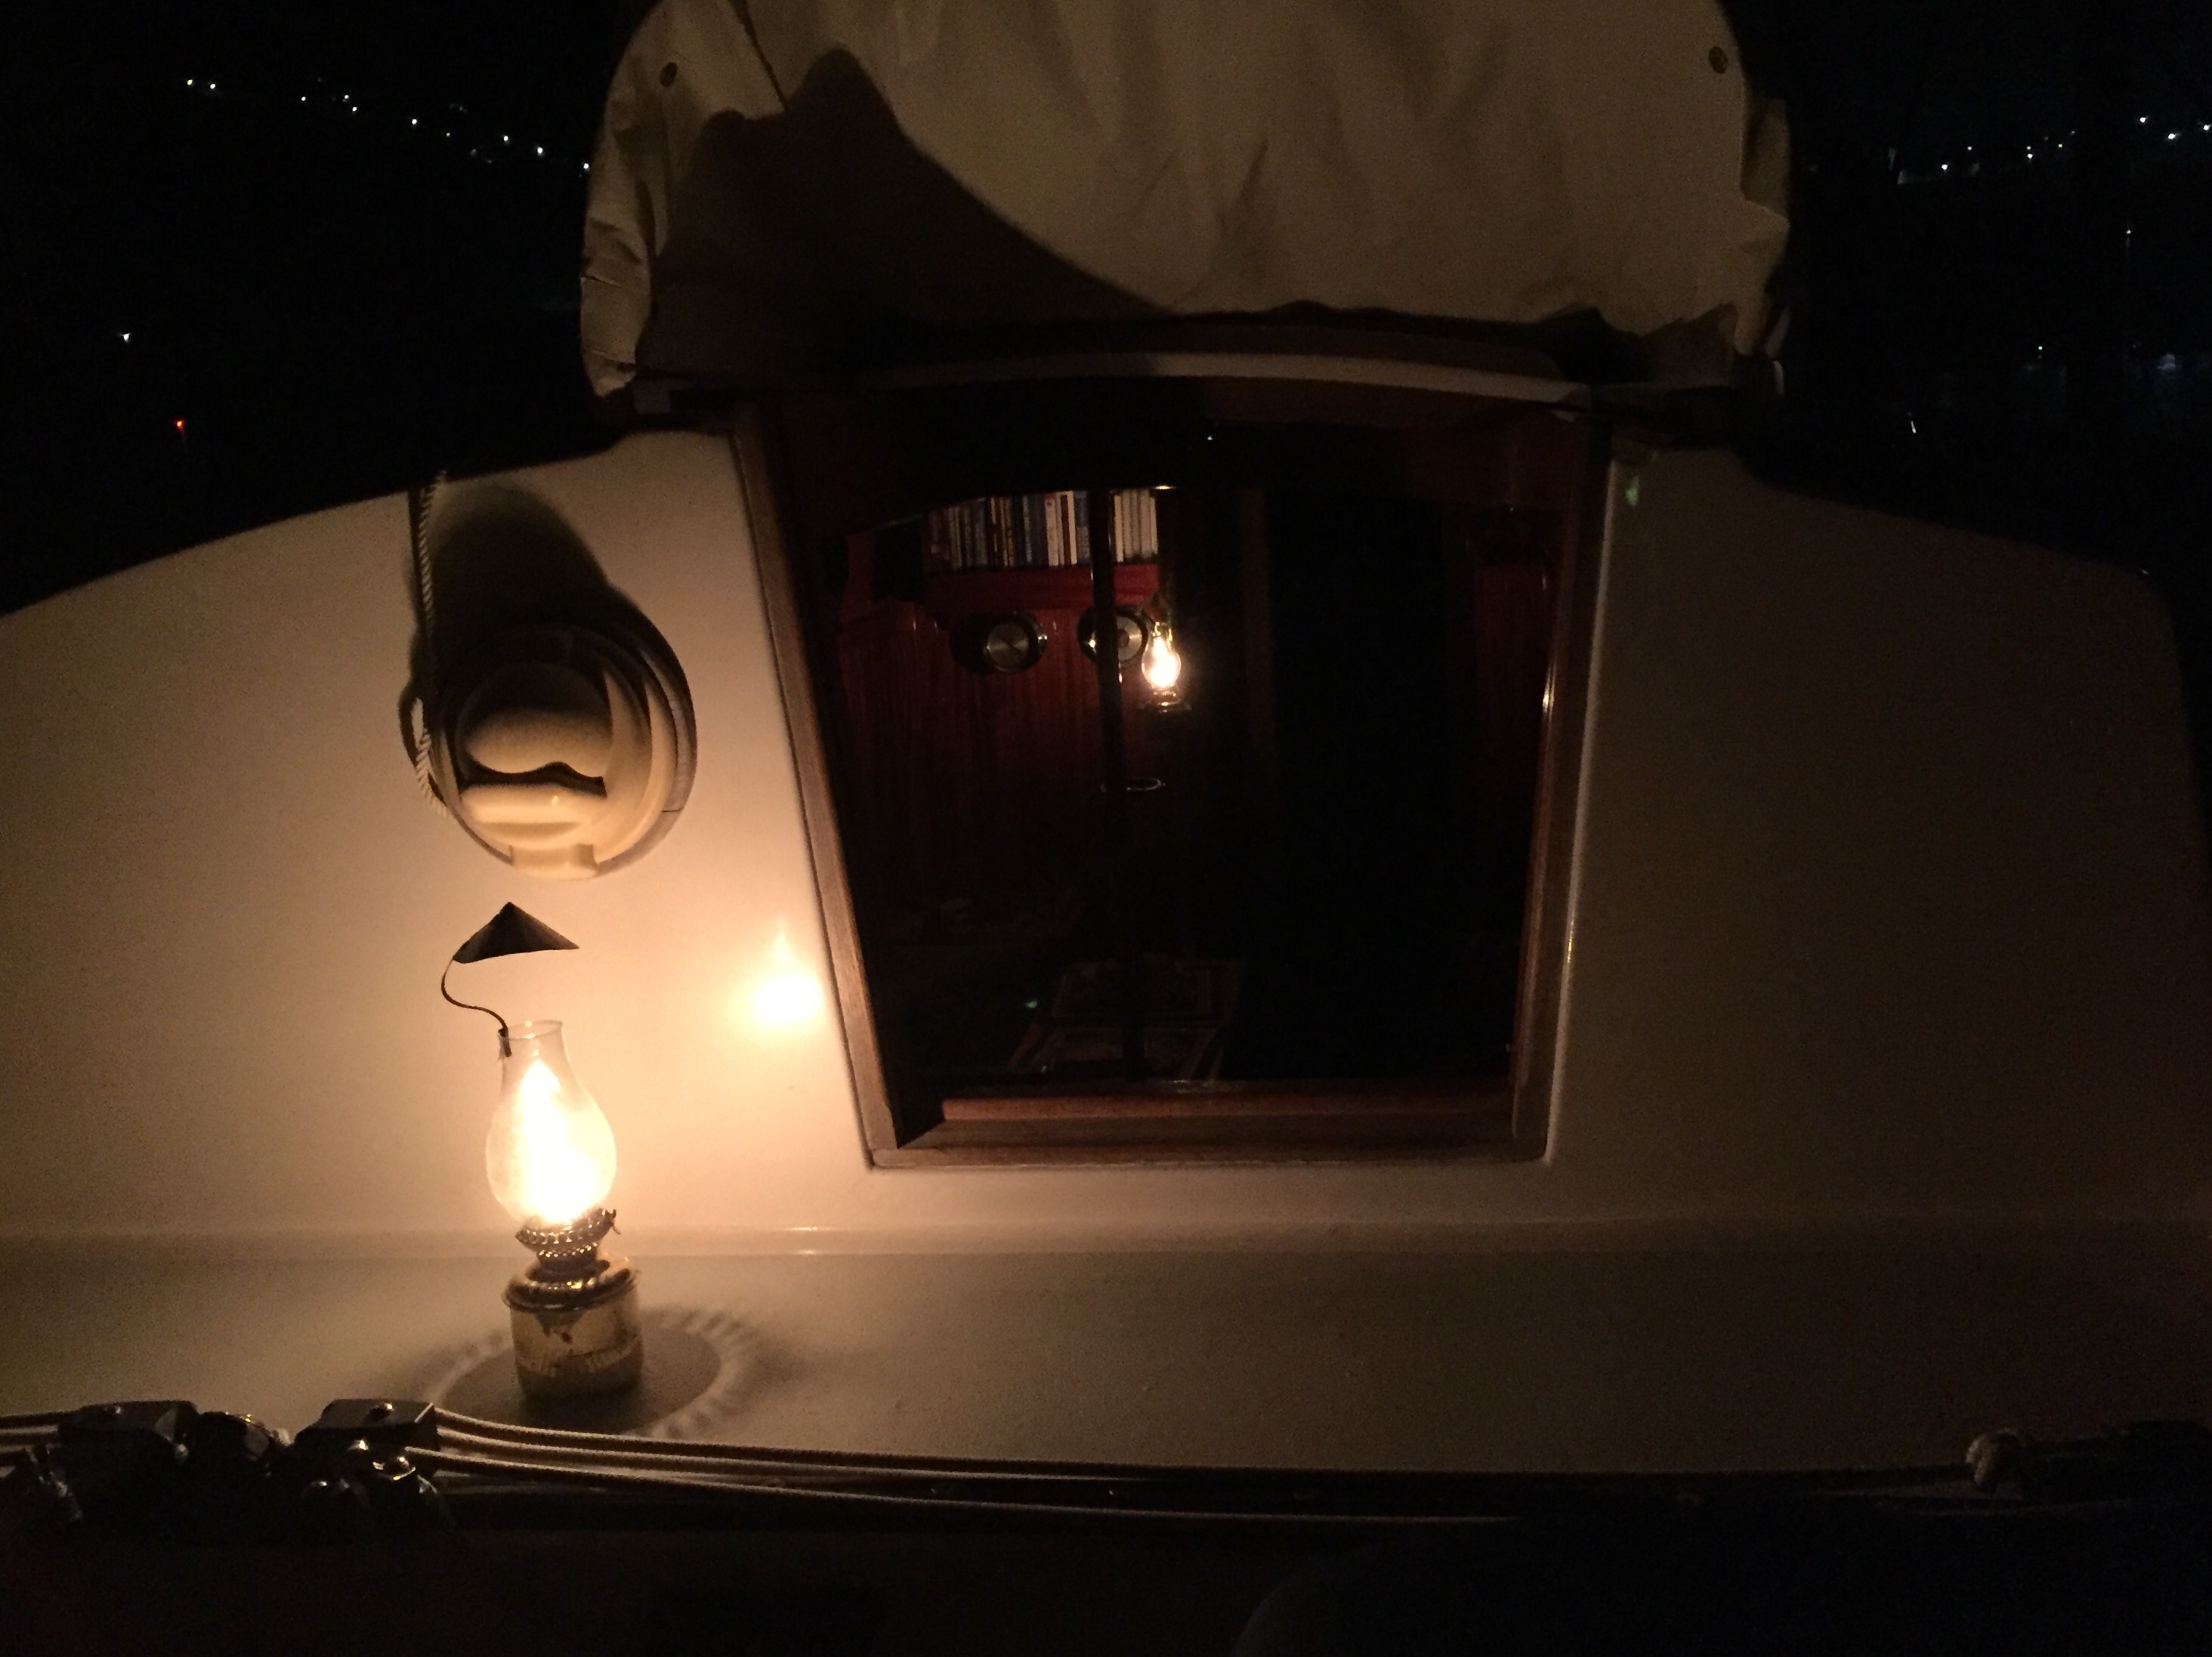
Sure, we have a Luci-light but it can’t begin to compare to the ambience of incandescent light cast by an oil lamp.
Next day, I broke out the climbing harness and ascenders and climbed the mast and inspected the entire rig top to bottom. I took my time checking all the splices, thimbles, bolts, nuts, circle clips, cotter pins. Everything looked good. As always, it’s a great view from the top.
I was a tree climber about the time I could walk. All these years later, I still love the view from high above.
The next day I was invited to a 1730 “dinghy raft up” in the anchorage. It was enjoyable to meet some of the other cruisers and share all the treats passed around among the dinghies. After sundown the party broke up and everyone returned to their boats richer for the increased camaraderie.
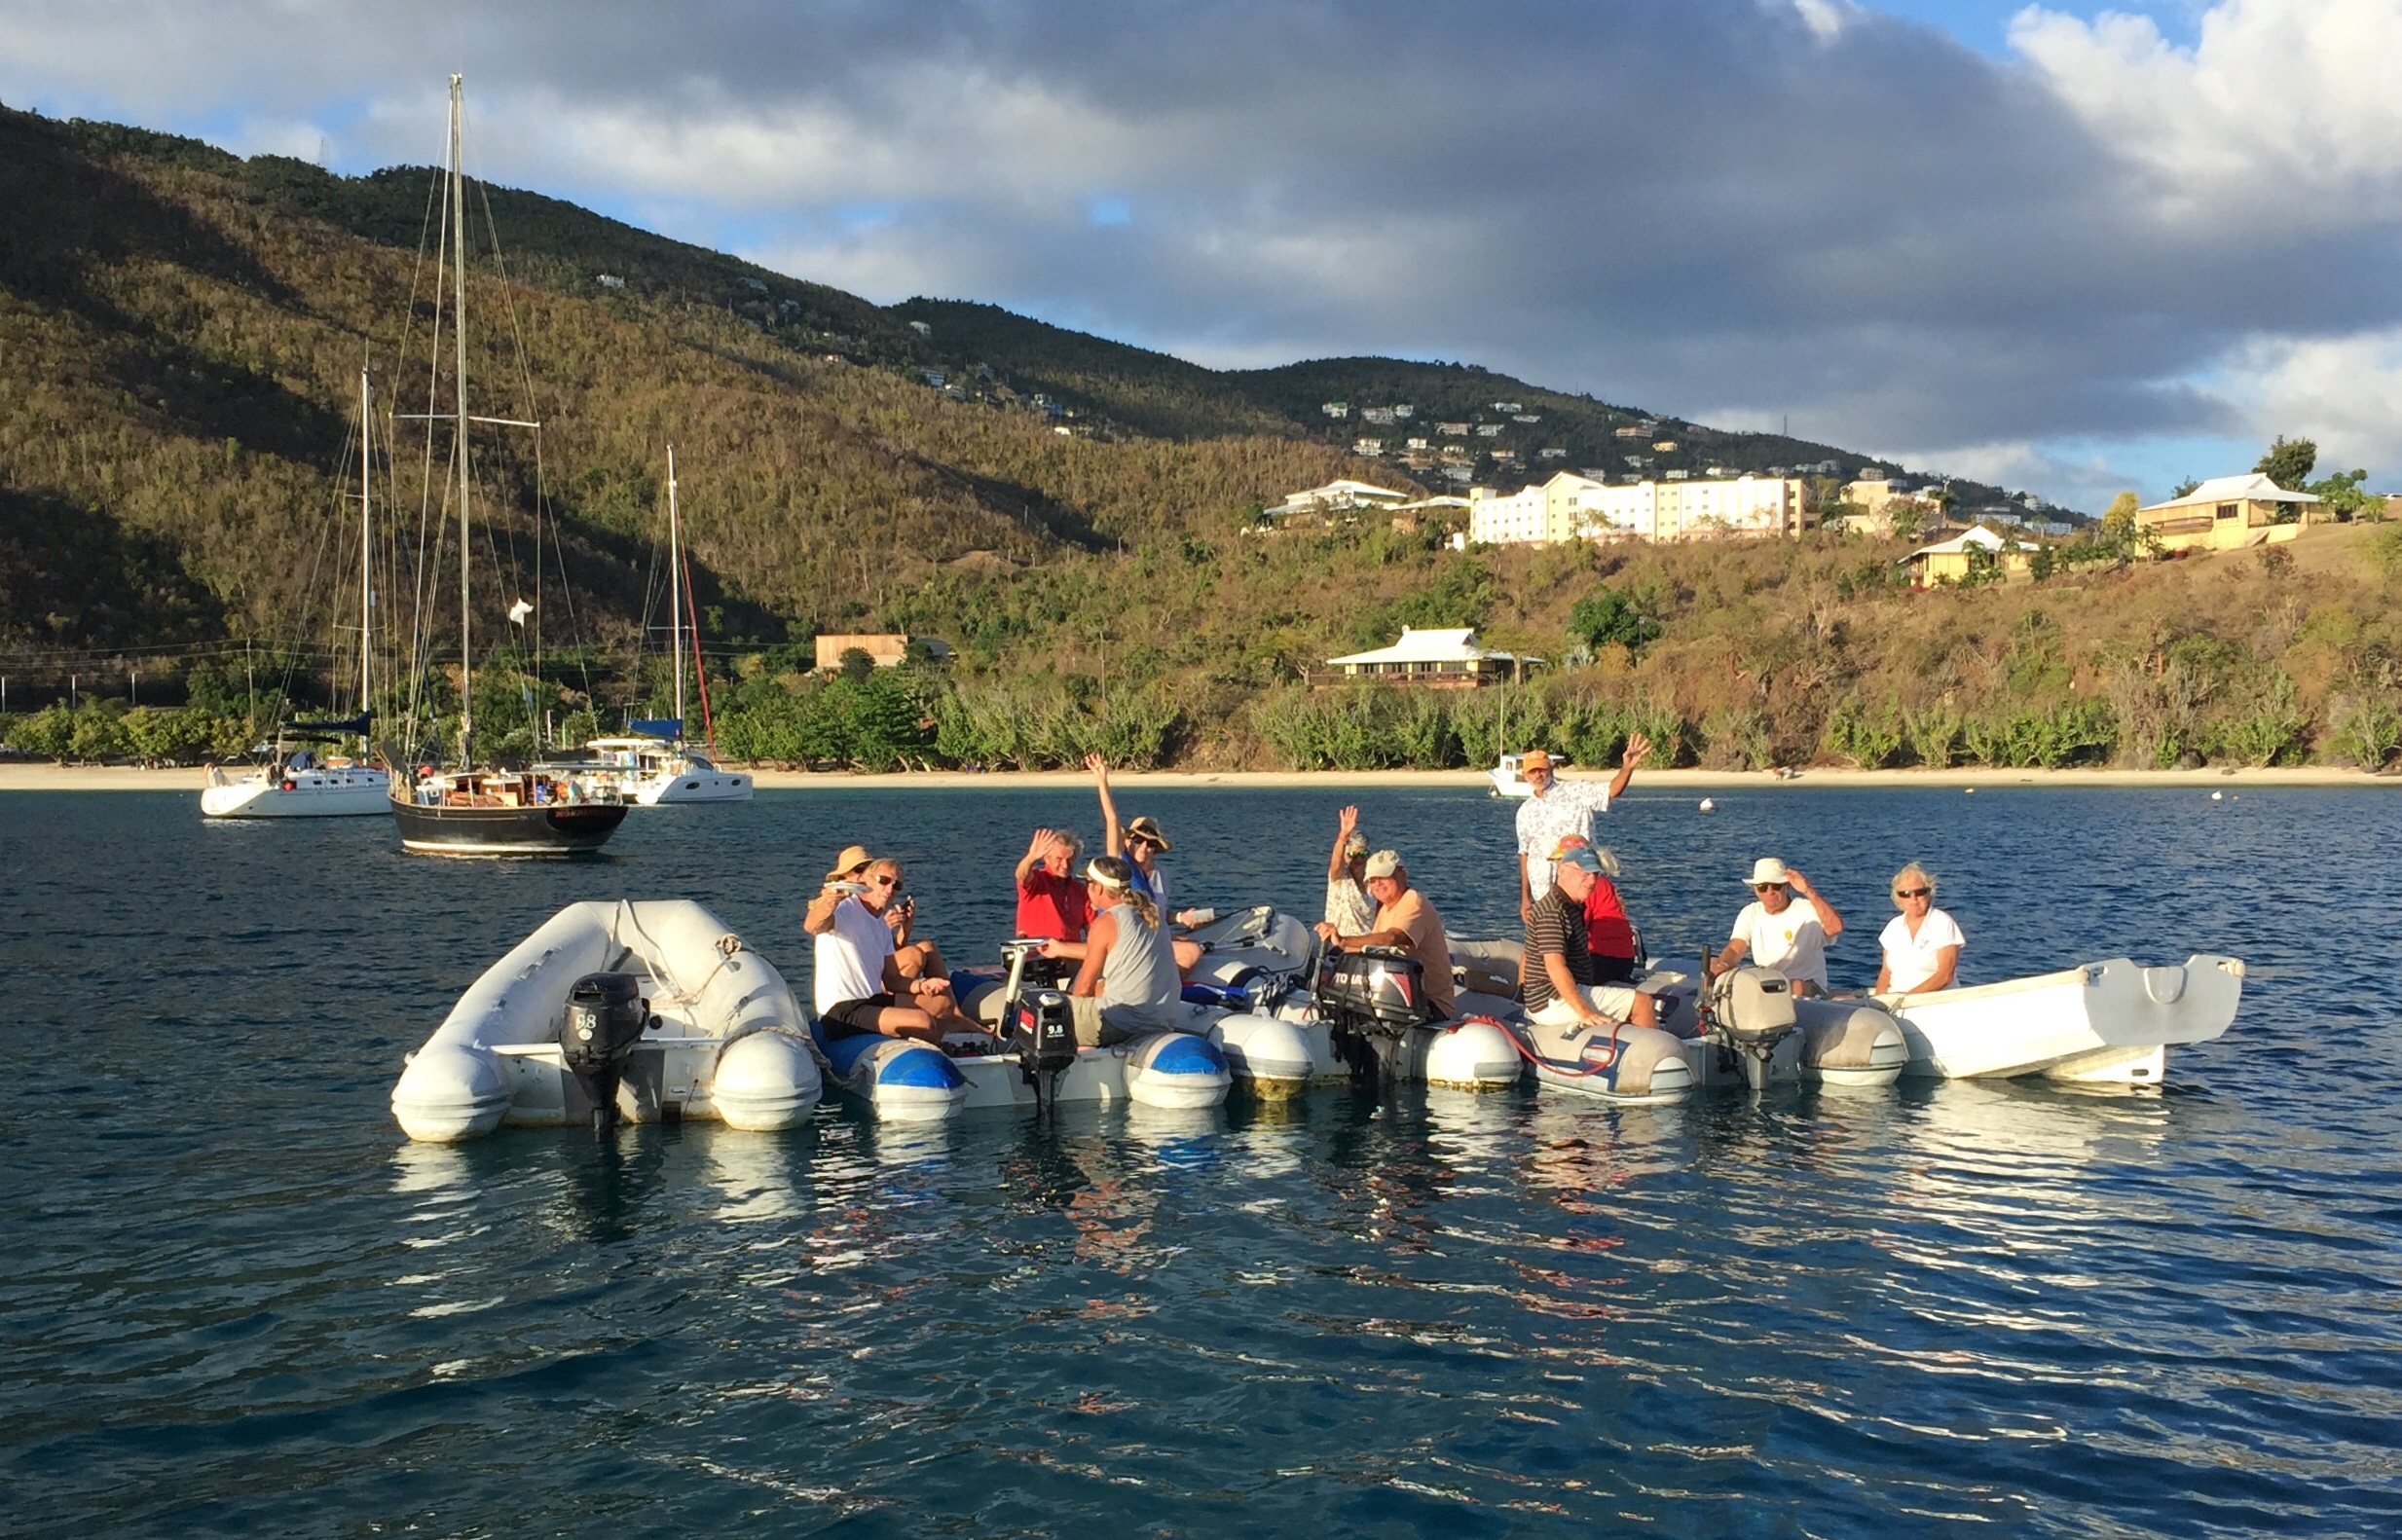
Late afternoon dinghy raft up. Cruisers tend to be a pretty social group.
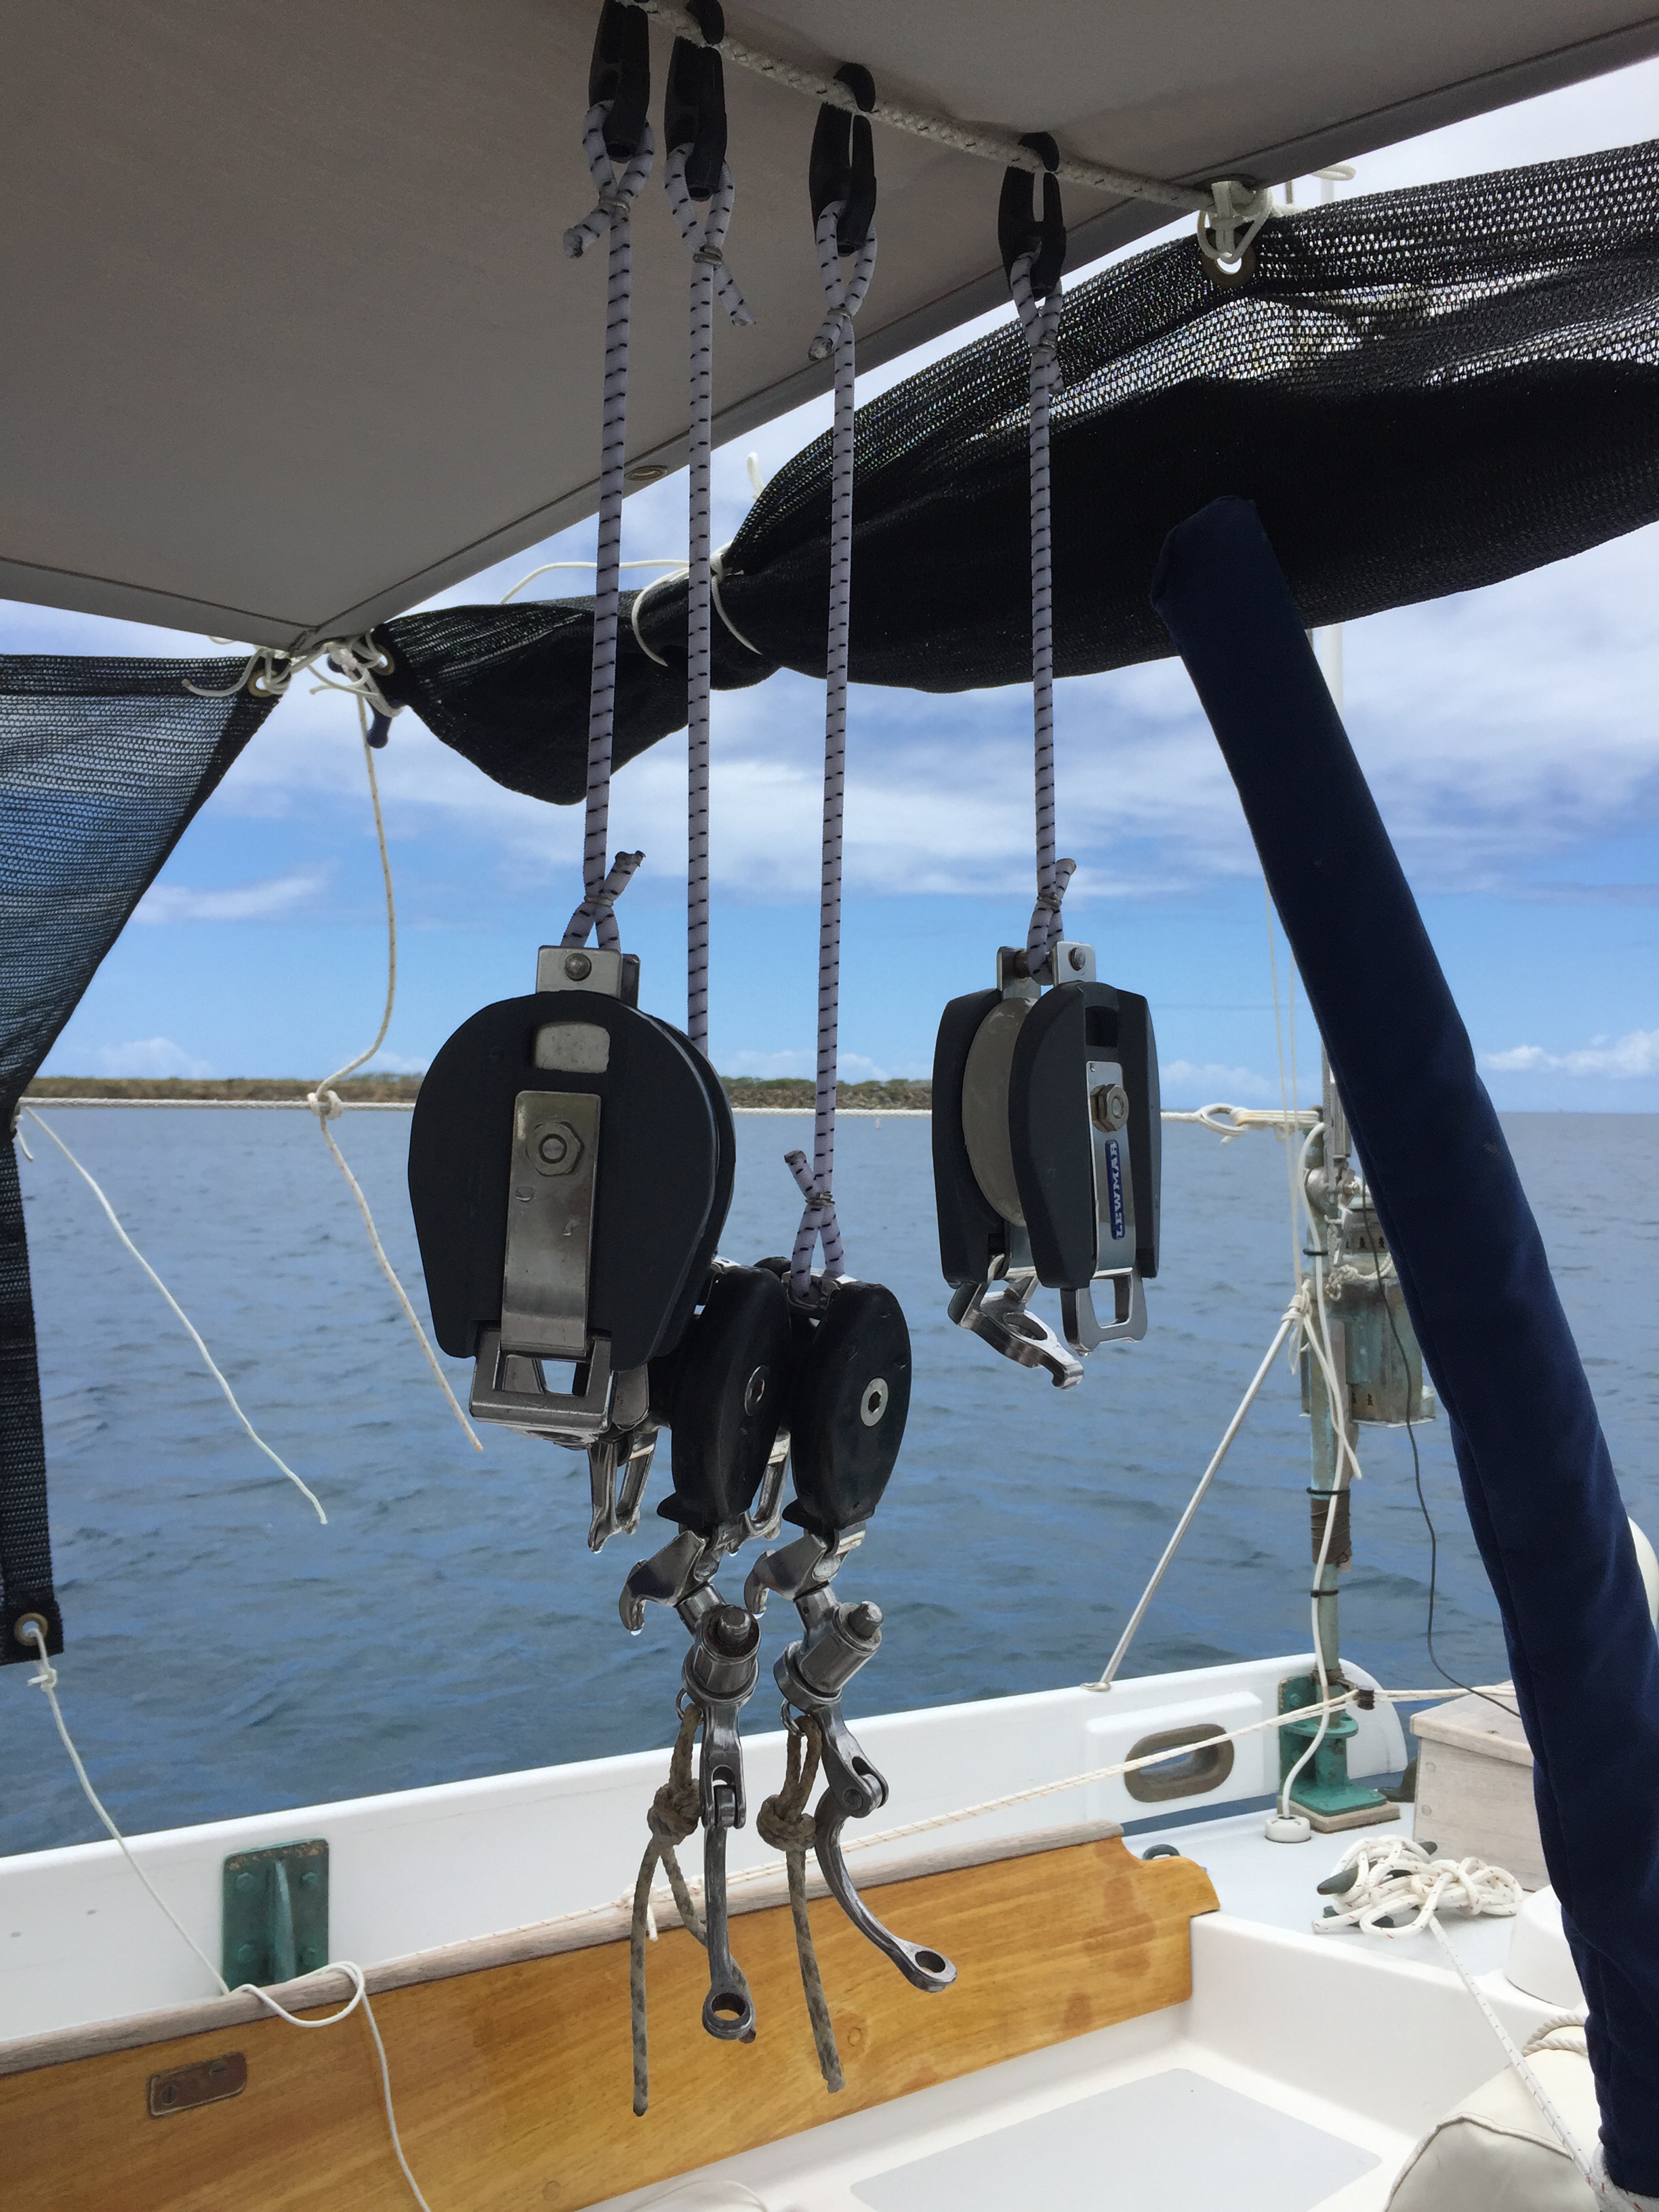
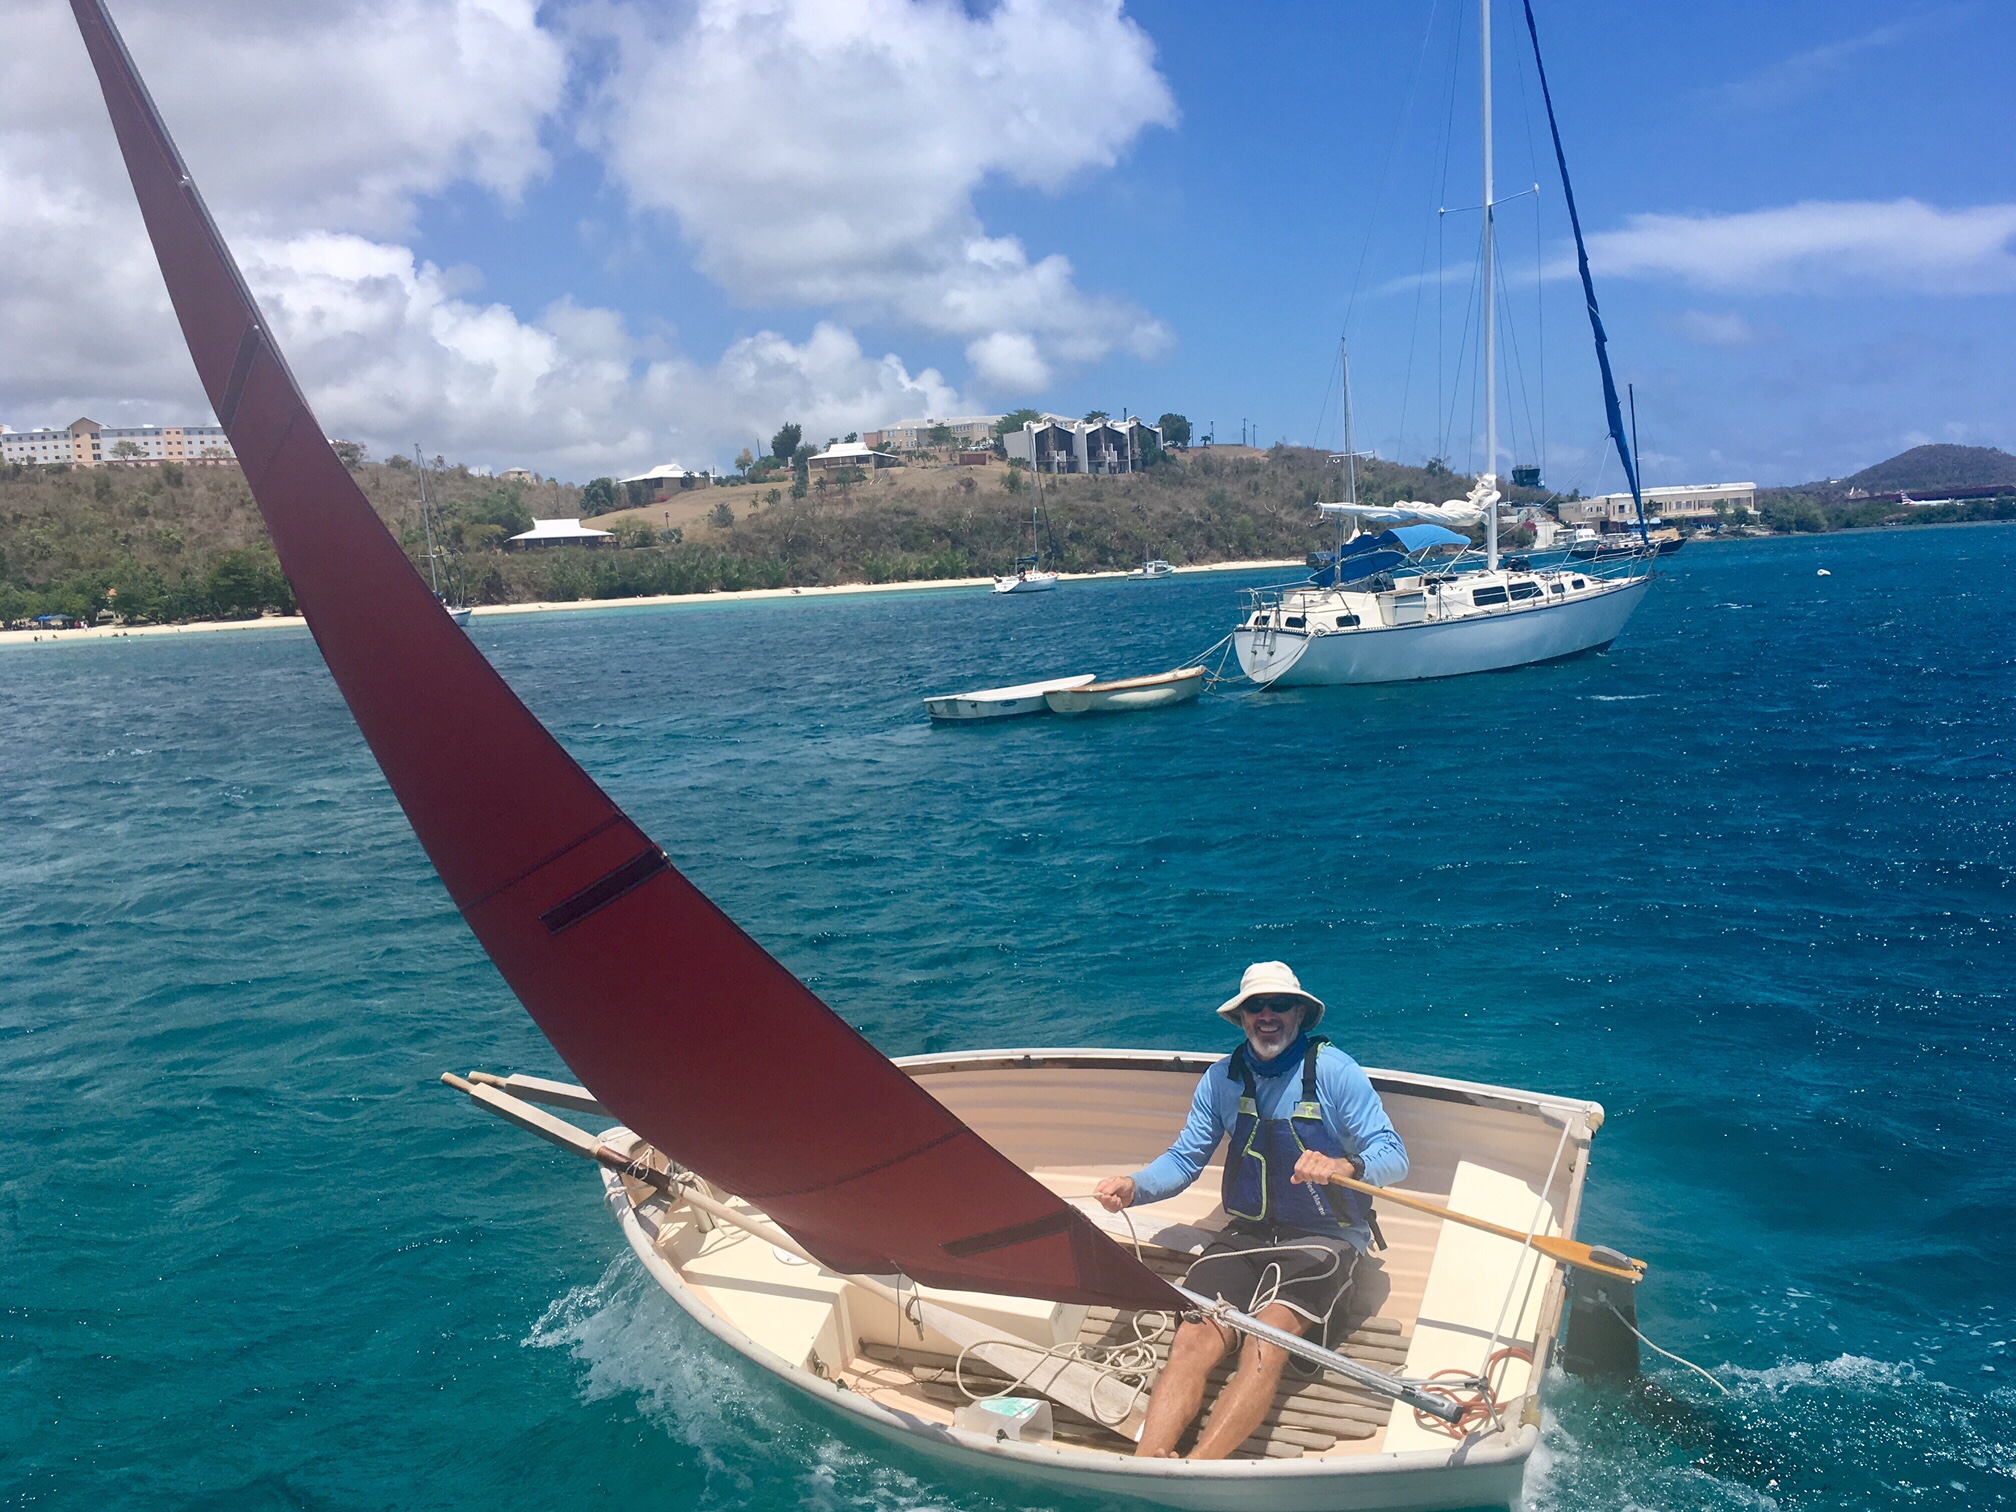
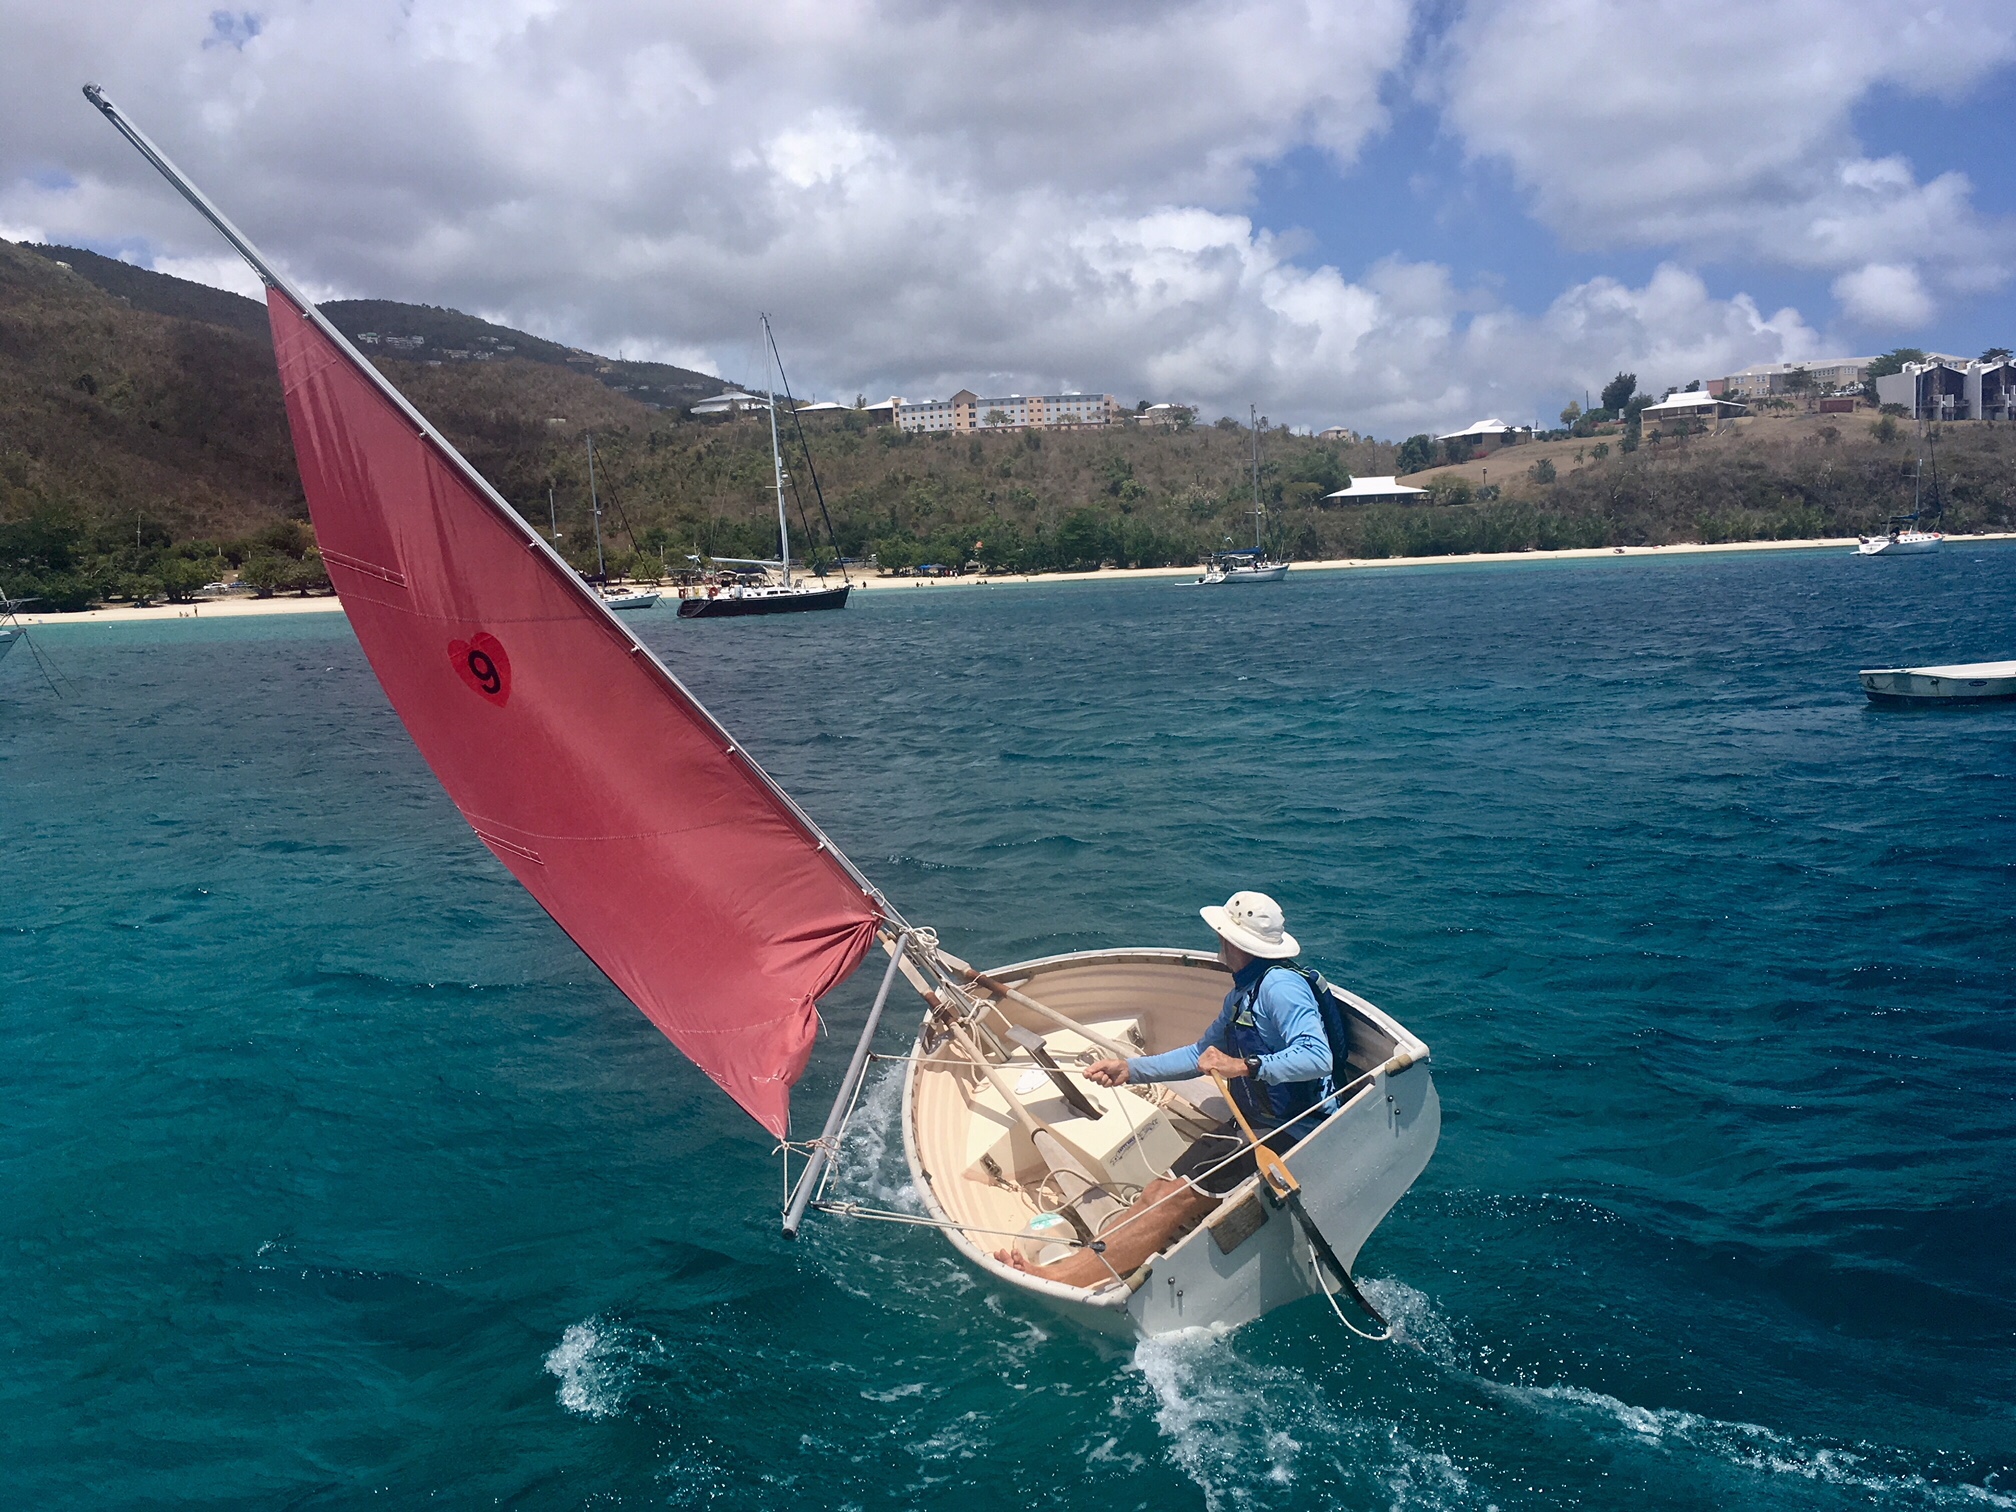
On Sunday 28 April, I decided that Sweet Pea needed to stretch her legs a bit. The wind in the anchorage was 18 gusting 20-25 kts. I rigged her up while she was still suspended in her bridle from the spinnaker halyard on the starboard side of the Far Reach. I put a reef in her mains’l then lowered her into the water. After casting off, I raised the main and off we went.
I spent a delightful hour tearing around the anchorage running, reaching ,beating, tacking, and gybing. She always impresses me with her sailing performance for such a small, stout, and somewhat chubby (for her length) craft. She is certainly more like an Olympic weight lifter in the “Clean and Jerk” competition than a long distance runner.
Sure, she is fun to sail and that’s reason enough to take her out for a spin. But, she is also my lifeboat and thus it’s as important to get her out on the water to opcheck her sailing rig as it is to refamiliarize myself with her sailing characteristics.
With her mast and boom stowed vertically along the aft lowers on the Far Reach it takes only minutes to rig and derig her.

I’m not even going to caption these pictures. Simply no need…. Photos courtesy of Phil Richmond.
Phil Richmond, sans Ashley who is on her way to Maine, sailed in to the anchorage. It was great to link up with another singlehander. And Phil is as cheerful and interesting as they come. We had many long conversations about sailing, traveling, career choices, and life. Good stuff. Phil is also a certified free diver and introduced me to the sport. He gave me manuals to read and taught me safety and recovery techniques before we got started with breathing techniques. I made a lot of progress and gained confidence too. I’d like to get some follow on training. Watching Phil in the water and seeing how comfortable he is with stunningly long breath holds was eye opening.
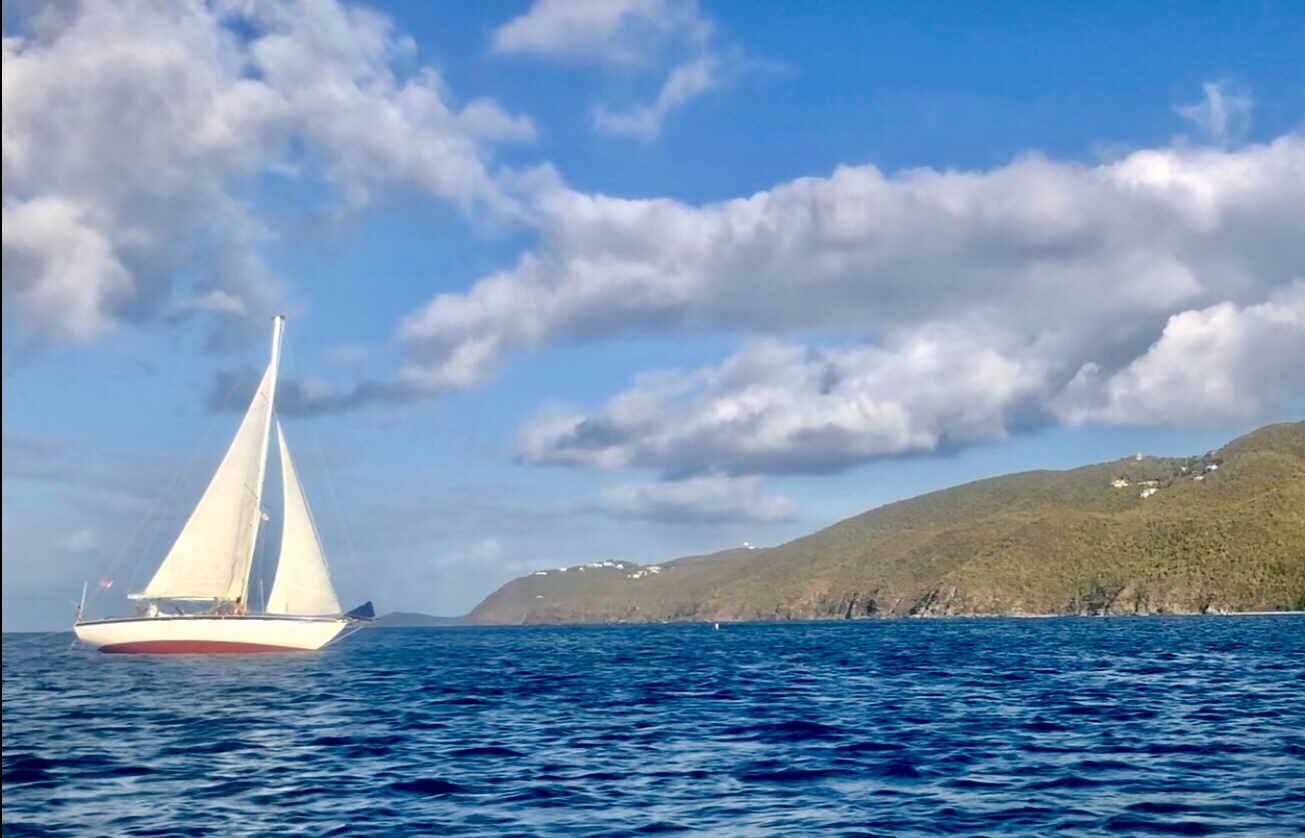
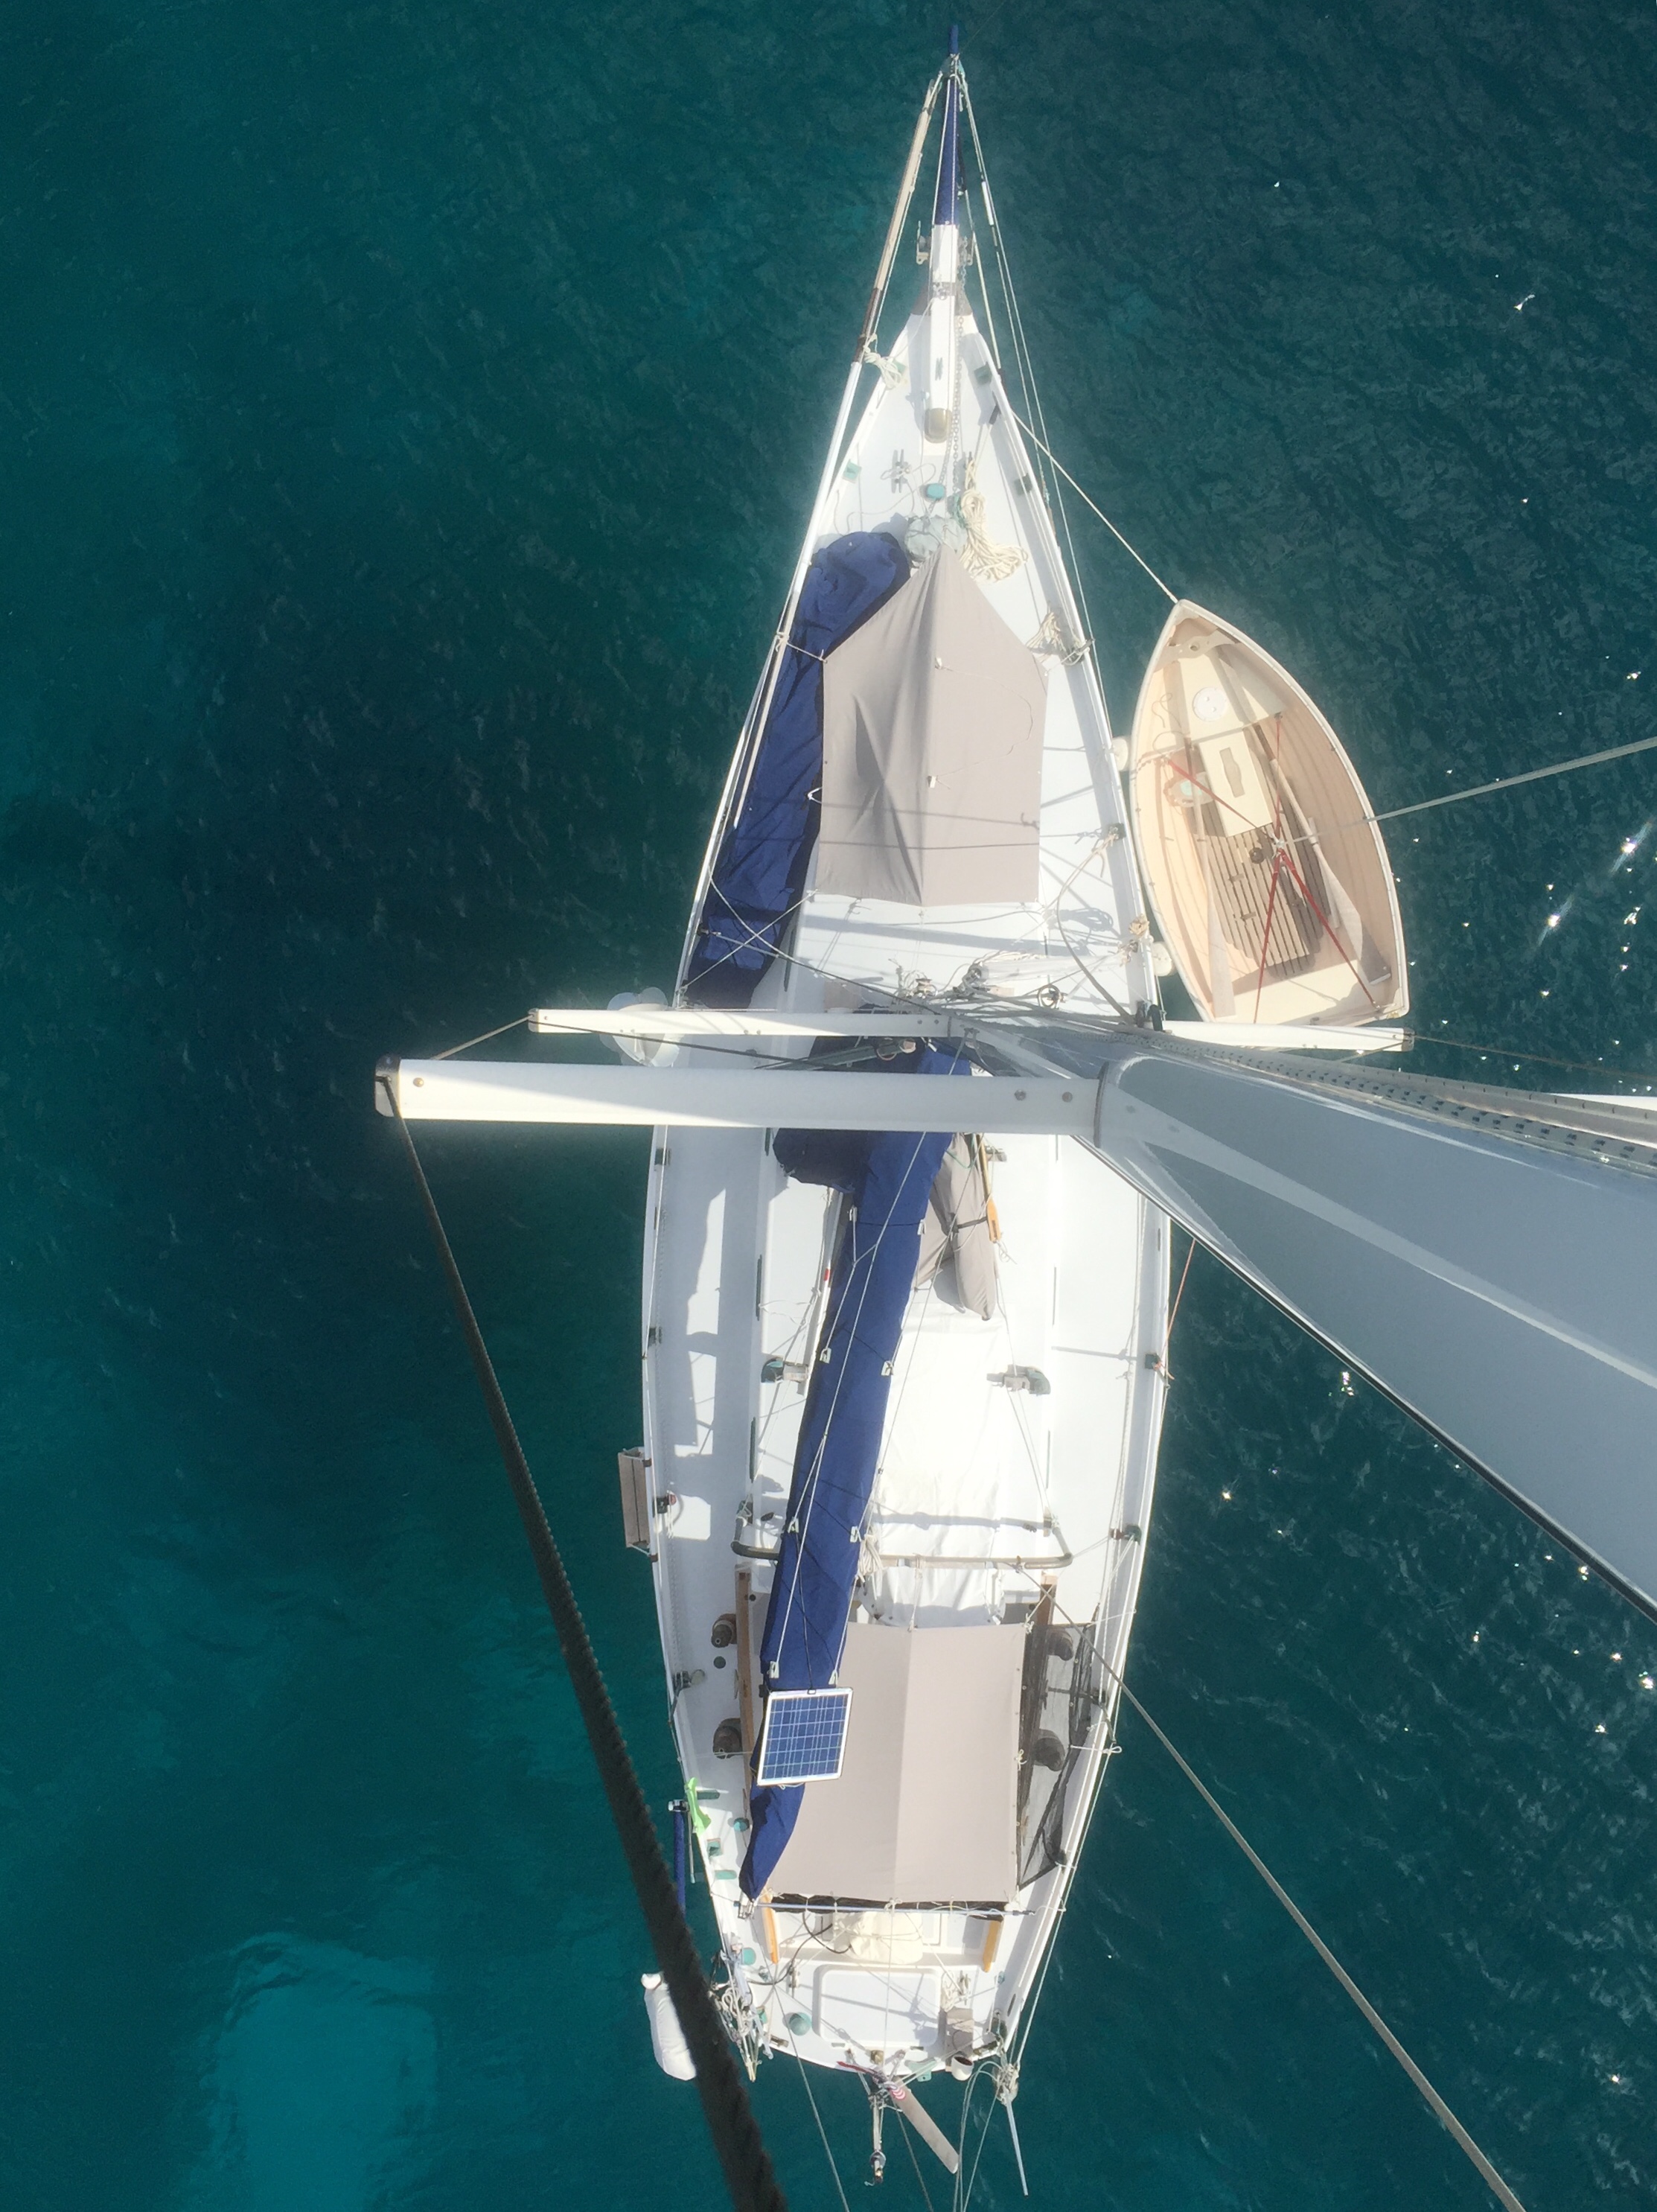
The Far Reach with a single reefed main and stays’l heading back to Elephant Bay. Photo courtesy Phil Richmond.
So, with some regret, on the morning of 30 April, I hoisted a single reefed main and stays’l and broad reached out of the anchorage. Once past the runway exclusion zone, I hauled in on the sheets and beat passed a fuel tanker anchored south of the airport, past Lindbergh Bay, and out towards Porpoise Rocks. I tacked over and gave a wide berth to a heavily laden fuel tanker being maneuvered into Krum Bay by two tugs. With the wind about 20 kts, I tacked up the West Gregerie Channel tearing past Honeymoon Bay to our mooring about a mile up the channel in Elephant Bay.
Tomorrow is 1 May. I have about two weeks to get ready for the voyage home.
