
Tags
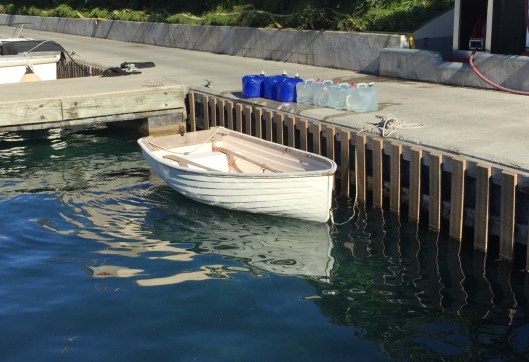
Water hauling day: 35 gallons or 280 lbs of water. Our 9’ Fatty Knees has been a real work horse for almost 15 years. She’s tough, rows well, and with a 15’ tall mast carries a lot of sail for her size. I can’t imagine trading her for an inflatable.
As part of our “keep it simple” approach to all things sailing we have developed a system for filling the water tanks on the Far Reach. It didn’t happen all at once…it took a little time and some trial and error.
During the rebuild I eliminated all the deck-fills except one. I did not want all the hoses running through the boat nor did I want to cut holes in the deck for the fill-caps. So, the fill-caps for the tanks are on the top of the tanks. How do we get the water in the tanks?
When we are out cruising, we don’t take the boat pier-side. Many of the places where water is available are on old docks or rough unforgiving concrete piers. Often, the piers and docks are in semi exposed anchorages. Boats get banged up trying to get next to the dock. Also, the water sources is not always on the dock.
Our basic SOP is to haul water to the boat via the dinghy. Thus, we carry (7) five gallon collapsible water jugs we store folded up in the bilge. We can haul up to 35 gallons at a time. Just yesterday, I rowed 280lbs of water in the Sweet Pea from the dock in Crown Bay Marina to the Far Reach. The distance was 4/10 of a mile and included crossing a major shipping channel. It took 230 strokes and about 12 min. Not too bad. I’m not pulling hard, just smooth even strokes. As a comparison, with just me in the dinghy, the same distance takes 203 strokes and 10 min. Both of those data points reflect a 15-20 knot cross wind. The Fatty Knees is a champion hard dinghy, no doubt about it. So hauling water, while work, is not an “ordeal.” Of course, using an inflatable with an outboard would make it even less work. But then you have to deal with the disadvantages of an inflatable. Choices.
A few years ago I made a Baja filter from an article written by Drew Frye which I read in the Feb 2015 issue of Practical Sailor. It is a simple and very inexpensive way to filter your water. It requires a short length of PVC pipe (to serve as the tower), a hose barb, and a 1 micron long-life felt filter bag from McMaster-Carr that fits perfectly in the PVC pipe (Read the PS article for the complete details of the parts you need and how to assembly it).

Above is the Baja filter as originally described in the Feb 2015 Practical Sailor article. It’s a great system for boats with “on deck” fill caps. But, our fill caps are inside the boat, on the tanks themselves. We needed to make some modifications.

As originally designed the hose barb stands proud of the bottom edge of the PVC pipe. The proud hose barb fits in the deck fill opening while the PVC pipe rests on the deck.
In the article, the PVC pipe was placed over the deck-fill with the hose barb extending into the opening. Water is poured into the top of the pipe, which holds the filter bag. But since I didn’t have deck fills I placed the filter over the opening on top of the water tanks which are in the bilge. It was OK. But, it meant I had to haul the water jugs below deck and there was no way to avoid spilling water trying to get the water from the jug into the mouth of the filter…especially if the boat was rolling around.
I had thought about using a hose to get the water from the deck to the tanks for awhile, but where would I store it and what kind of contraption did I need to serve as a funnel? Eventually, it occurred to me I could modify the PVC tower that supports the felt filter with a hole cut in the tower allowing a right angle connection to the hose barb. I could also add a wider PVC base so it would stand up on its own. But, I wanted a dedicated hose and I wanted the hose to be easy to store.
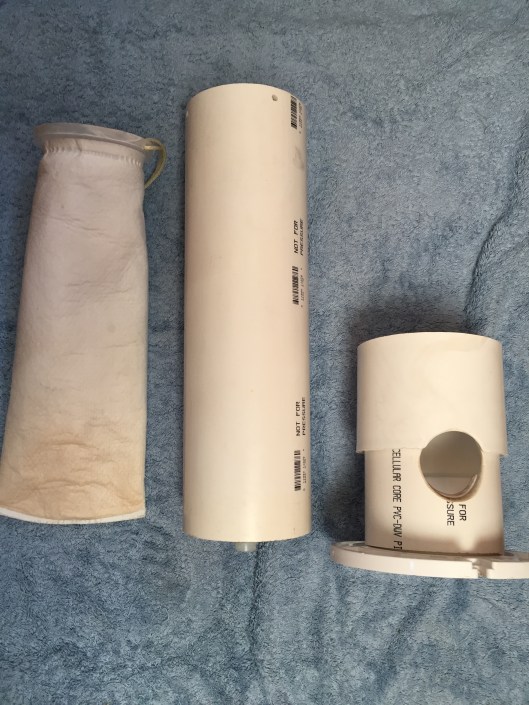
Filter on the left; the original PVC tower in the center; and our adapter on the right that allows us to fill the water tanks from the bridge deck via a 14’ hose.
I did not want to dig through a locker to find a hose when I wanted to fill the tanks, plus I already carried a 50’ hose that connects to a faucet. The hose only needed to be 14’ to reach from the bridge deck to the forward tank. And if I could put the water into the filter from the bridge deck I would not have to carry the water jugs down the companionway. Also, I wouldn’t spill water inside the boat when filling the tanks. But where to store the hose? The solution eventually revealed itself…store the hose in the 16’ long boom via the open end.
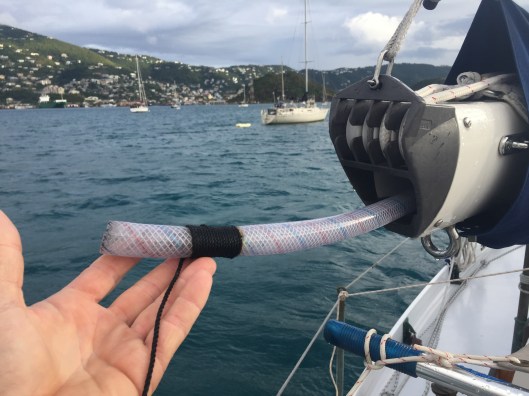
We store the 14’ 3/4”ID hose inside the boom. I whipped a line around one end of the hose so we can tie it off to prevent it from sliding out of the boom.
I added a wide PVC base to tower. I used a hole saw to cut a hole in the pipe for a 90° exit. I purchased 14’ of 3/4” ID water hose.

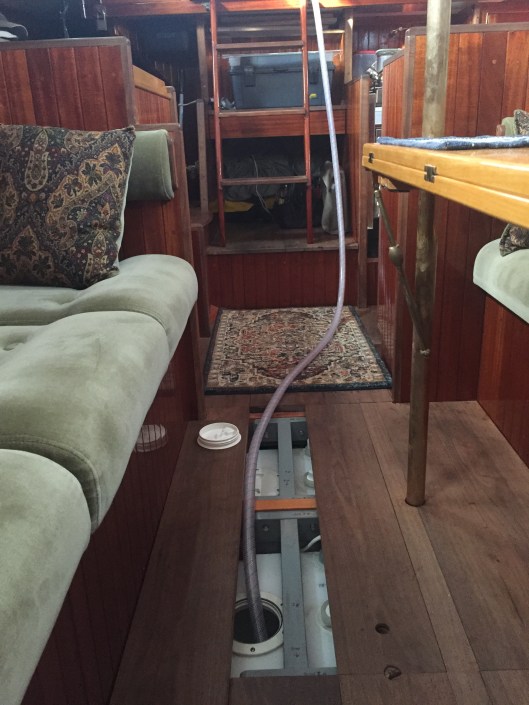
I pour the water into the tower on the bridge deck. The hose leads to the water tanks in the bilge.
So, now it takes 2-3 min to set up the whole system. No digging through lockers. I fill the tanks from the bridge deck. Simple.
Filling the tanks from the bridge deck vice from instide the boat made the whole process simpler and easier.
We do have one (20) gallon water tank under the side deck in the port cockpit locker which has our only deck mount fill-cap. The tank is dedicated to our shower system and is plumbed to the sitz tub via a simple gravity fed pet-cock. Because the tank is so high under the side deck, trying to fill the tank directly with a hose was problematic. Thus, the single deck fill with an integrated 8” long hose to a tank top fitting.
The nice thing about this system is it adapts perfectly to catching rain on the awning and topping off the water tanks.
Keeping it simple.
